
Creating and Managing Incident Templates
Templates make it easier for frontline workers to report an on-site incident.
Let’s take a look at how to create a new template.
1
CREATE A NEW TEMPLATE
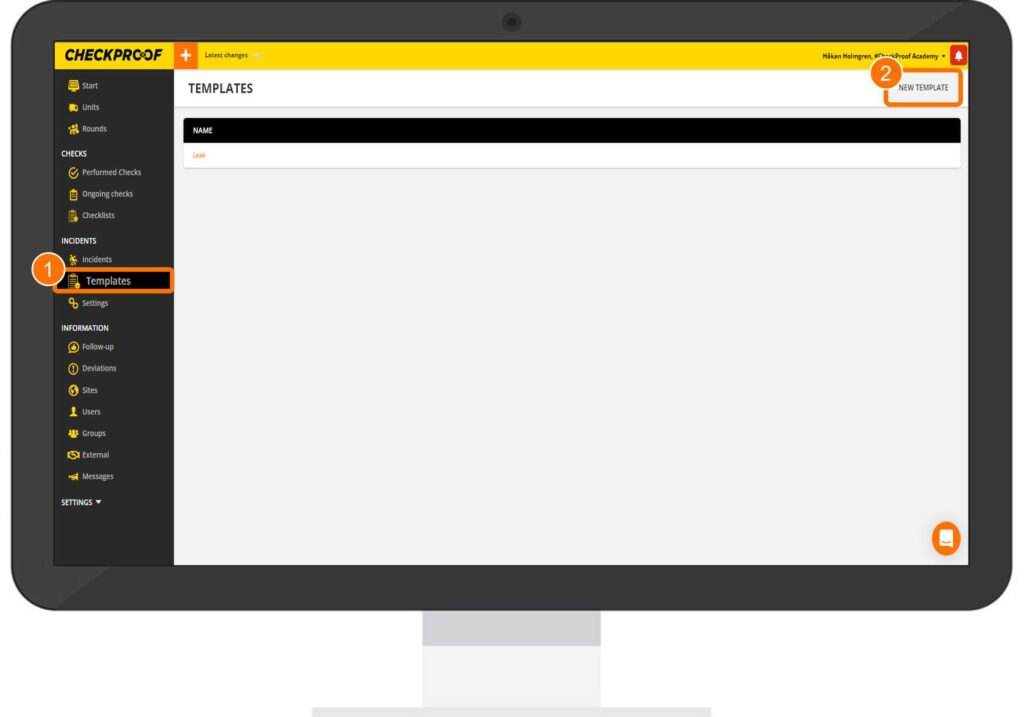
First, click on “Templates” in the left-side panel. Then, click the “New Template” button.
2
COMPLETE THE FORM
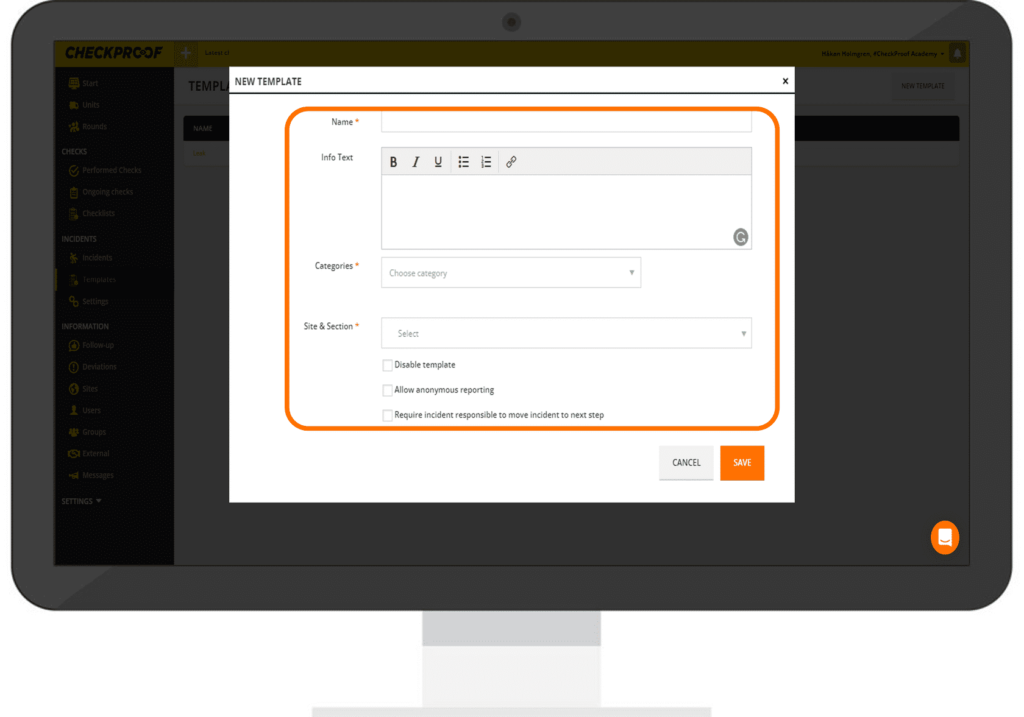
You now need to complete the form that appears on your screen. The fields described below that are marked with an asterisk indicate that they are mandatory:
- *Name: Give this template a name.
- Info Text: Add any additional information here that will help the user to complete their report.
- *Categories: Select at least one category for this template. Categories are created under “Settings” which you will learn about in the next lesson.
- *Site & Section: Here you must select which site(s) or section(s) to use this template in.
- Disable Template: Checking this box disables this template without having to delete it.
- Allow Anonymous Reporting: Check this box if you want users to be able to report incidents anonymously.
- Require Incident Manager to Move Incident to Next Step: Checking this box ensures that someone takes responsibility for the case.
3
SAVE THE TEMPLATE
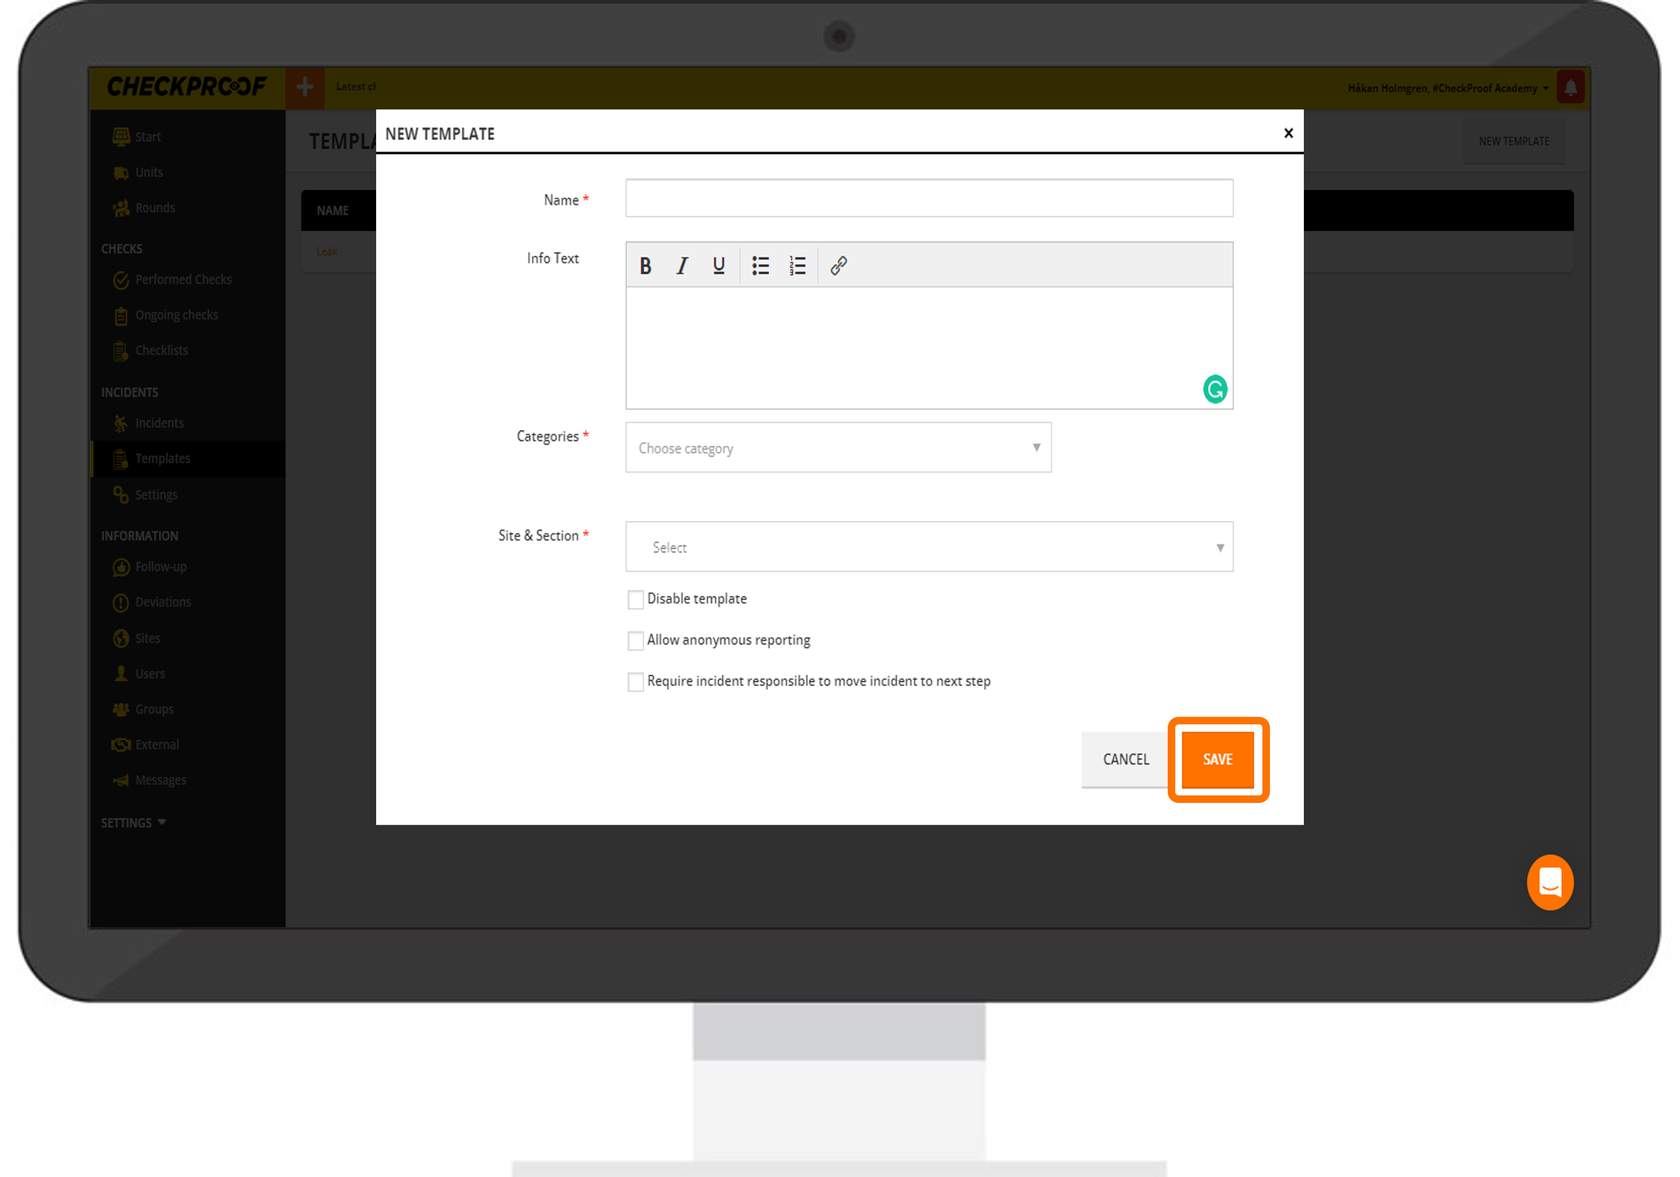
Once you have completed the form, click the “Save” button to save this template. Users will now be able to use this template when reporting an incident.
Now that you know how to create a template, let’s take a look at how to manage the different sections inside.
Report
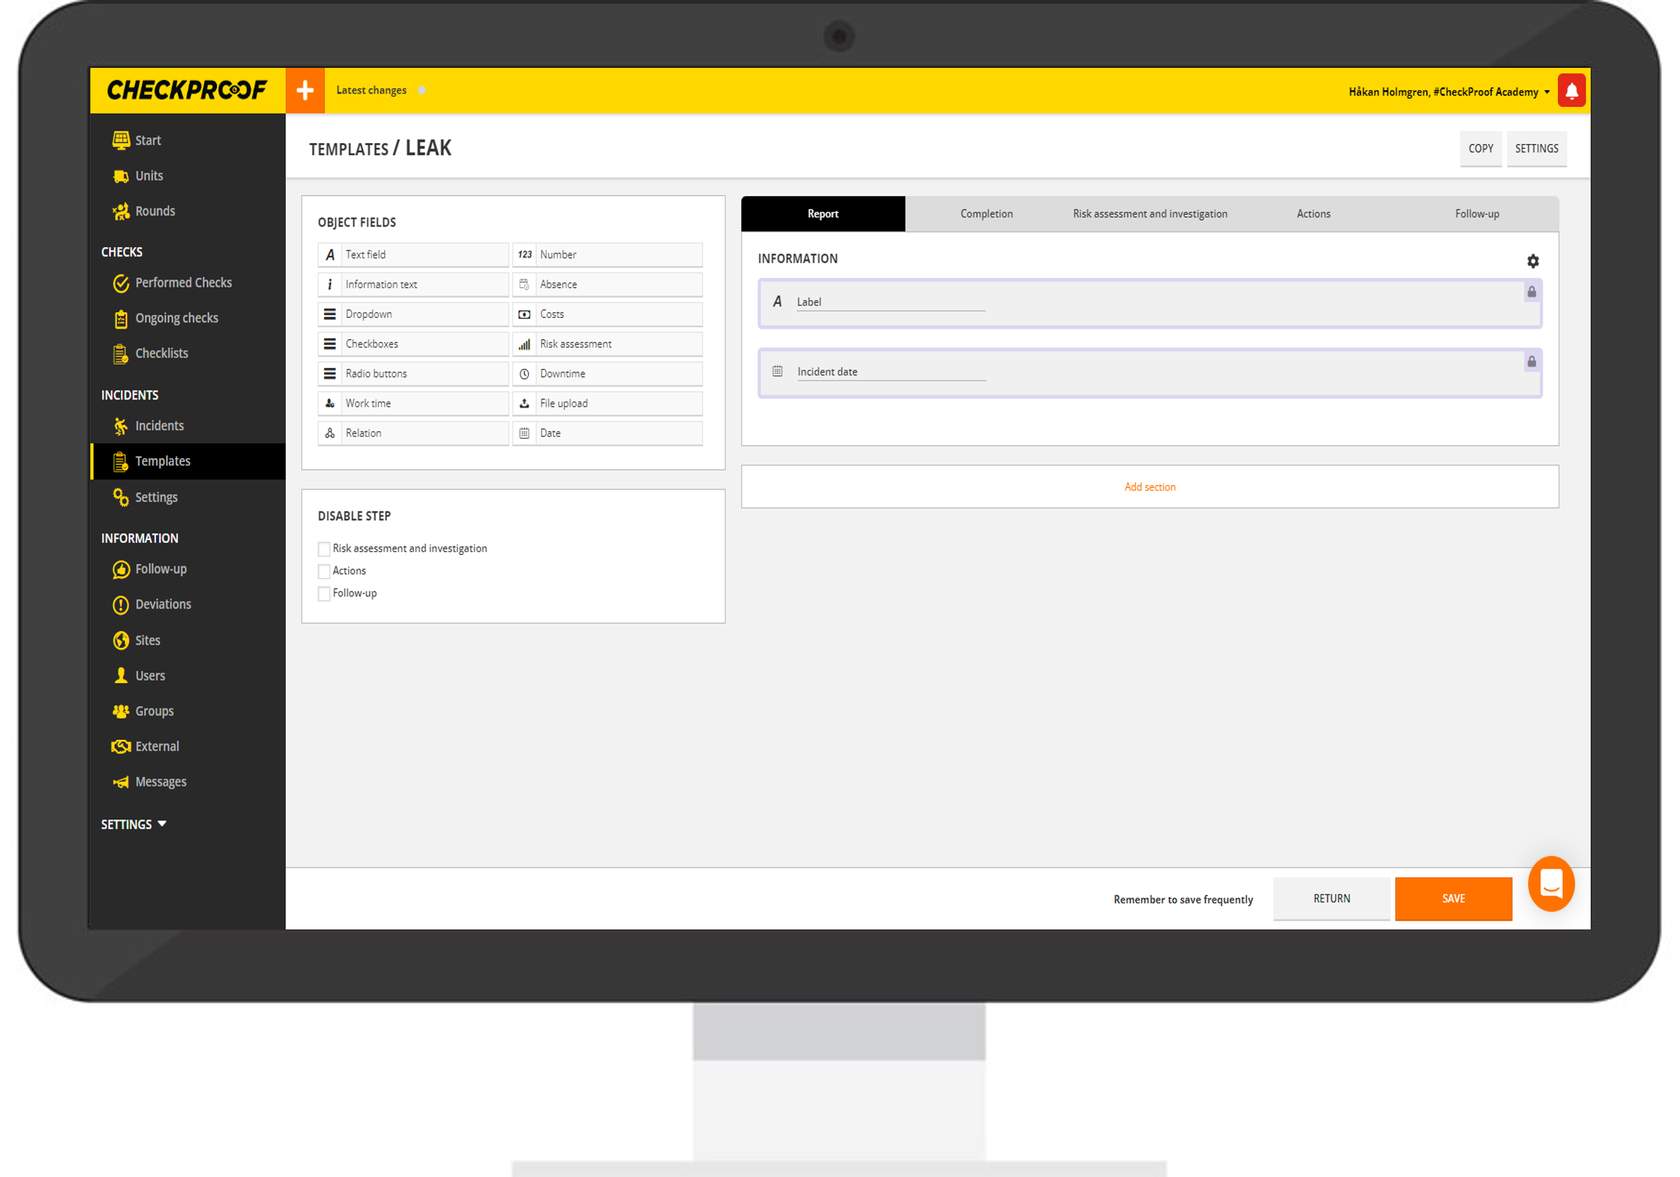
This is the very first step for the user reporting an incident. Here you must enter a title and an event date. You can also add some additional fields that you want to include in the template by dragging and dropping any of the “Object Fields” (as seen on the left of the screen) into the template.
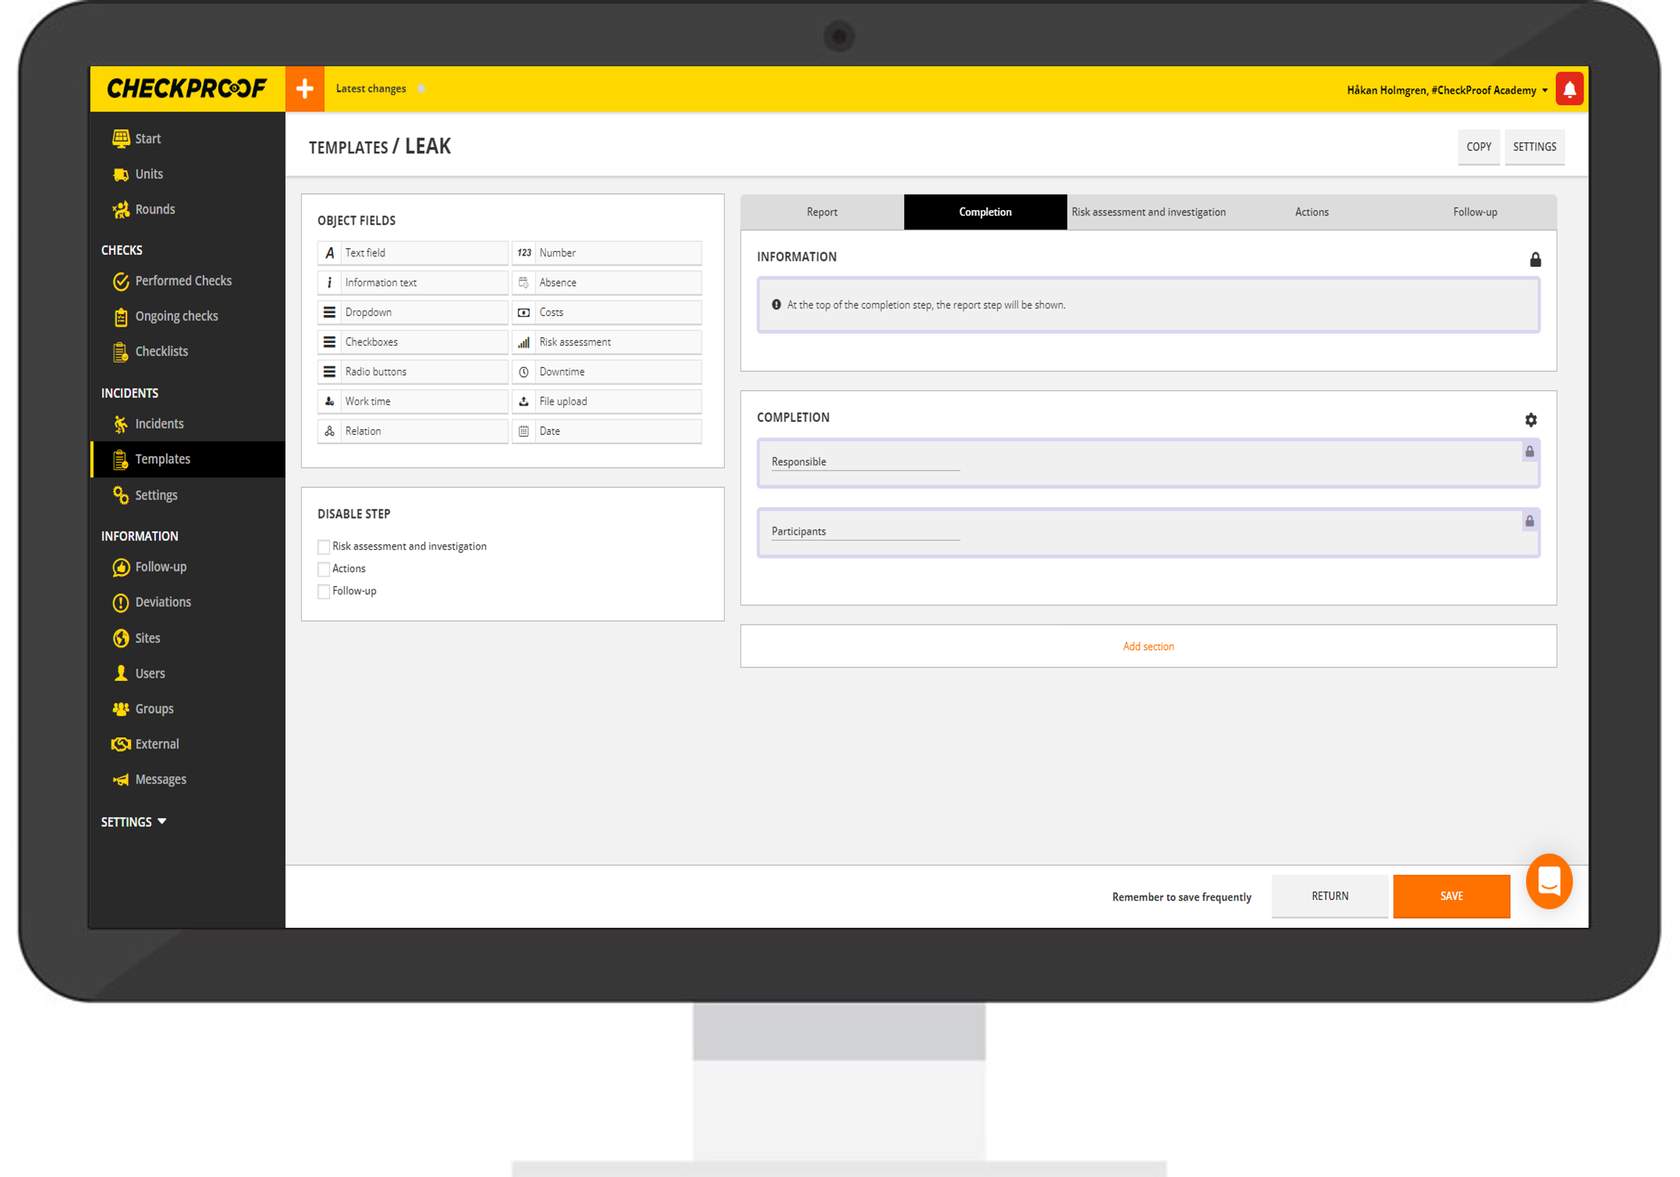
Completion
At the top of this step, the “Report” step will be shown. In this section, the person who is in charge can complete the case
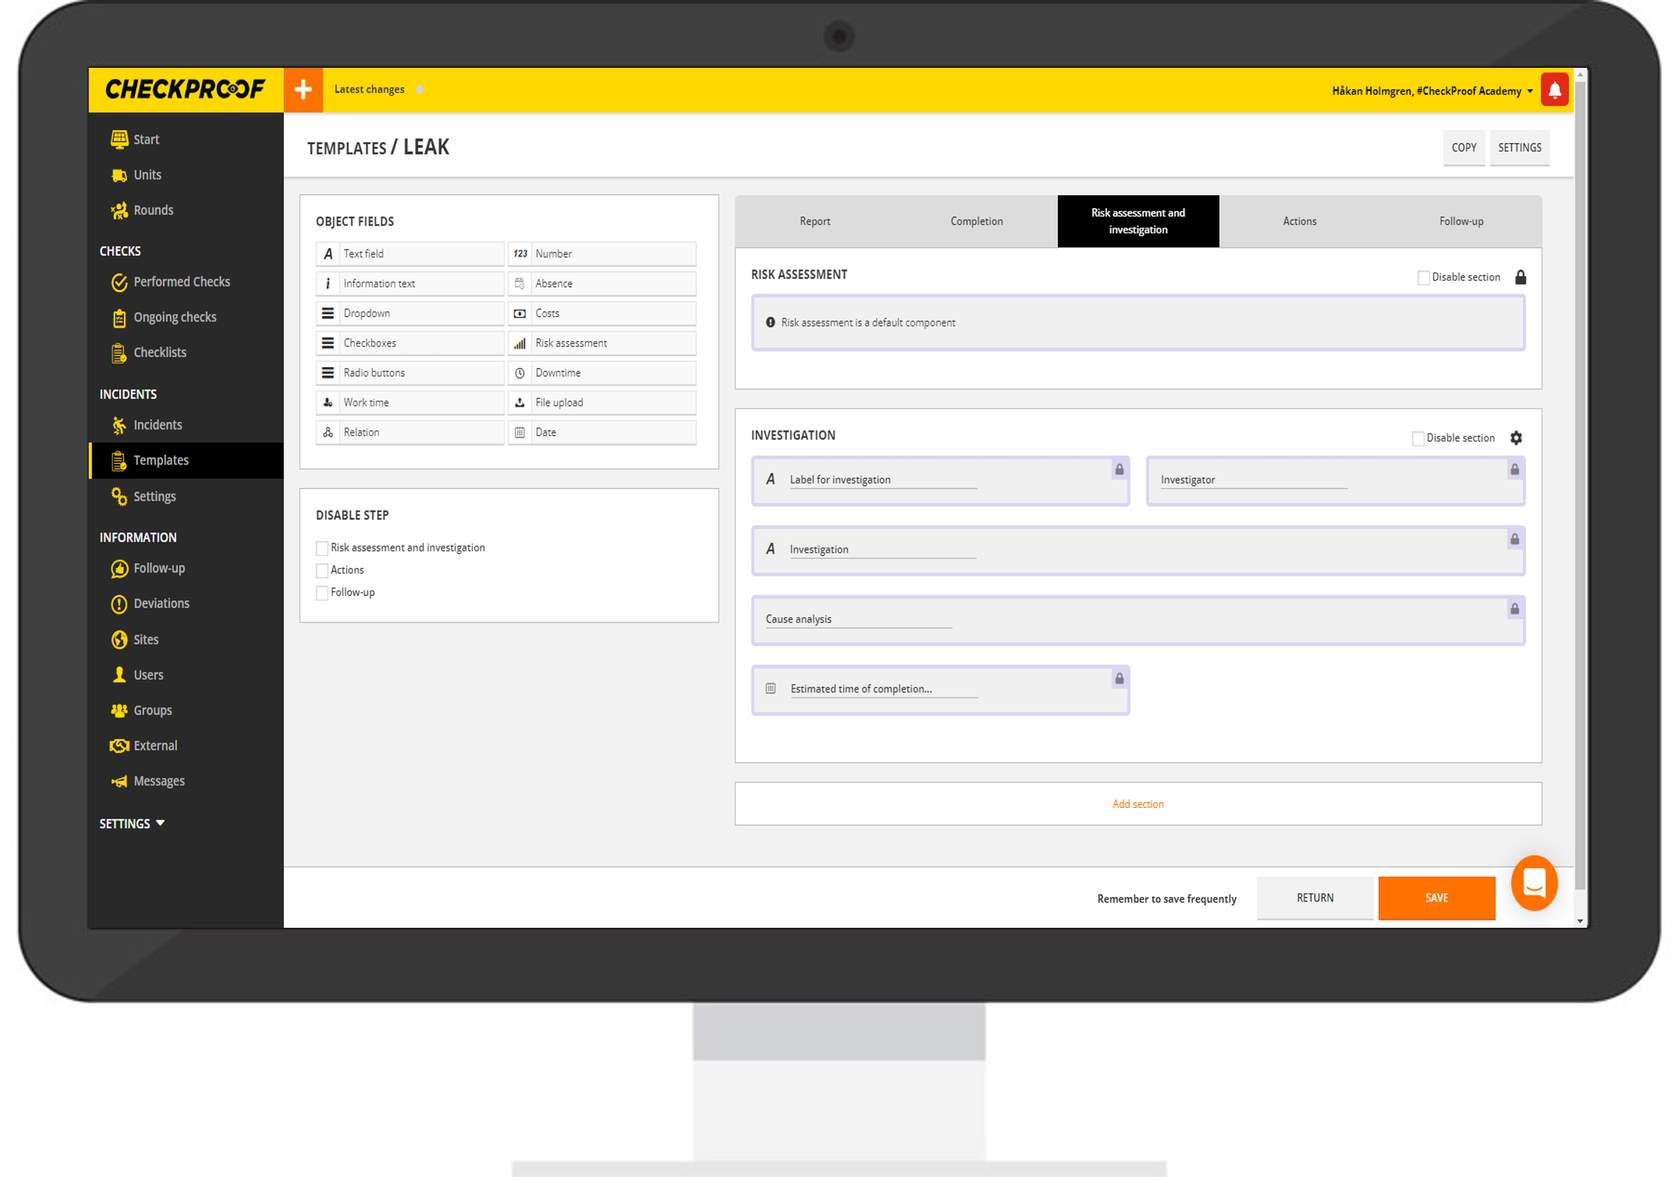
Risk Assessment and Investigation
Within this step, you can place a risk assessment with different components by dragging and dropping the necessary “Object Fields” (as seen on the left of the screen) into the template.
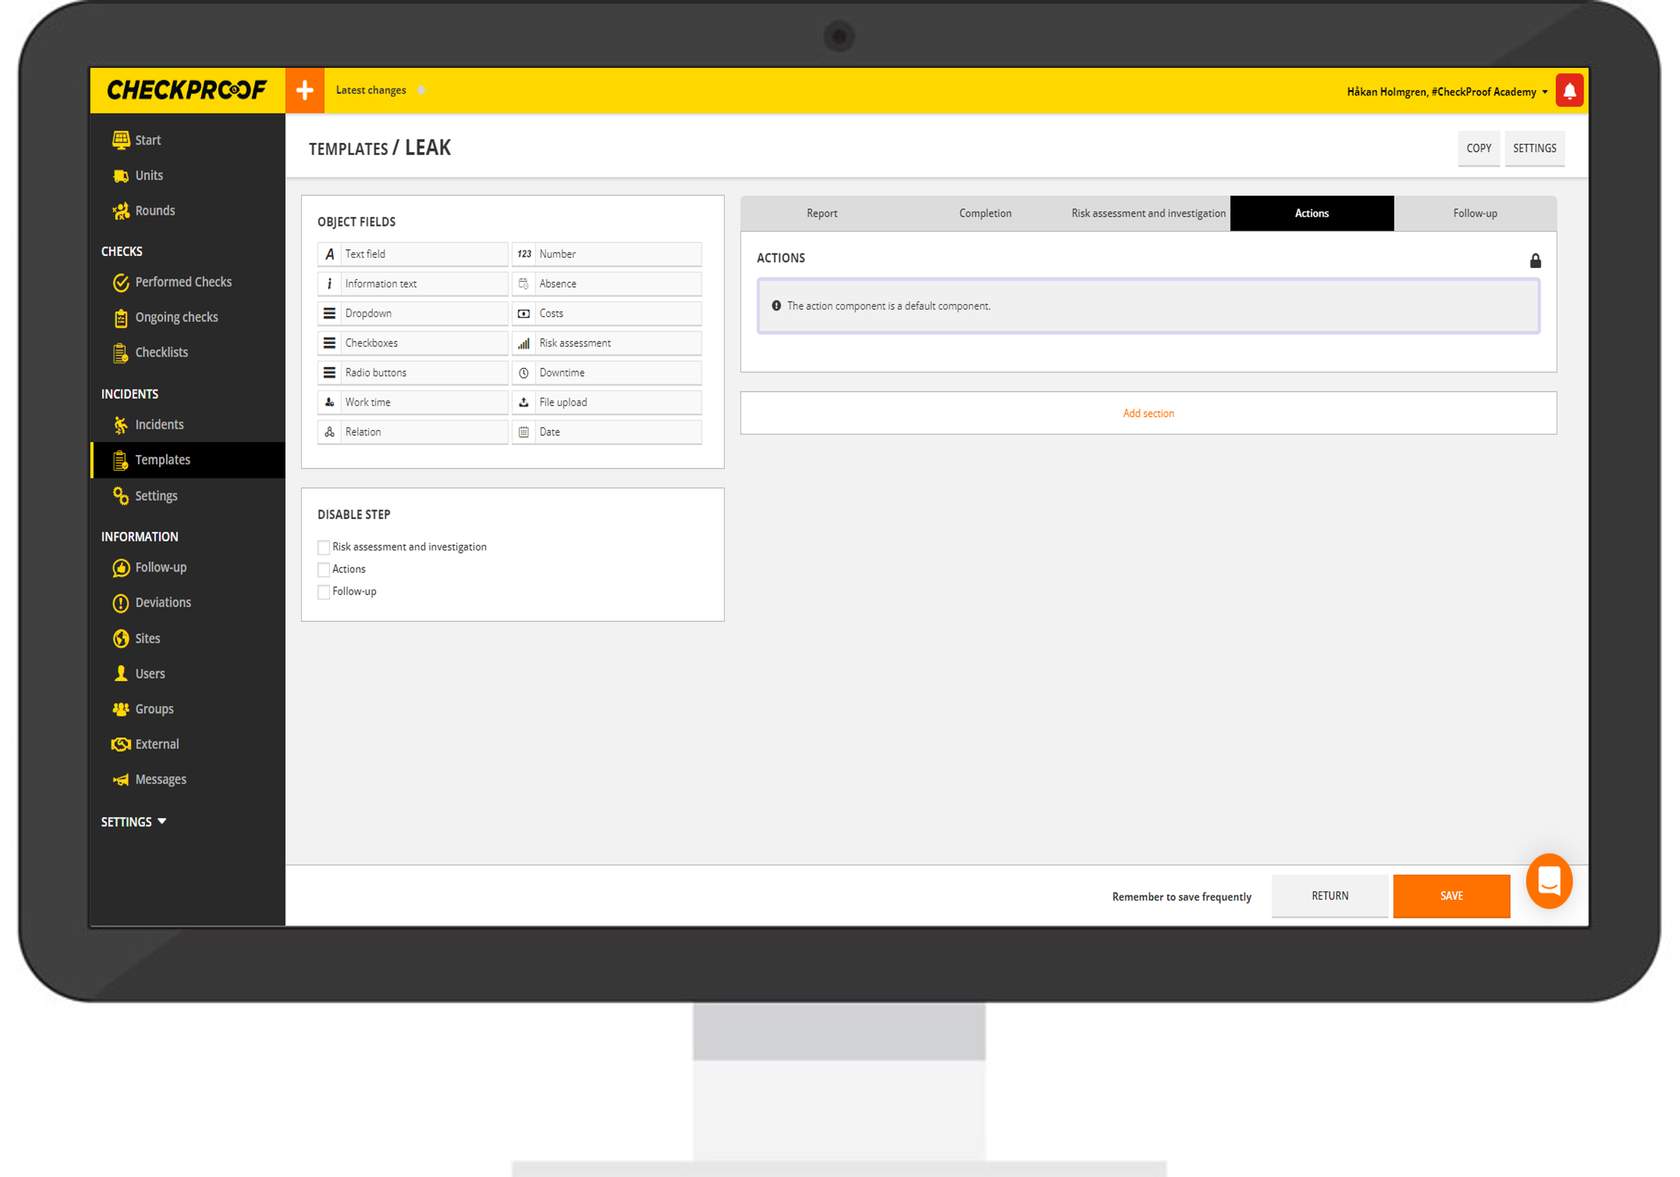
Actions
The “Action” component is a default component in this section. This is where the user will write the actions that have taken place with this incident.
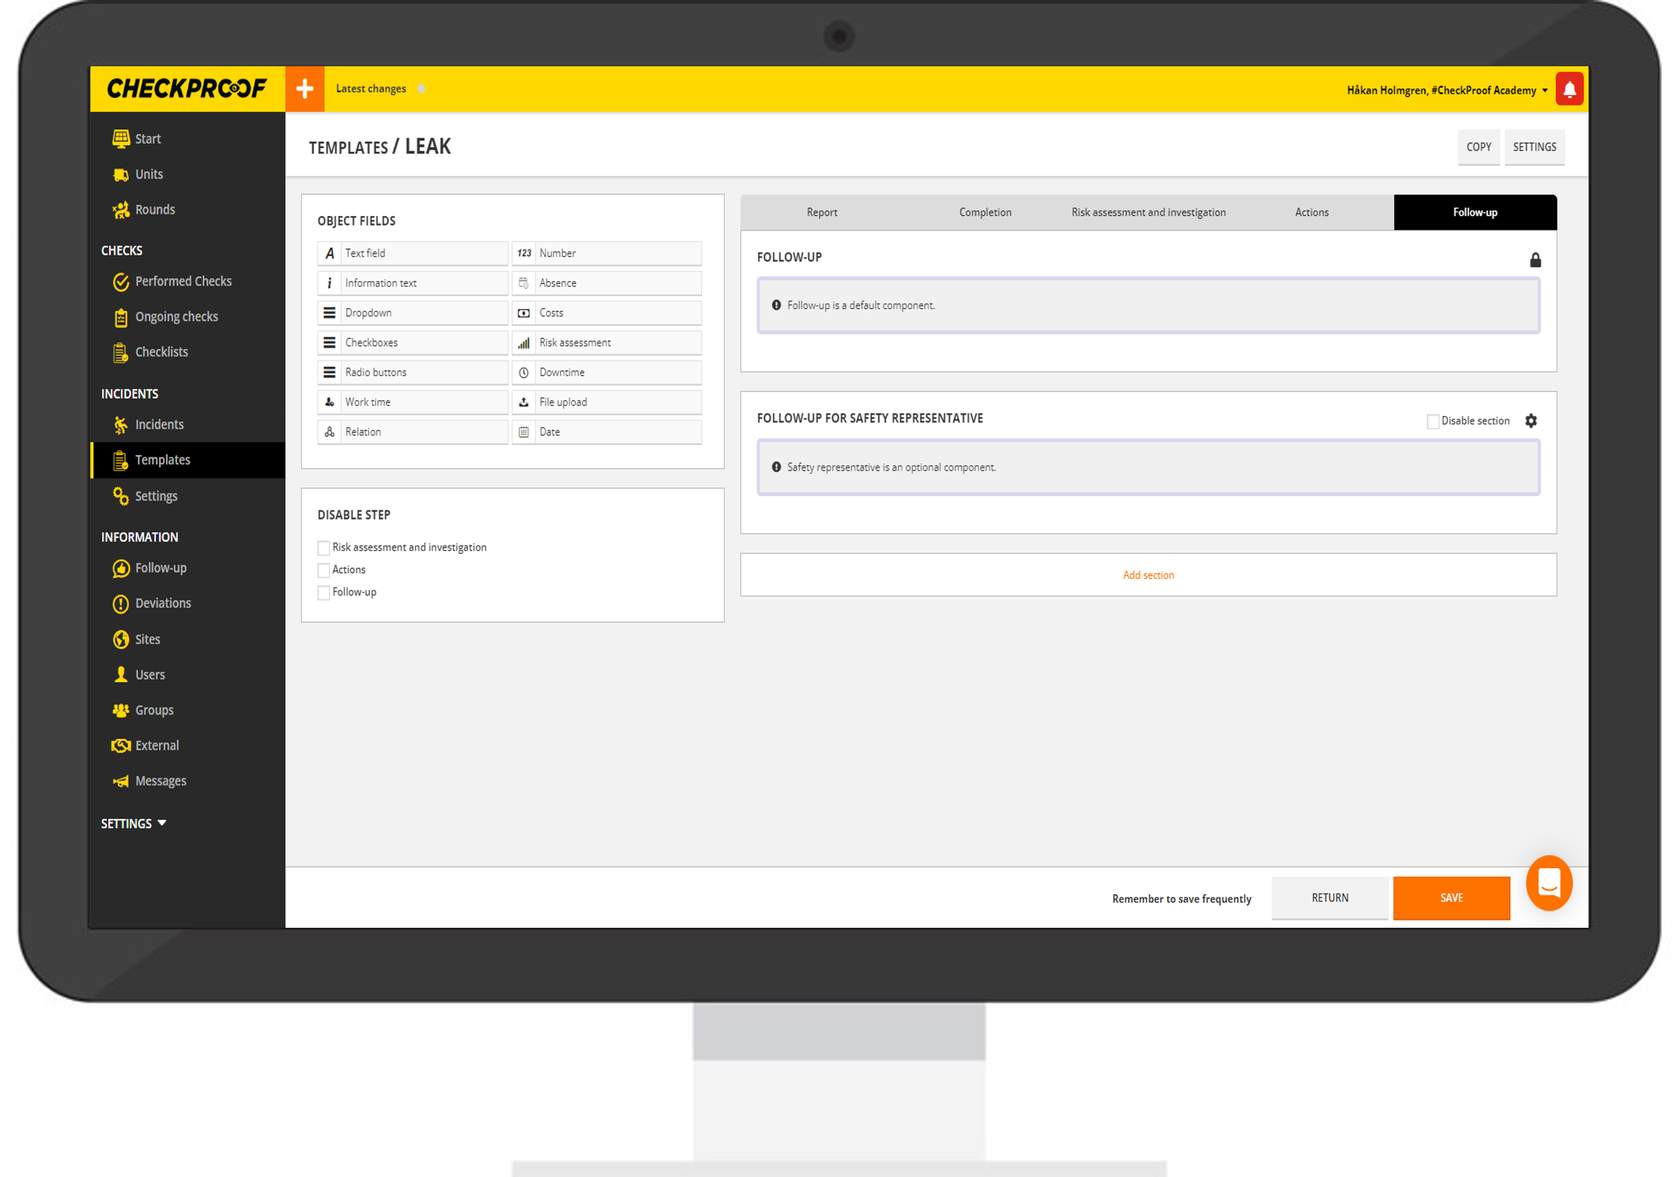
Follow-Up
The “Follow-Up” and “Follow-Up for Safety Representative” components are defaults in this section, although the latter can be disabled by checking the “Disable Section” box.
You can easily edit and manage an existing template by clicking the template name from the “Templates” list.
Great! Now you know how to create and manage templates.

