Creating Sites, Sections, Rounds, and Units in the App
In this lesson you will learn how to create sites, sections, rounds, and units which are essential in getting your CheckProof account ready for success.
Let’s see how to create these elements in the CheckProof app.
Creating Sites

Let’s say that there is a new facility where you will be performing your inspections. The first thing you need to do is to create a site. Sites are where the action happens, and all the checks are linked to a site.
Let’s take a look at how to create a site!
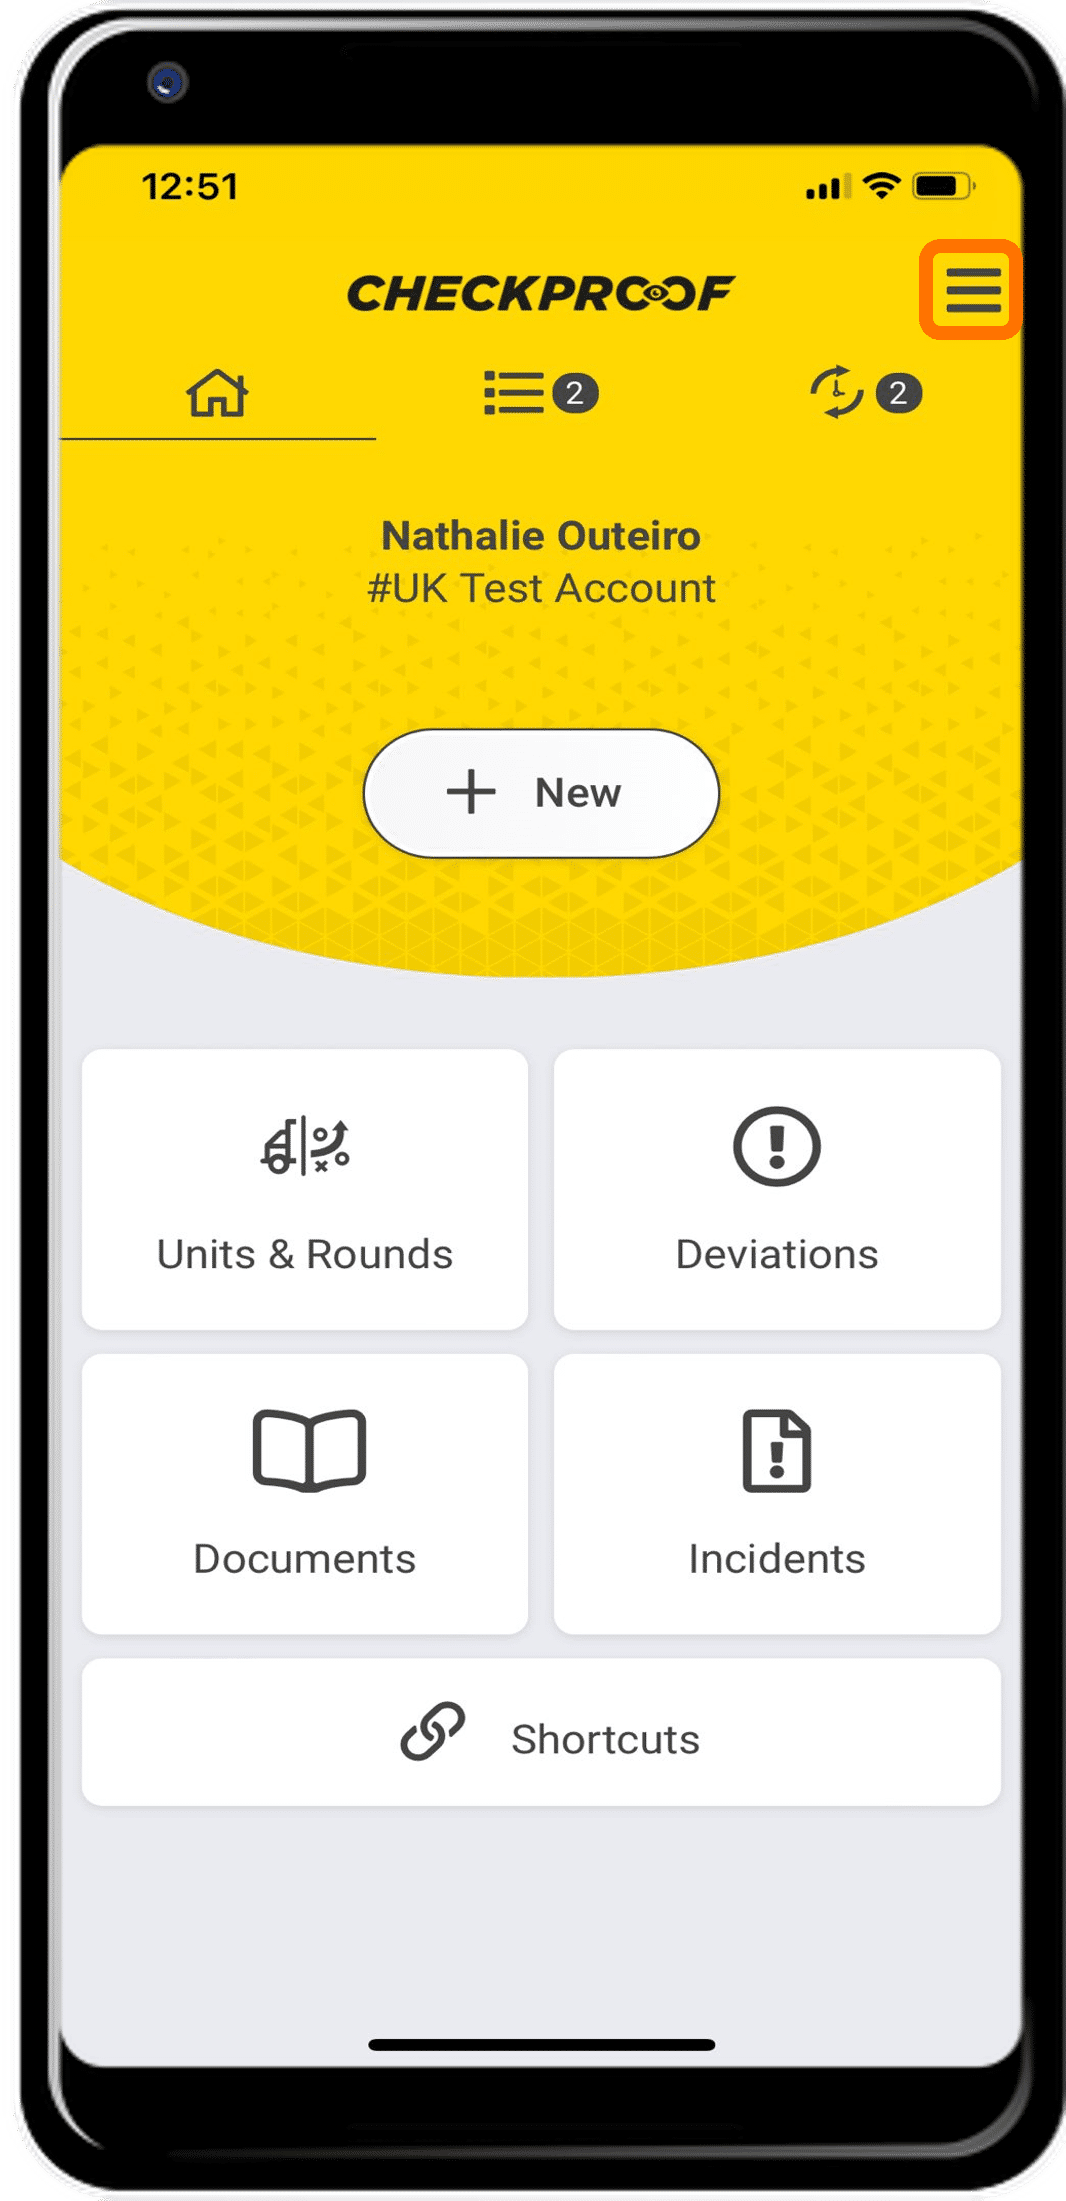
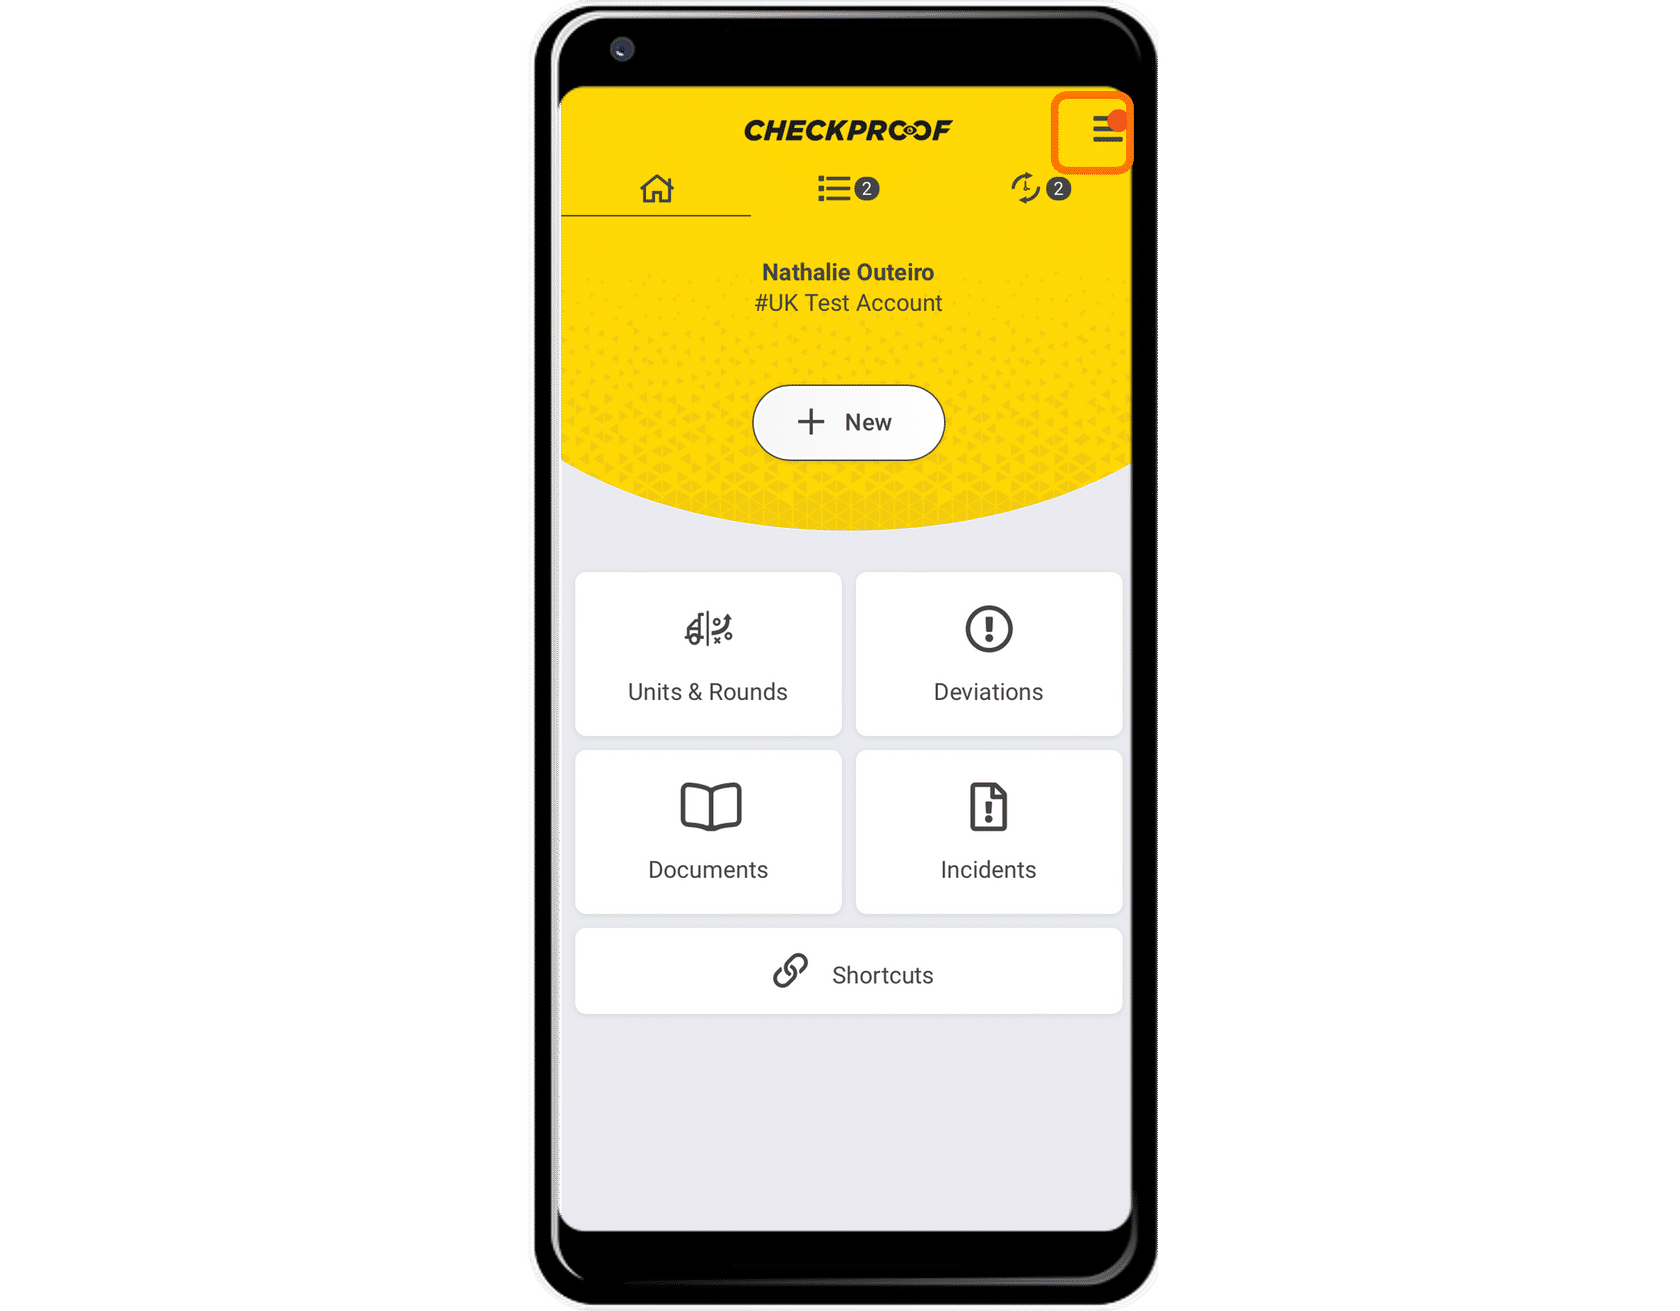
Open the side menu.
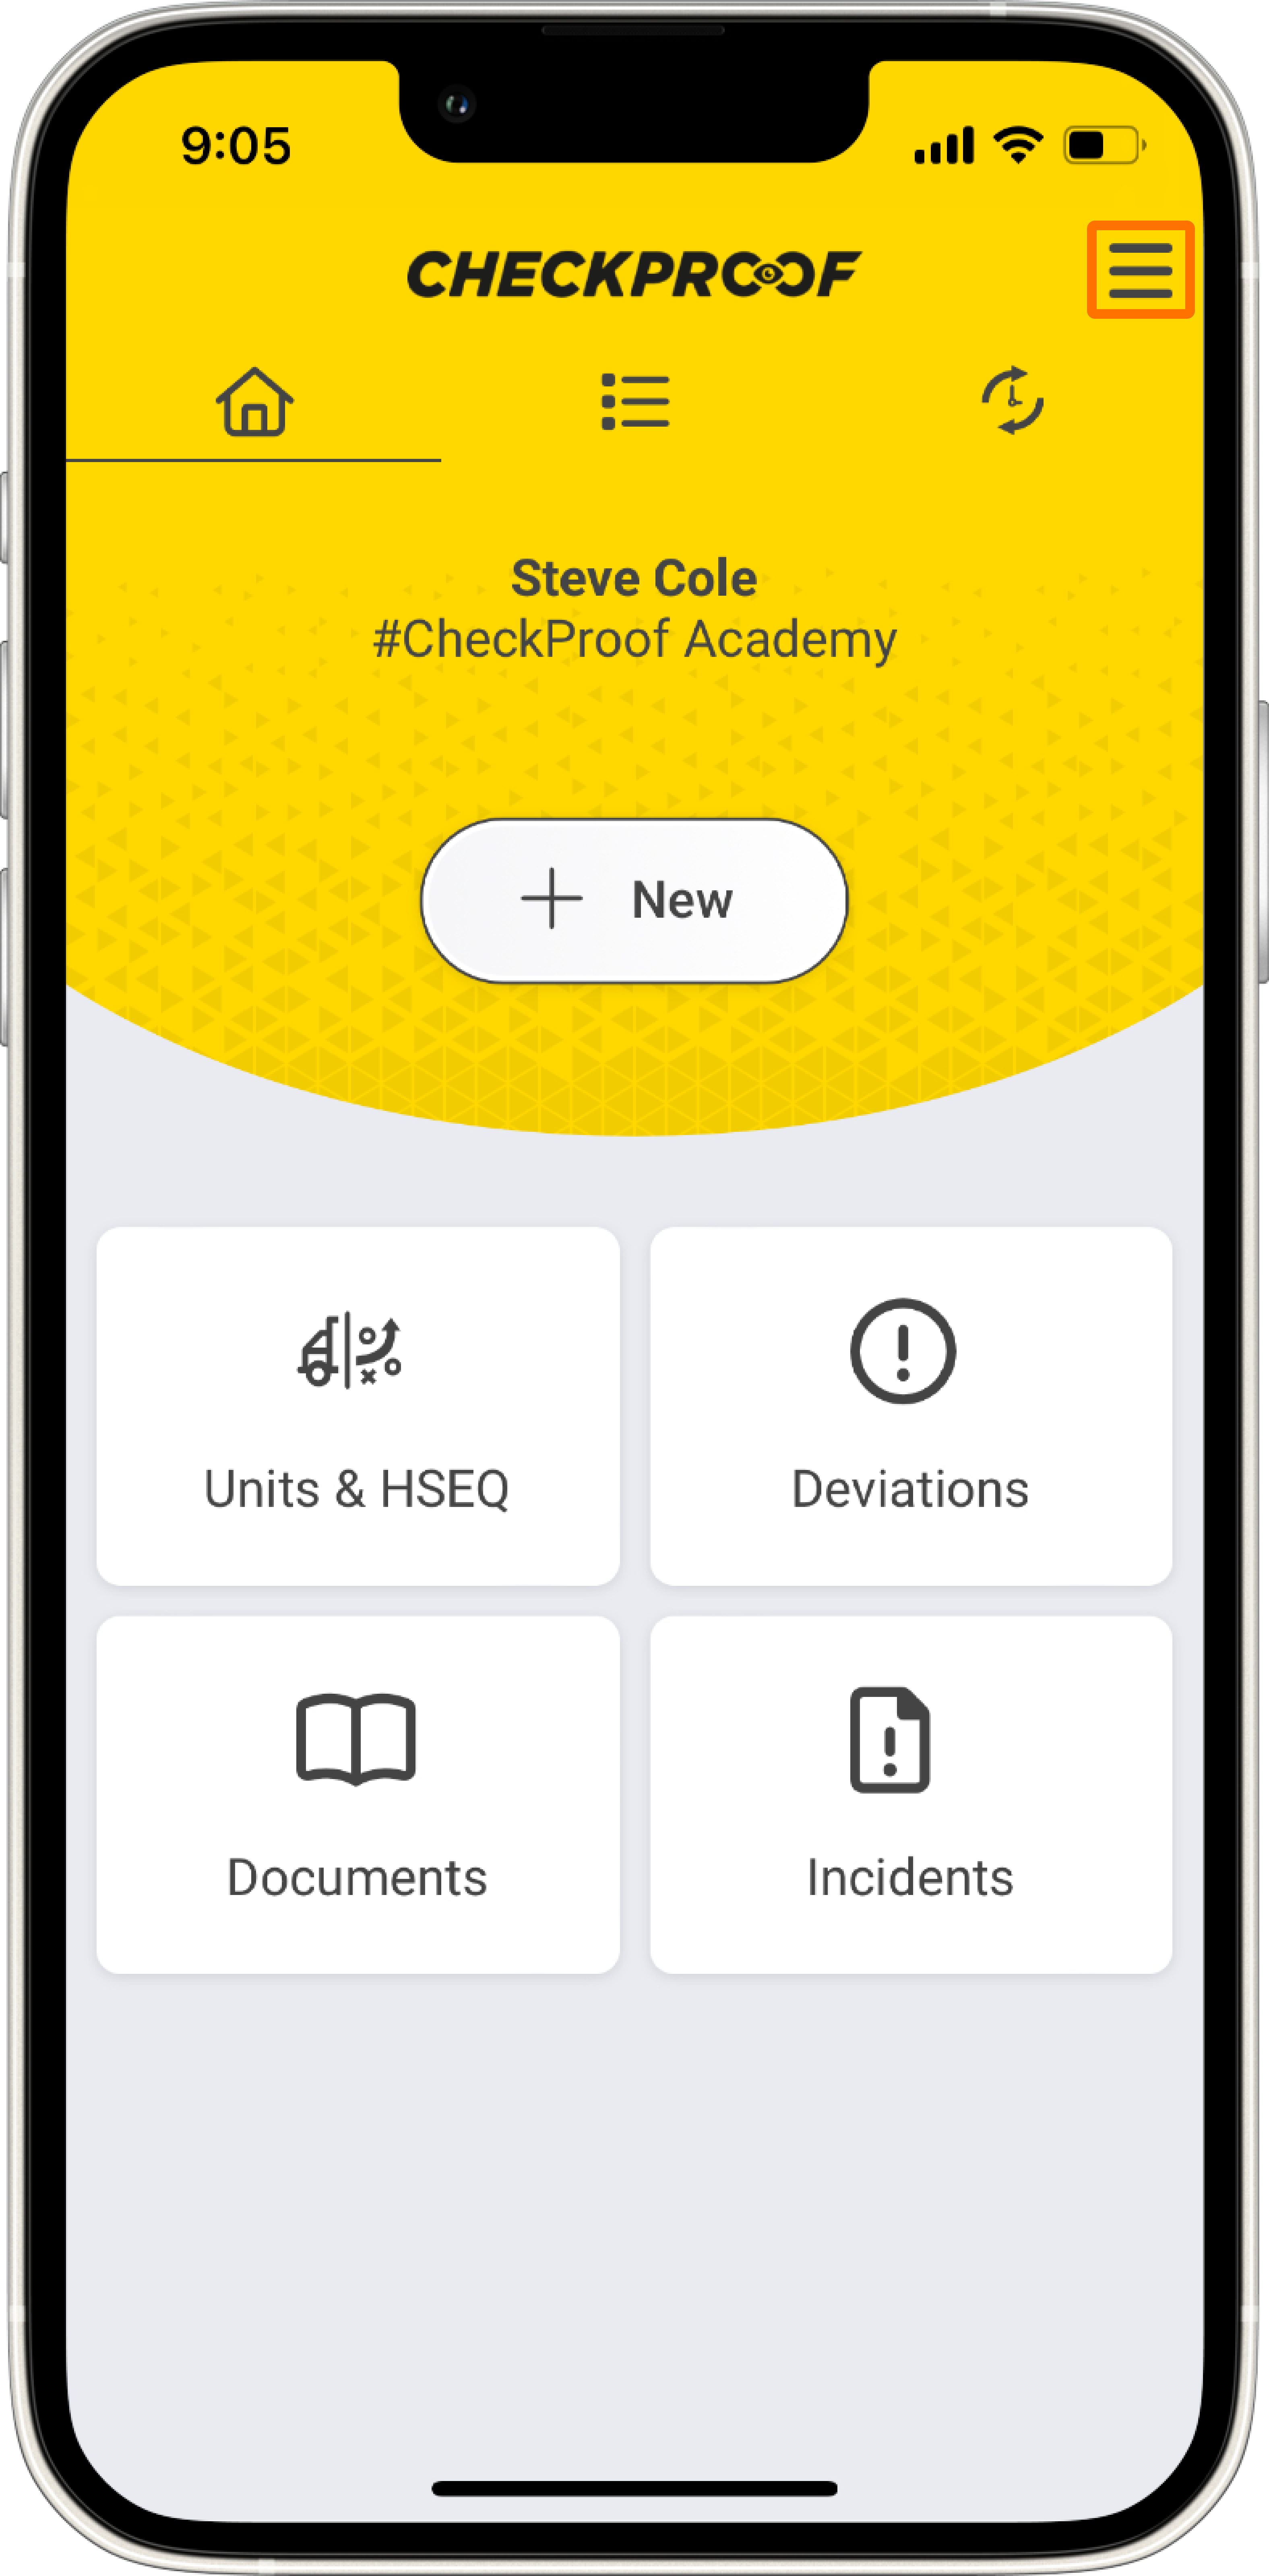
The first step is to access the side menu by clicking the menu icon.
Create a new site.
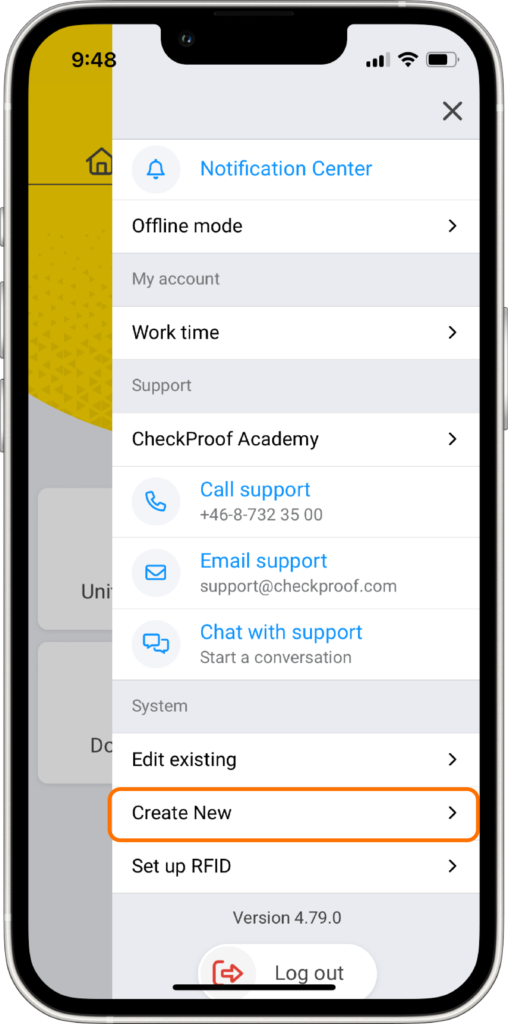
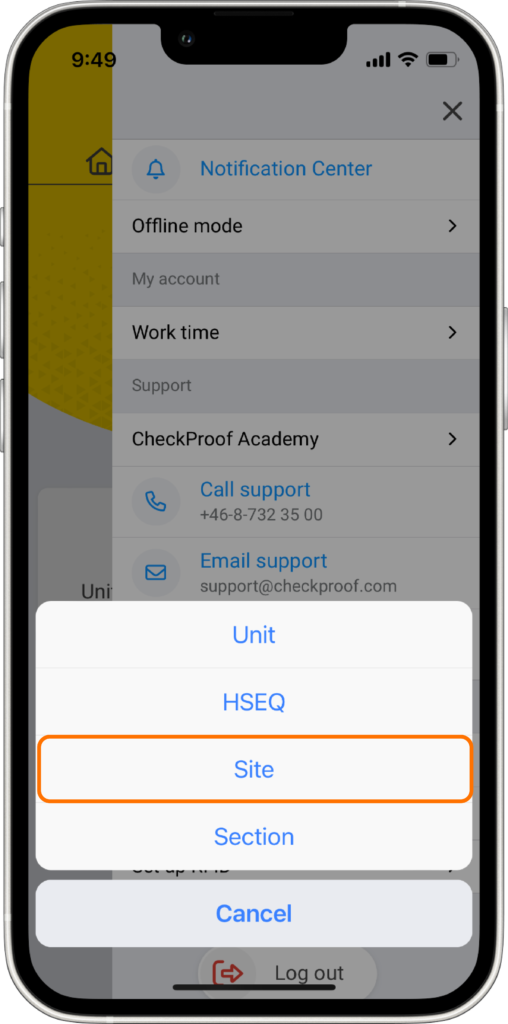
Now click on “Create New” and then click on “Site”.
Complete the form.
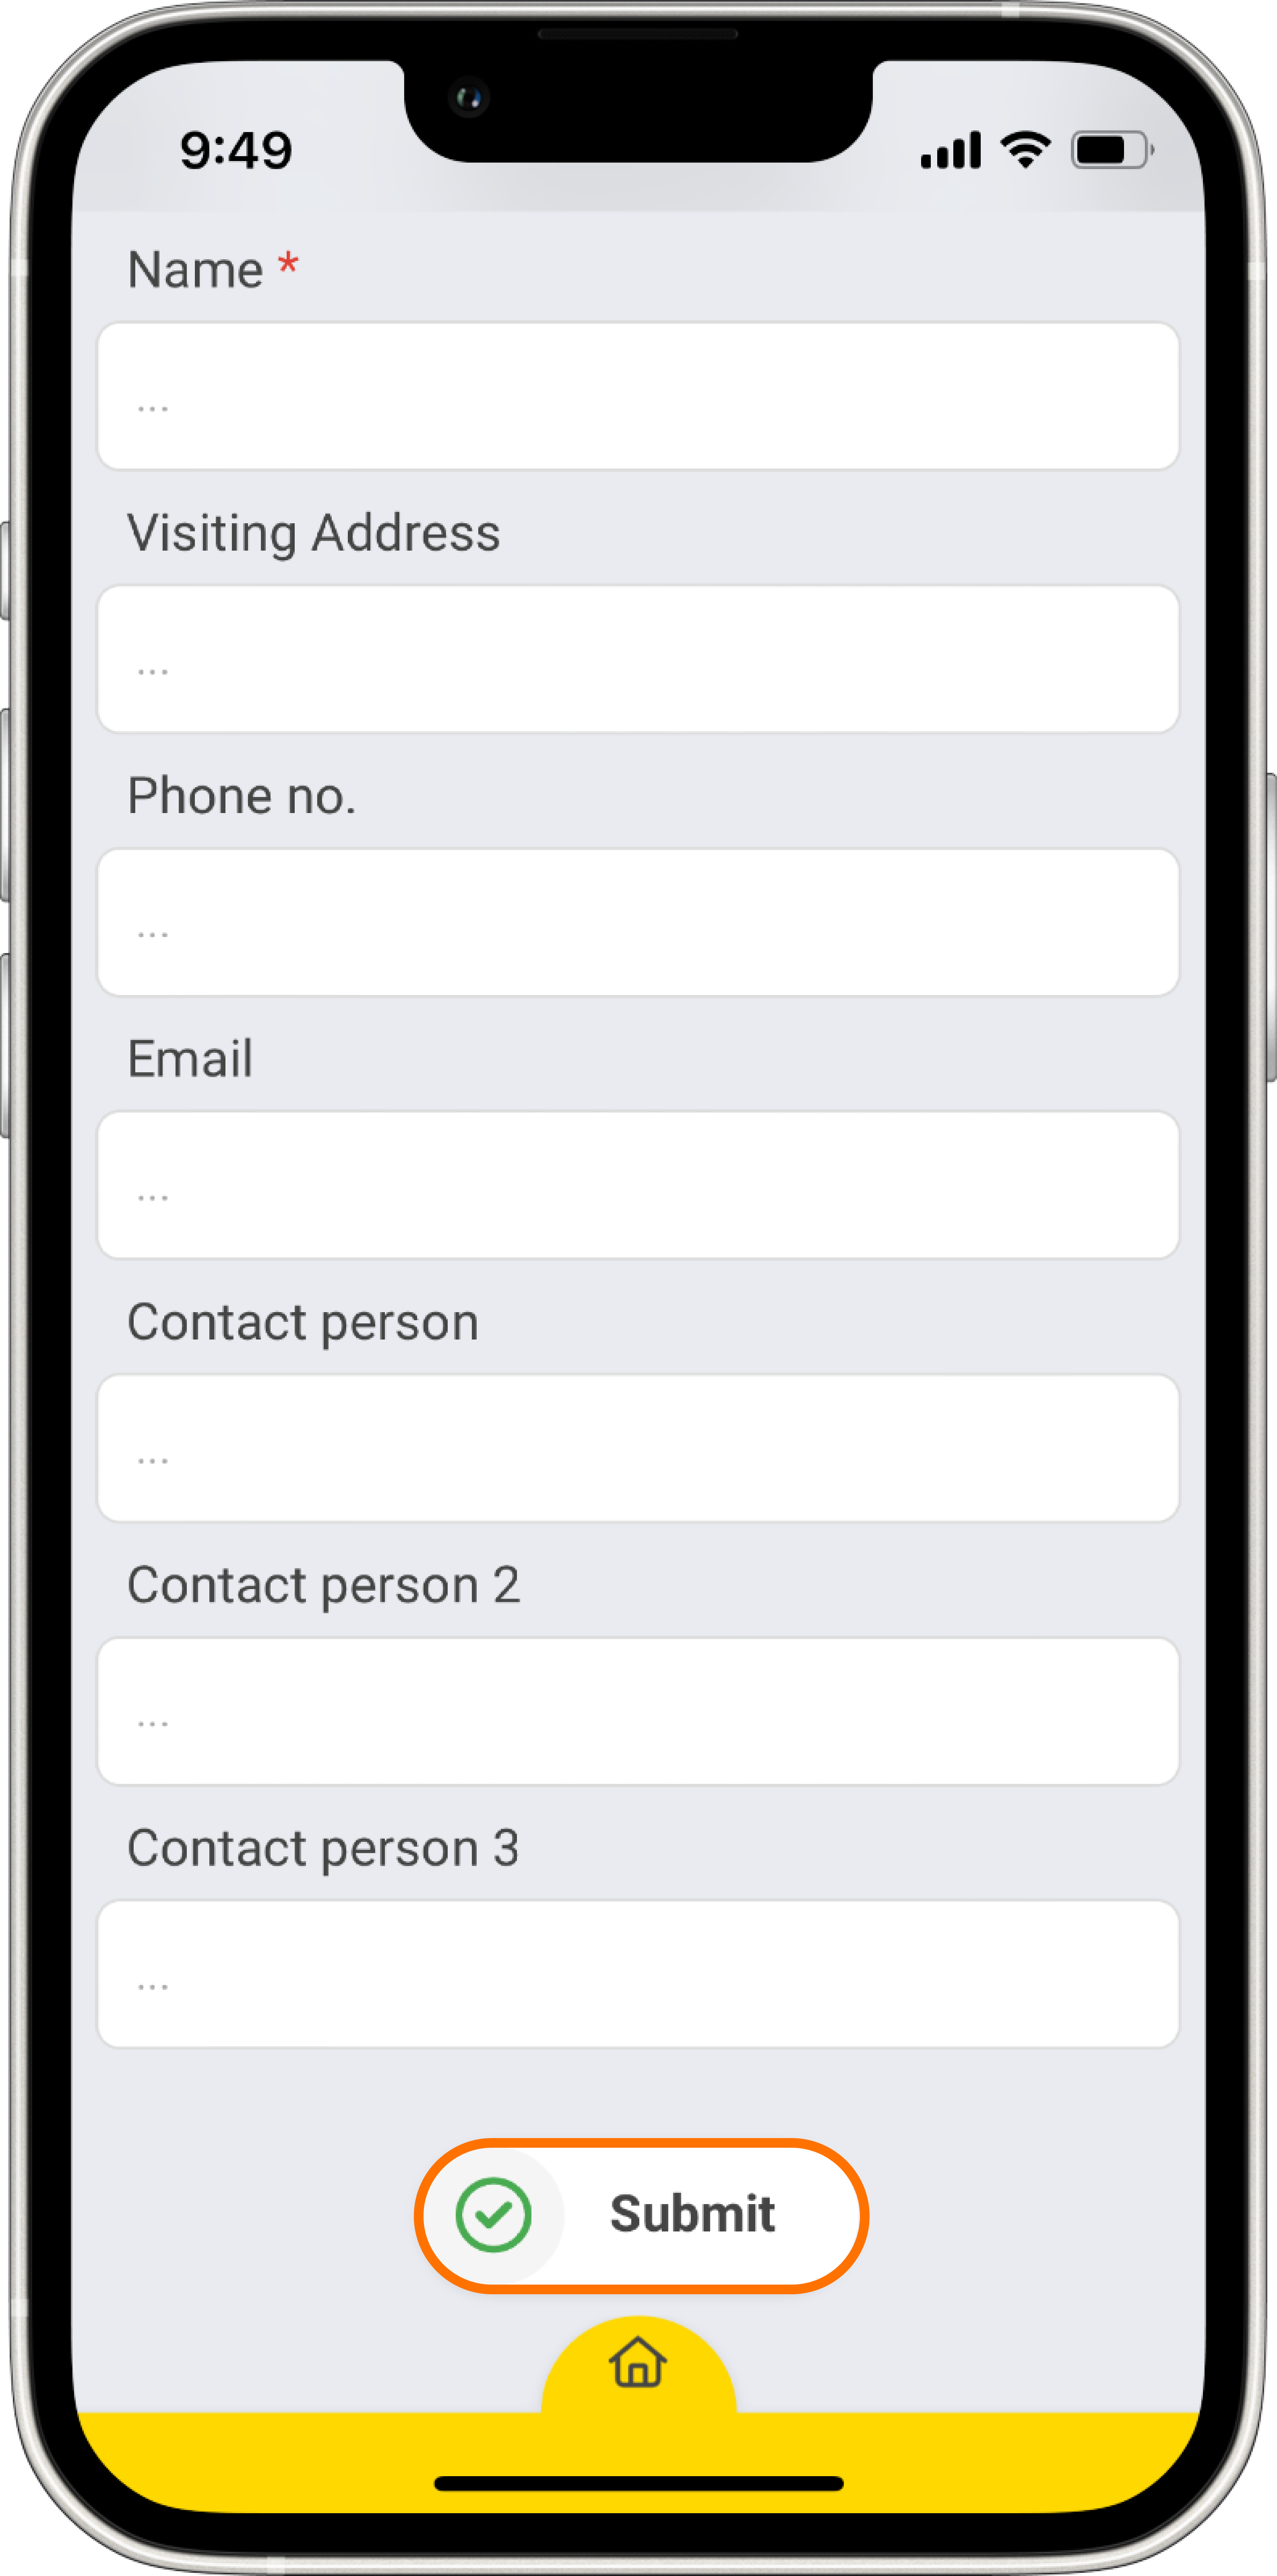
You will see a form that needs to be completed. The fields marked with an asterisk are mandatory.
You must enter a “Name” for the site. The rest of the information is optional, but it’s better if you complete it as thoroughly as you can.
Note: There may be some other fields you can complete depending on the preset site form created by the admin in the control panel (e.g. an address, contact person, phone number, emails, etc.).
2
Creating Sections

Sections are more specific than sites as they pinpoint a specific area on a site which makes it easier to manage units and rounds.
Let’s take a look at how to create a section!
Open the side menu.
The first step is to access the side menu by clicking the menu icon.
Create a new section.
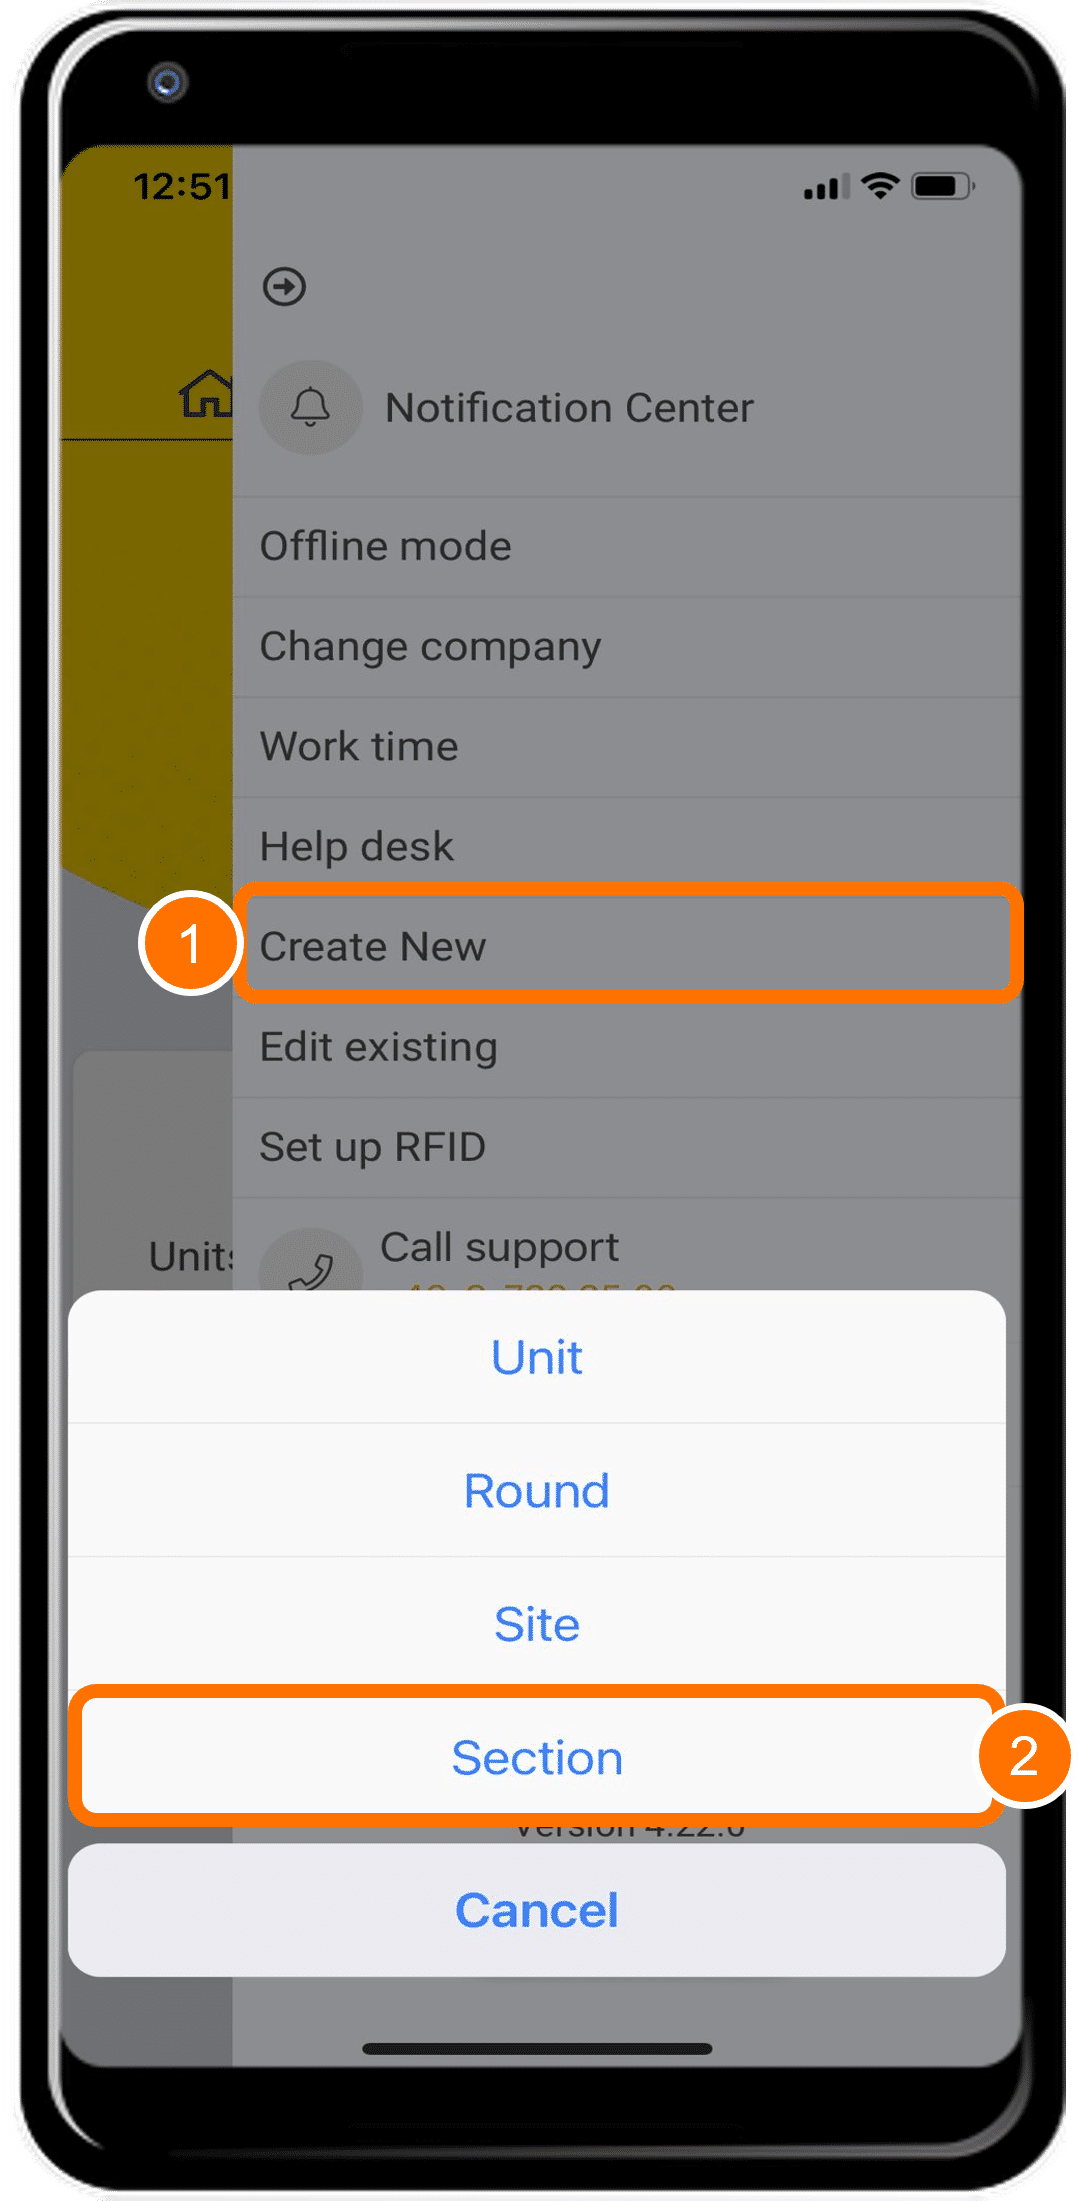
Now click on “Create New” and then click on “Section”.
Select the site from the list.
You will now be prompted to select a site from the drop-down list.
Choose a site and then click “Next”.
Complete the form.
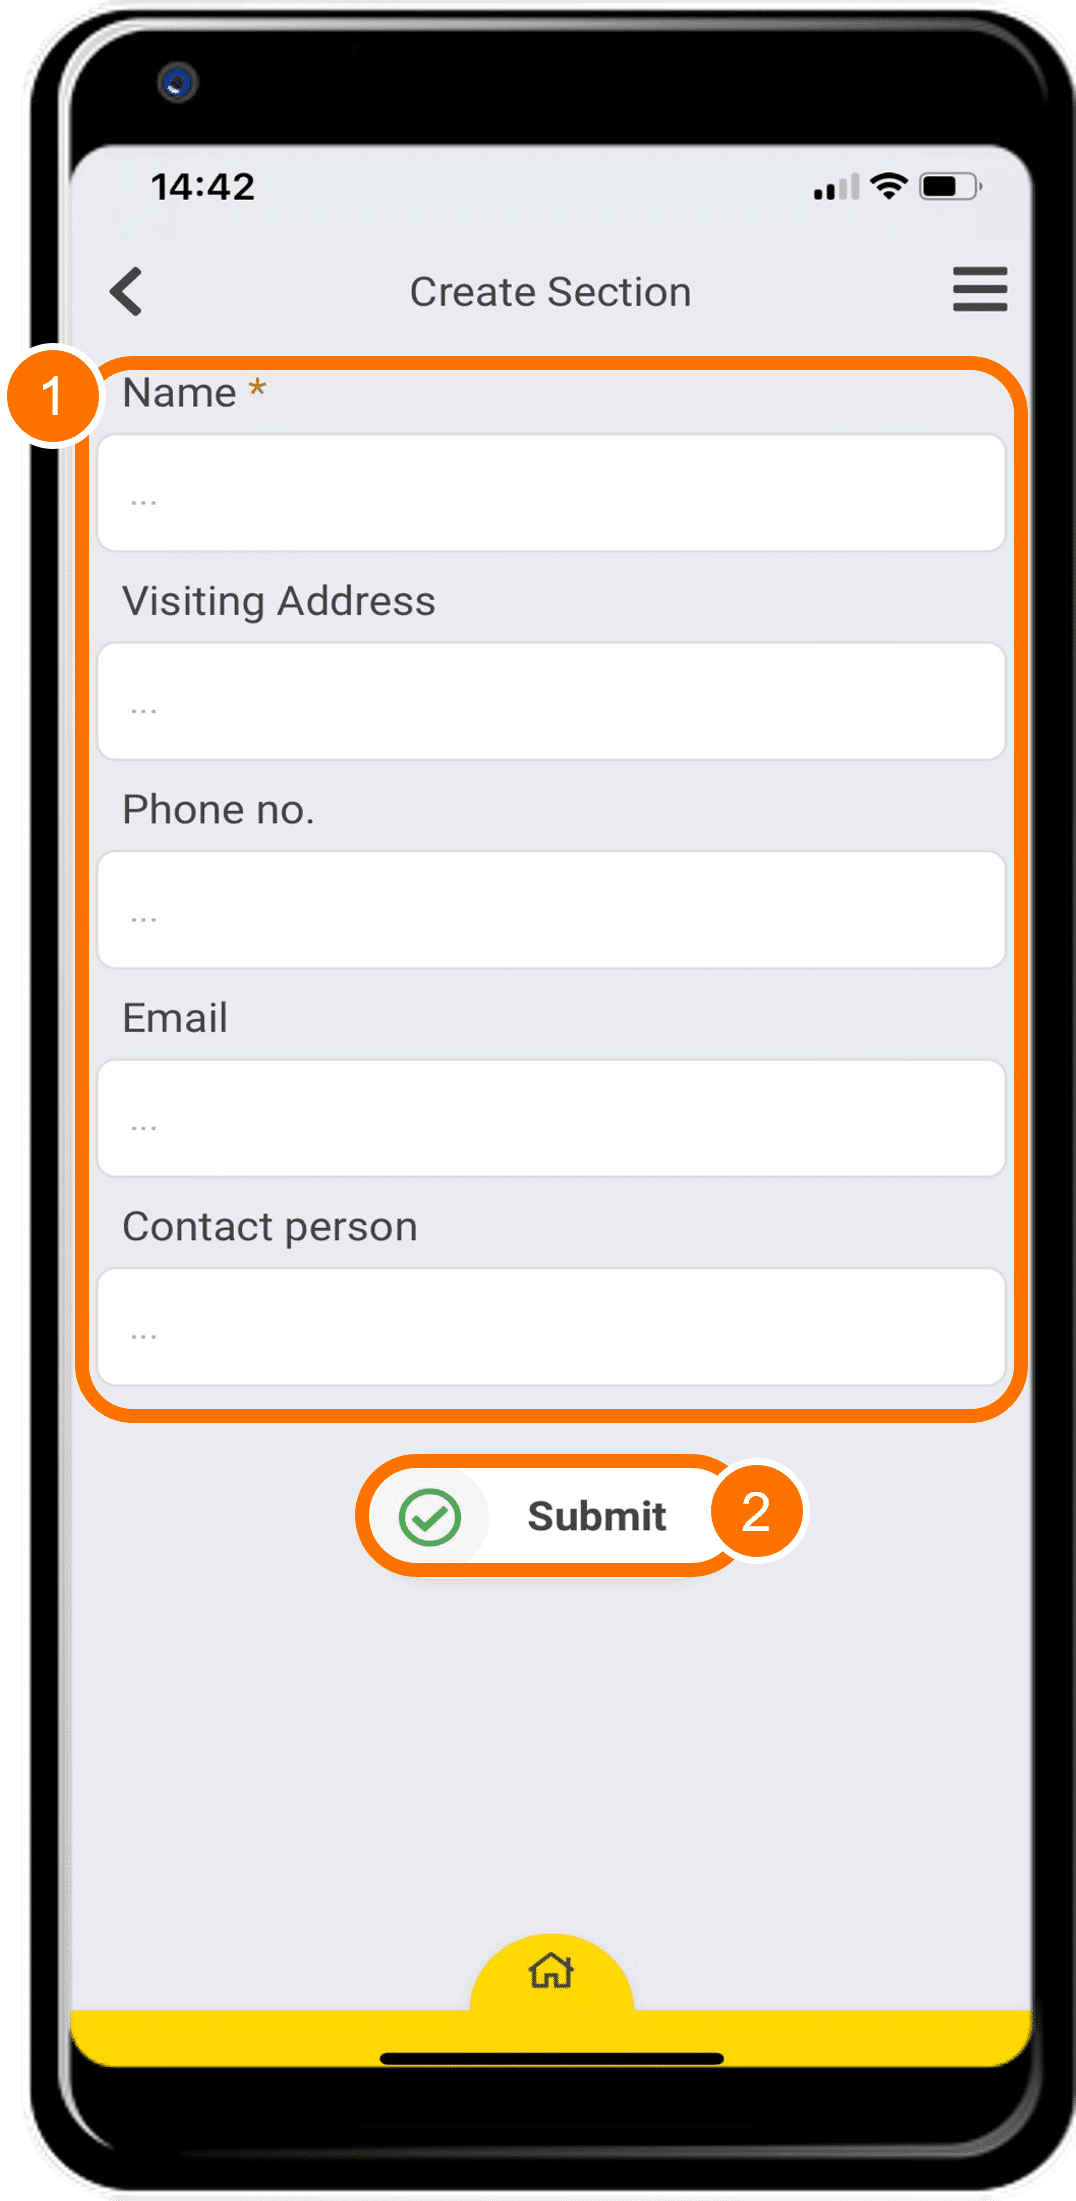
You will now see a form that needs to be completed.
Only the “Name” field marked with an asterisk is mandatory.
When you are done, click “Submit”.
3
Creating Rounds
Rounds are used to perform checks on a wider scope than a unit. Let’s say that you want to do a general risk assessment of a site. You can create rounds to perform checks on later.
Let’s take a look at how to create a round!
Open the side menu.
The first step is to access the side menu by clicking the menu icon.
Create a new round.
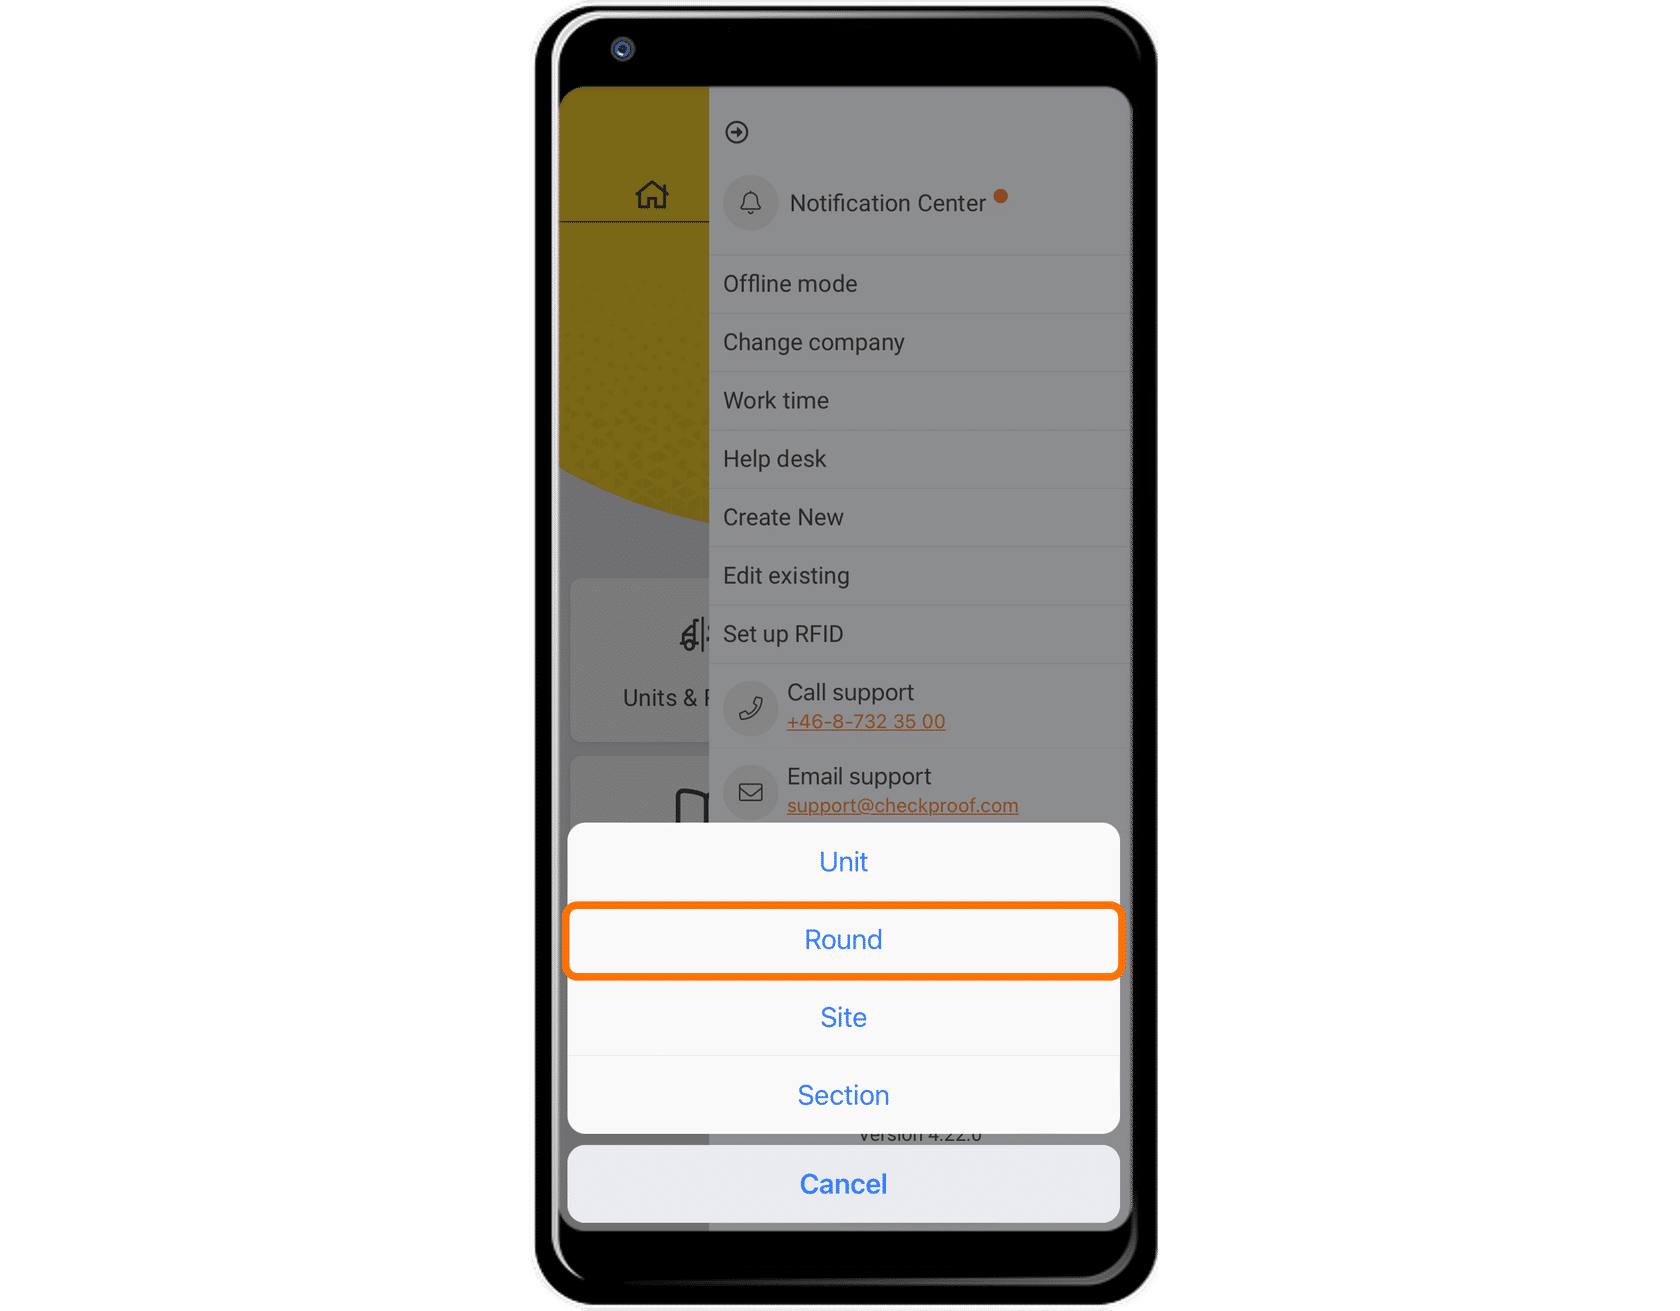
Now click on “Create New” and then click on “Rounds”.
Complete the form.
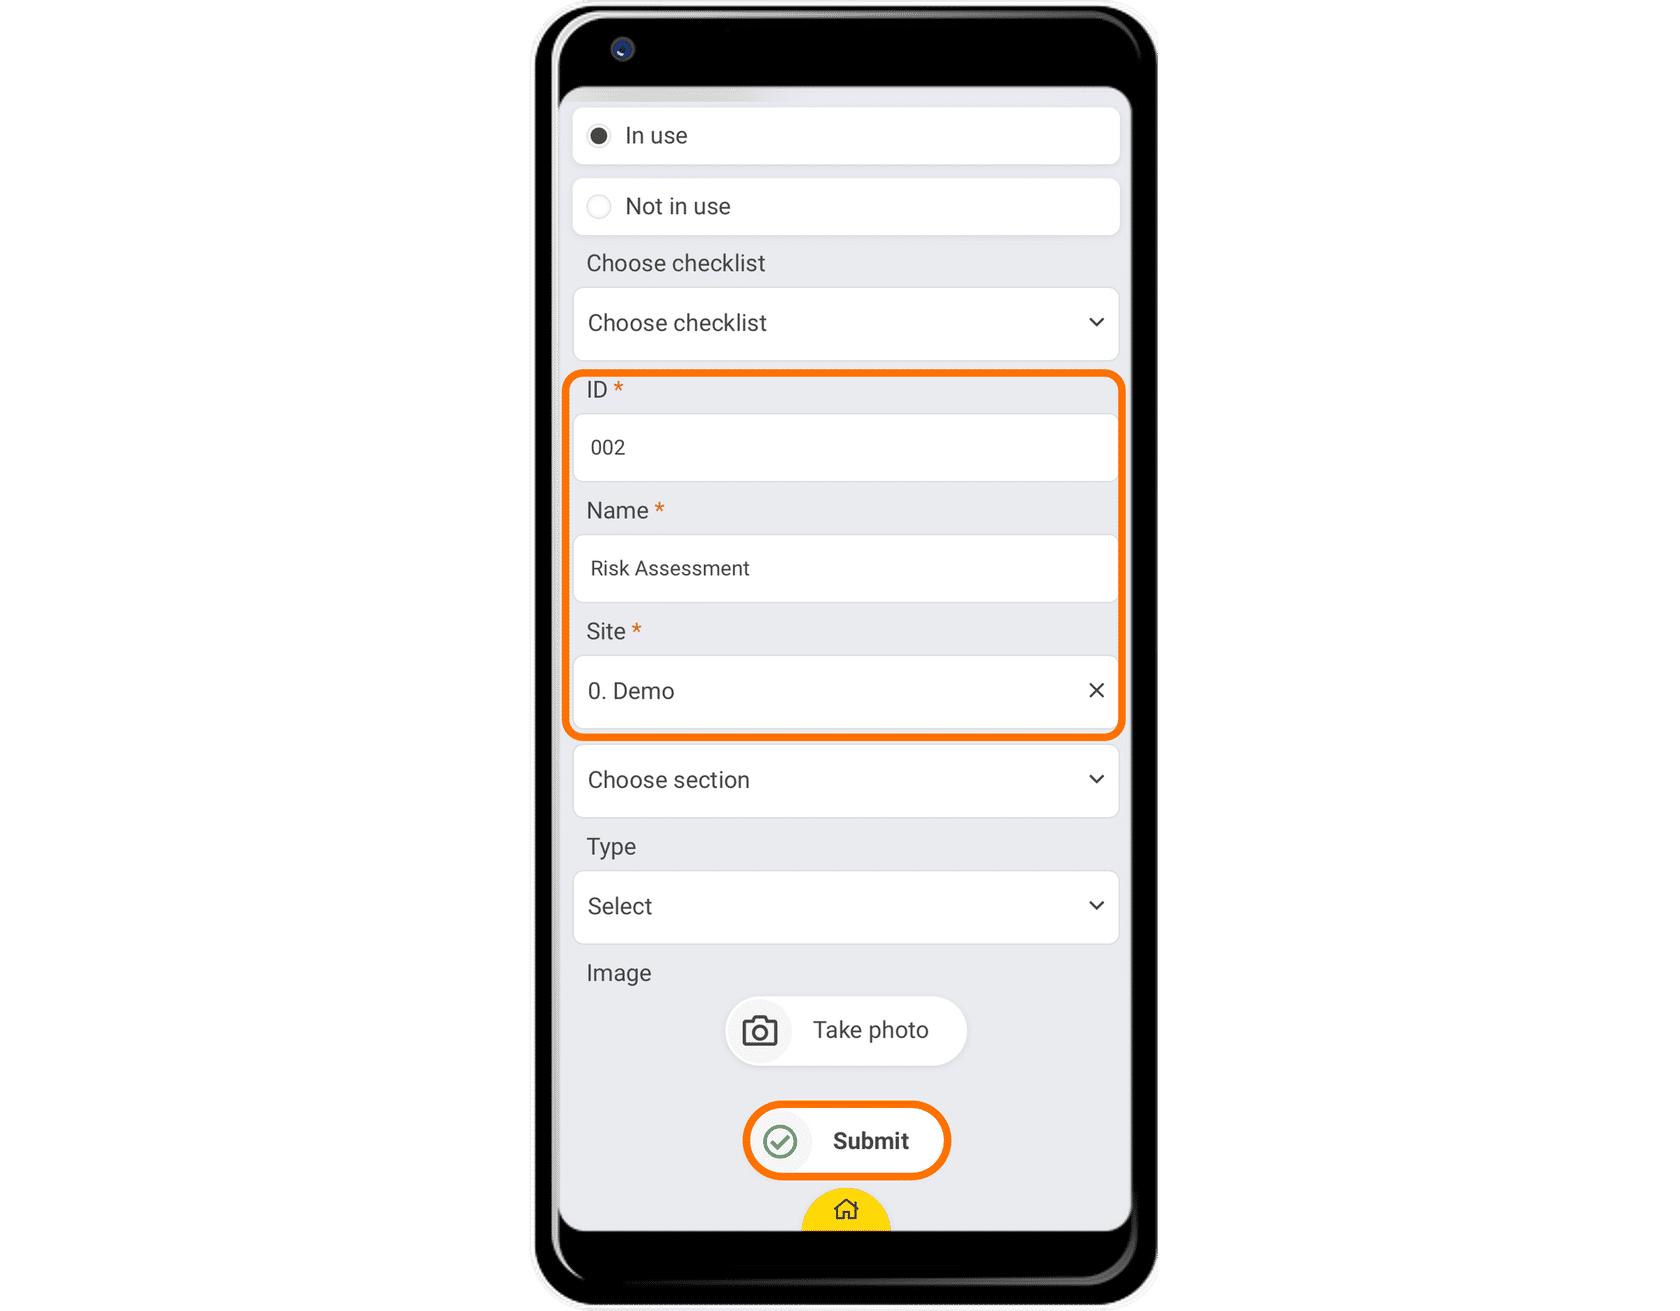
You will see a form that needs to be completed. The fields marked with an asterisk are mandatory.
You must enter the following information:
- ID: This identifies the specific round.
- Name: This is the name of the round.
- Site: This is the previously created site that this round belongs to.
Once you’ve finished completing the information, click on “Submit”.
Note: There may be some other fields you can complete depending on the preset unit form created by the admin in the control panel.
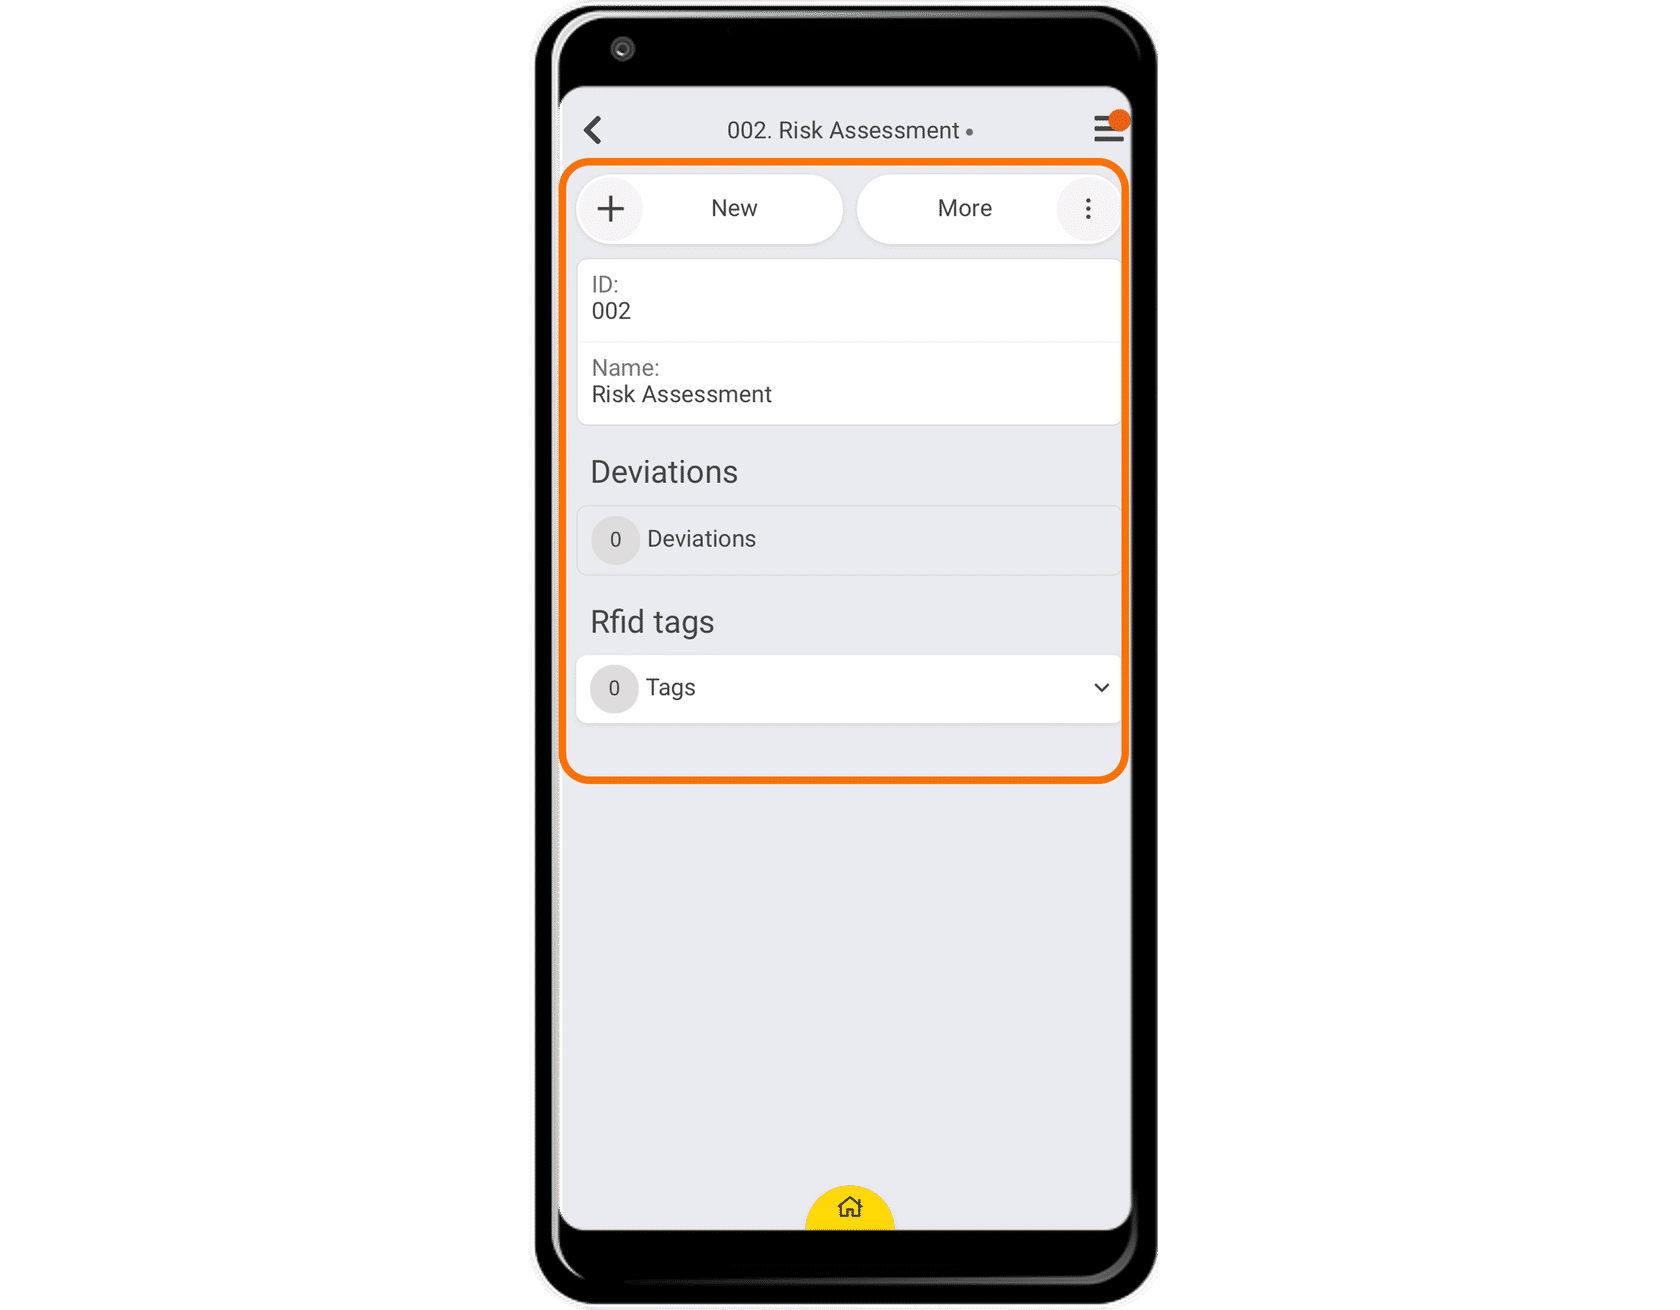
Great! Now you know how to create a round.
4
Creating Units

Let’s say that you have acquired new equipment for your factory. You will need to create each unit in the system so you can perform the regular checks in CheckProof.
Let’s take a look at how to create a unit!
Open the side menu.

The first step is to access the side menu by clicking the menu icon.
Create a new unit.
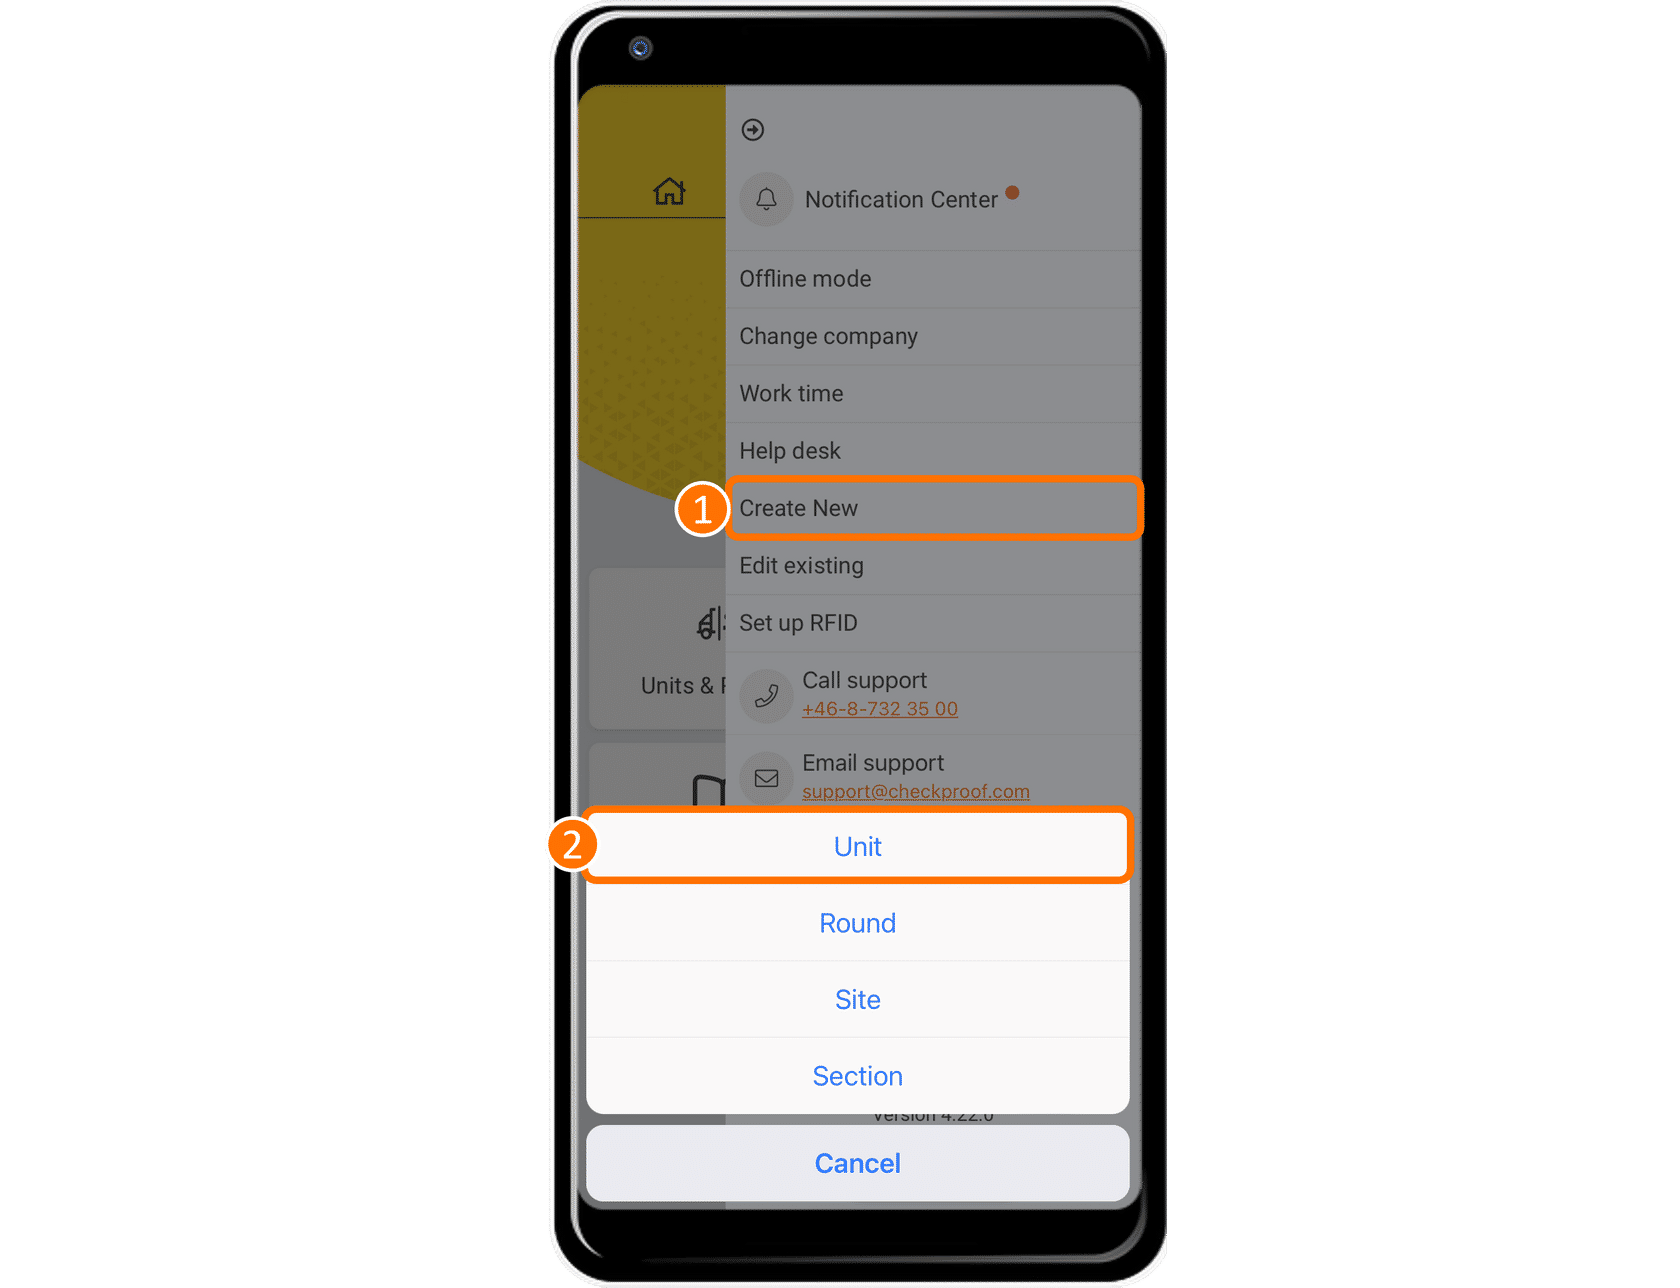
Now click on “Create New” and then click on “Unit”.
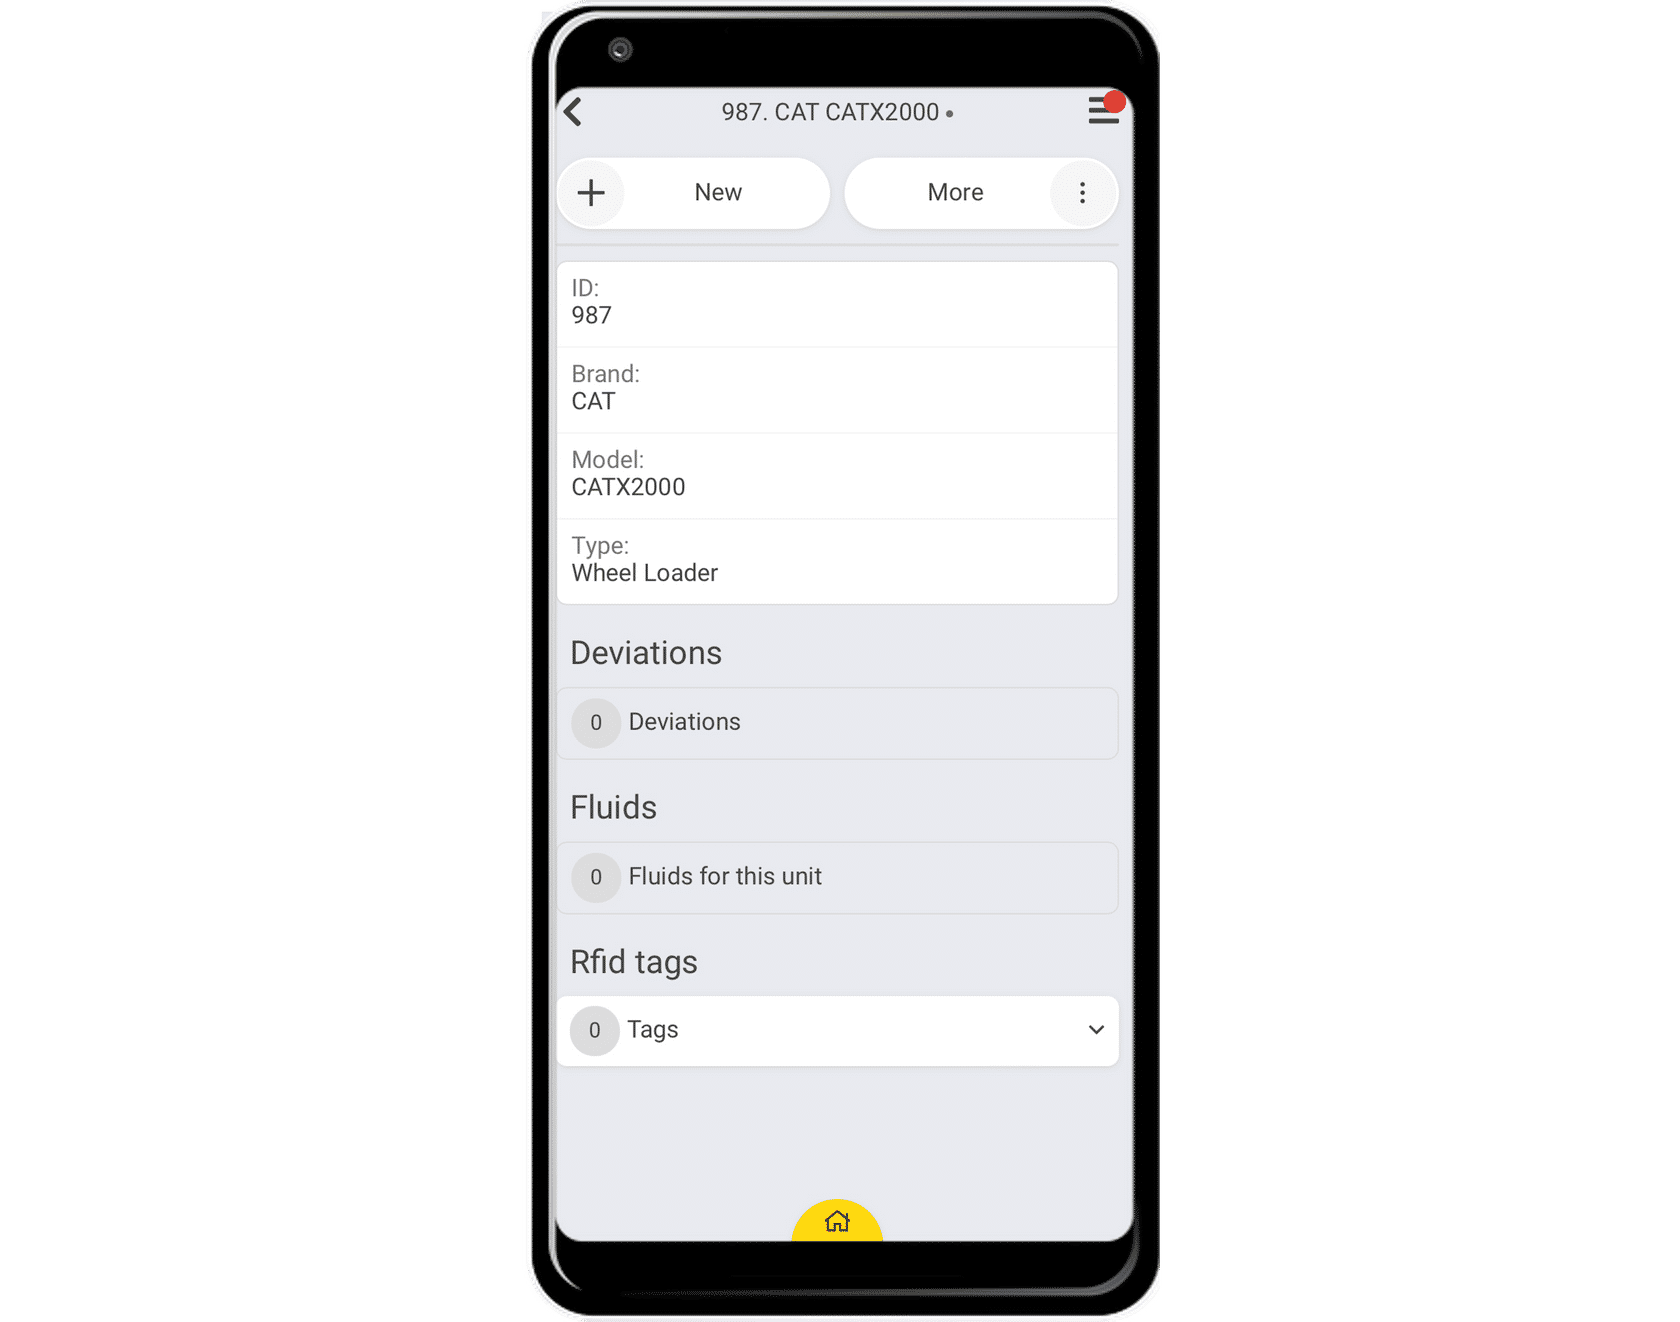
Complete the form.
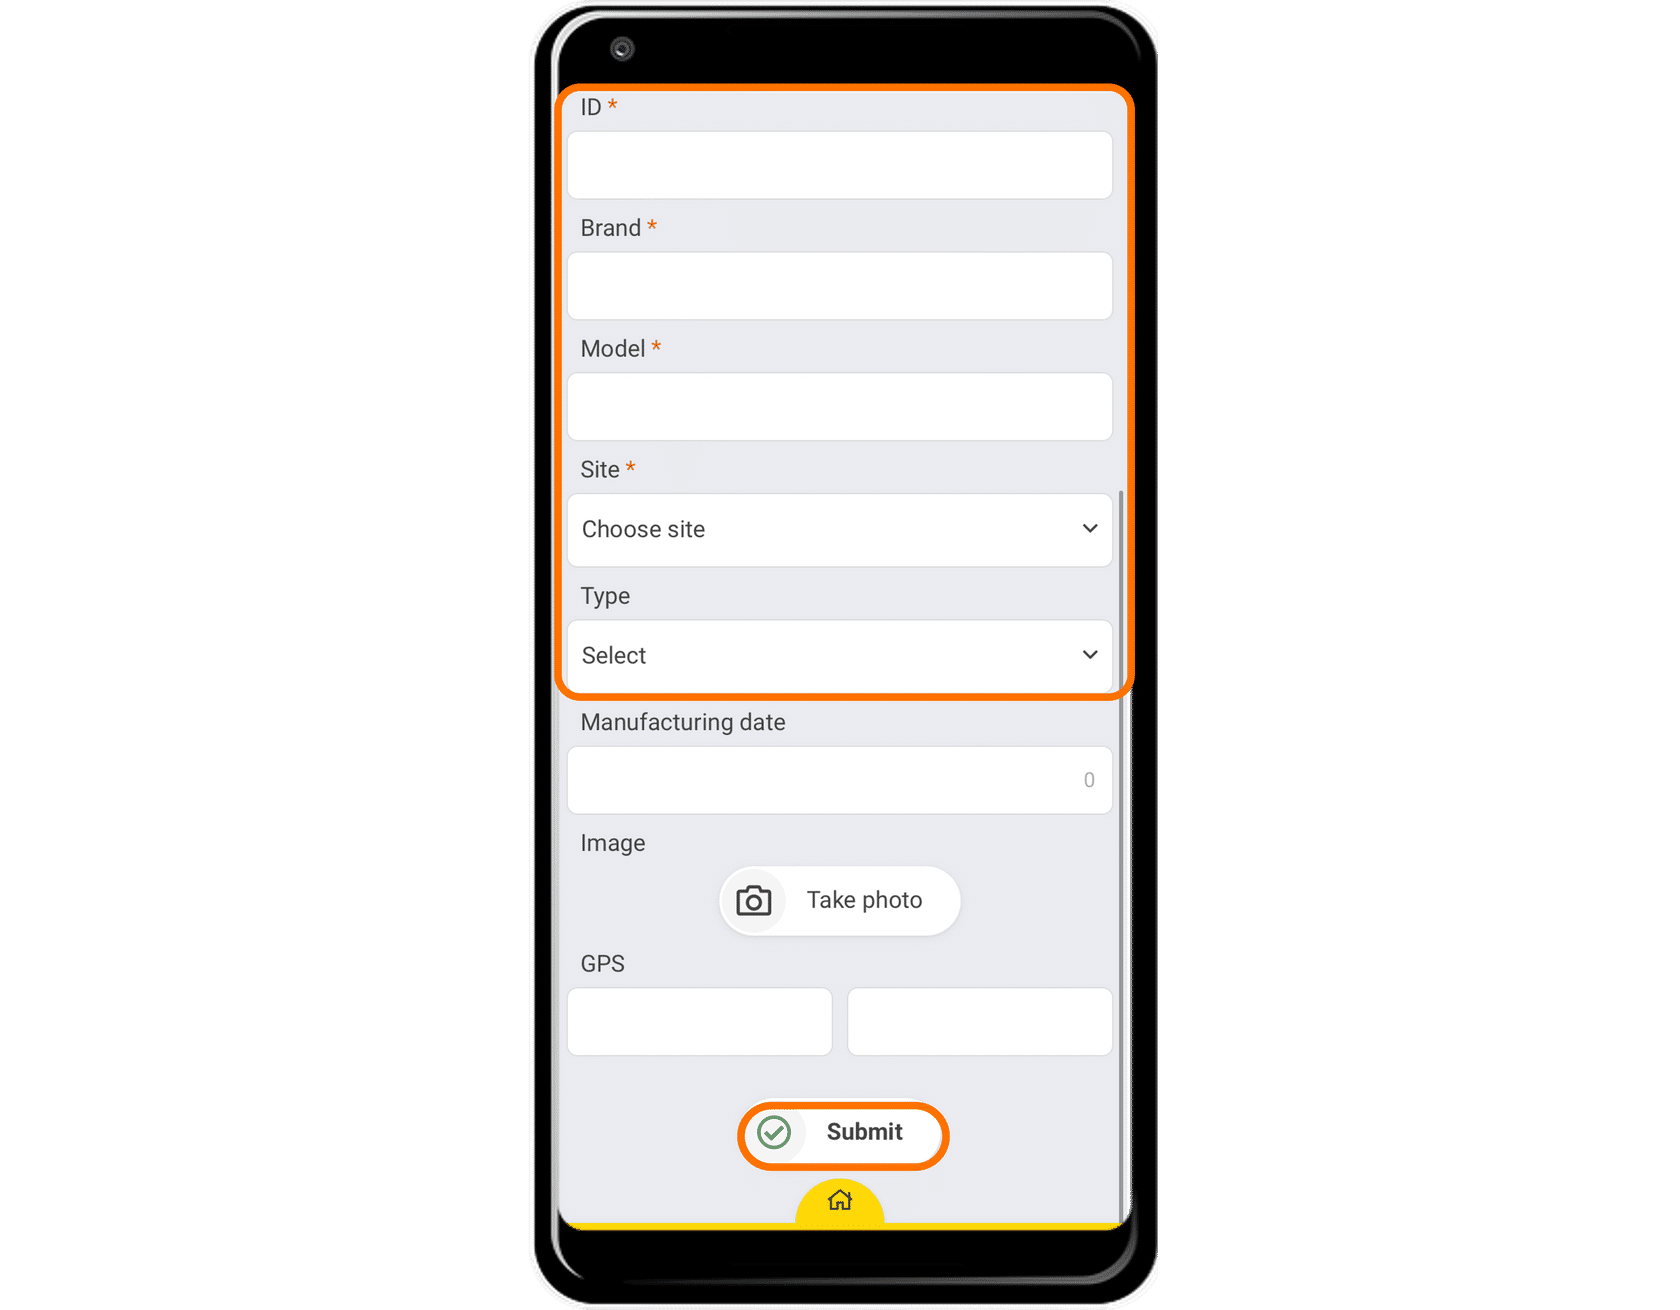
You will see a form that needs to be completed. The fields marked with asterisks are mandatory.
You must enter the following information.
- ID: This identifies the specific unit.
- Brand: This is the brand of the unit.
- Model: This is the model of the unit.
- Site: This is the previously created site that this unit belongs to.
Once you’ve finished completing the information, click on “Submit”.
Note: There may be some other fields you can complete depending on the preset unit form created by the admin in the control panel (e.g. pictures, locations, fueling, etc.).
Great! Now you know how to create a unit.