
Removing a Tag
Now that you know how to connect and perform a check with a tag, let’s learn how to remove a tag.
1
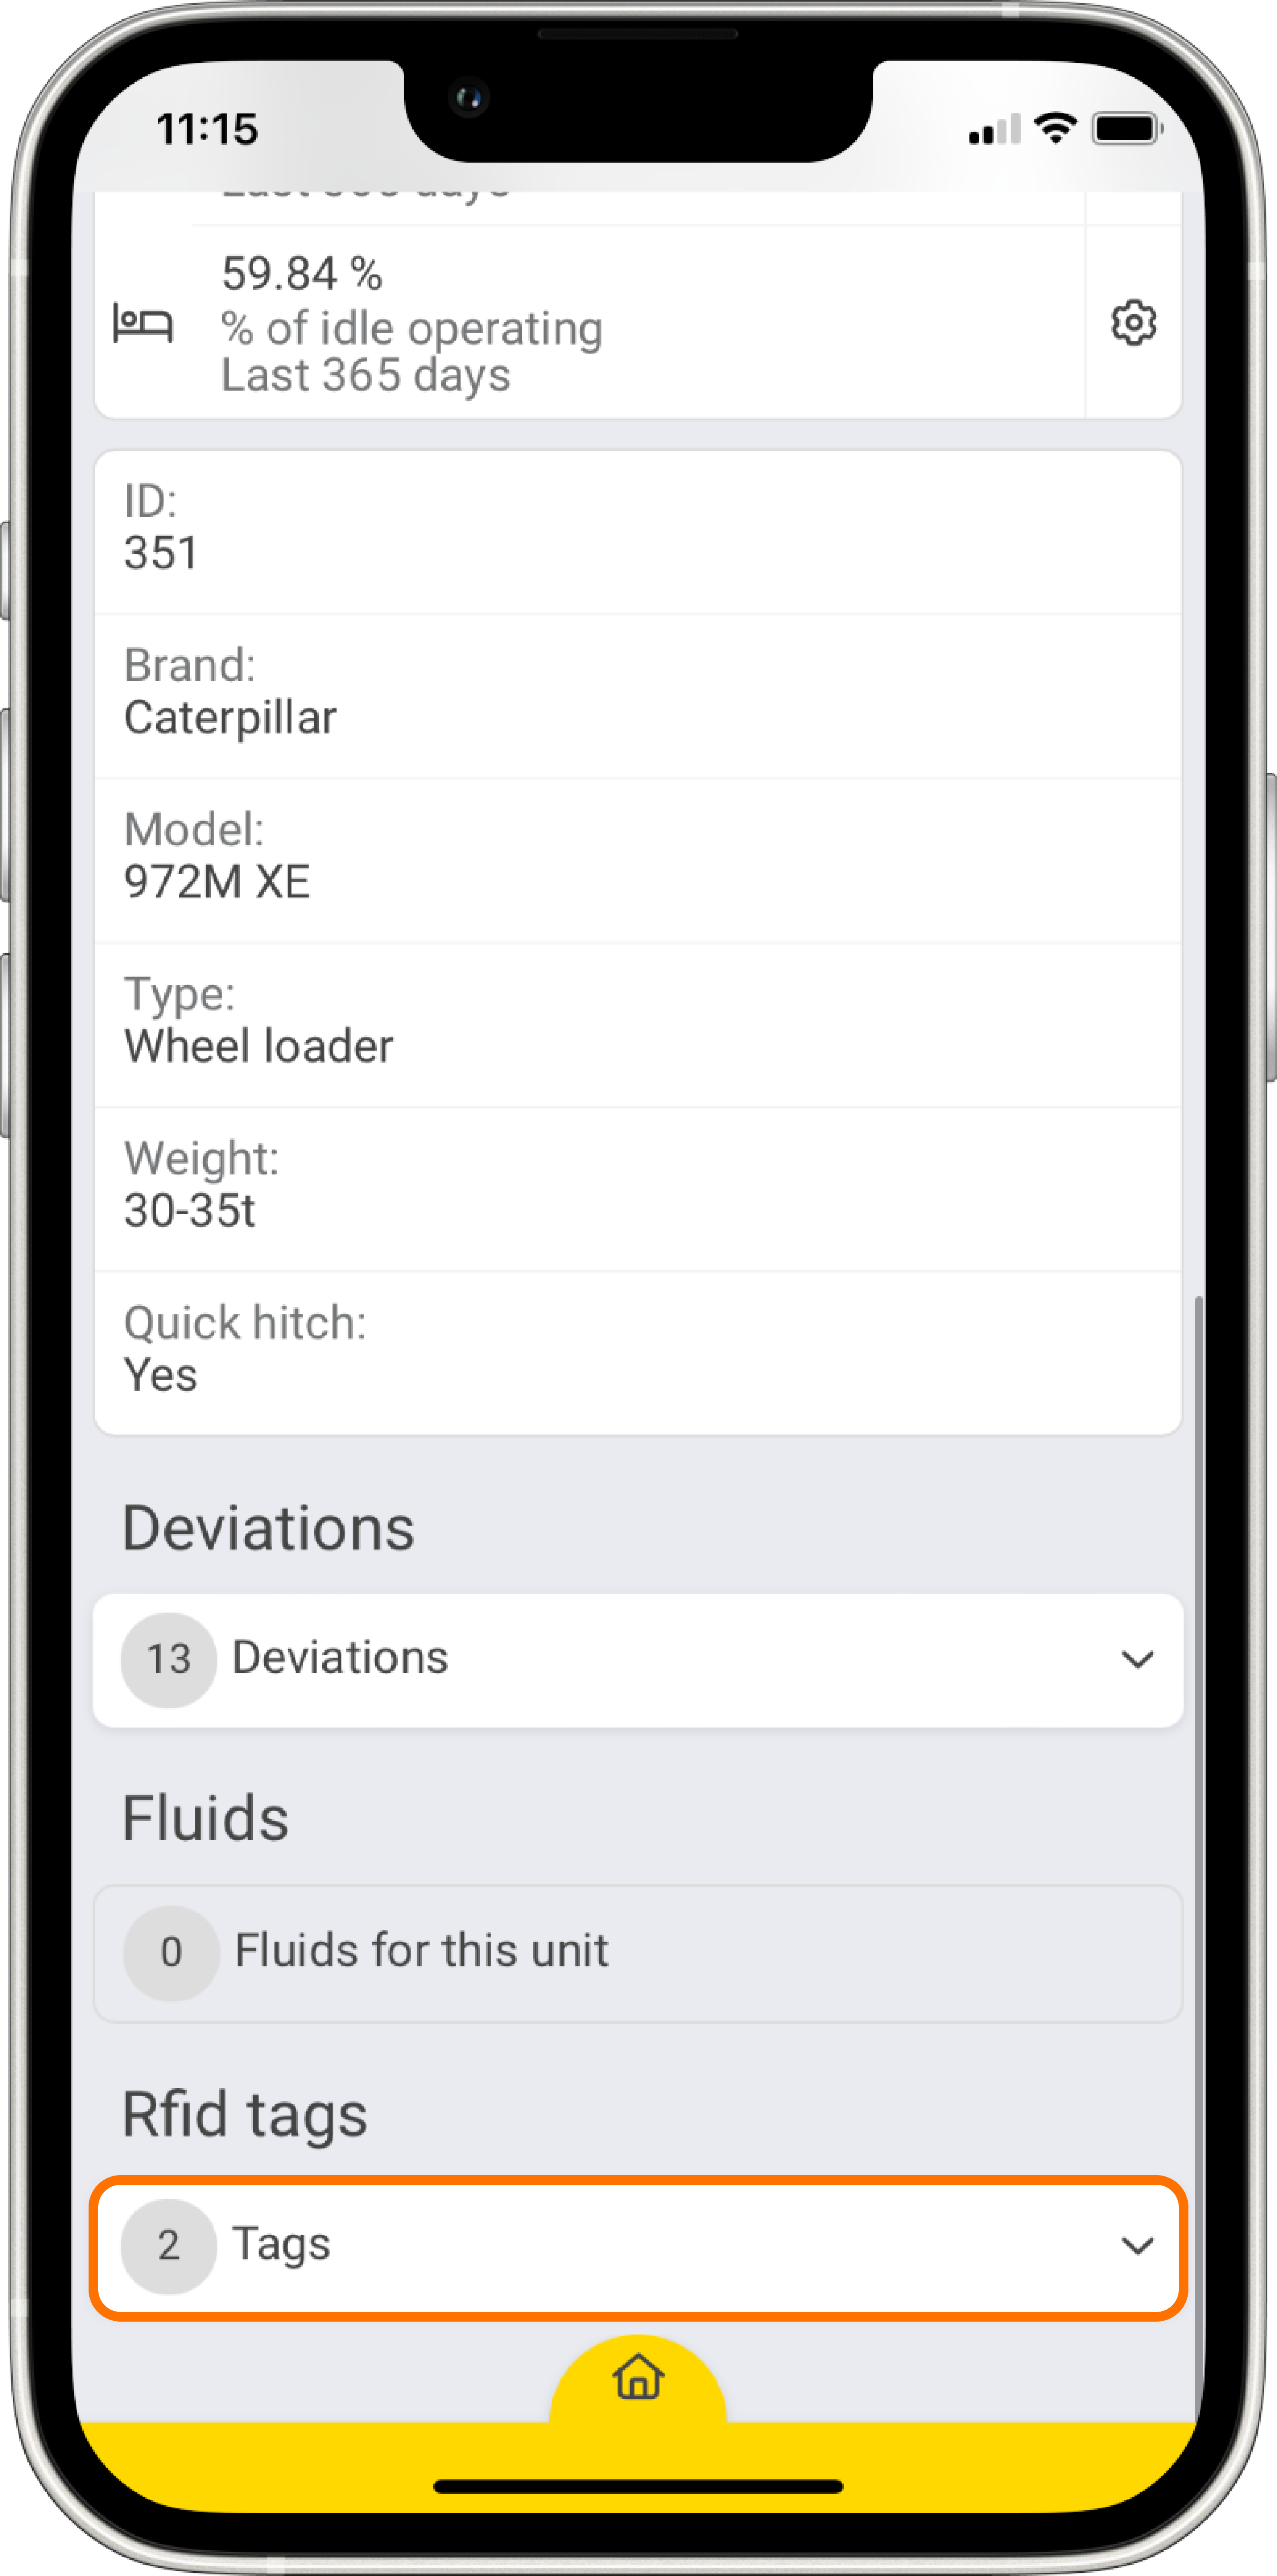
SELECT THE UNIT OR ROUND
Open up the CheckProof app and then navigate to the unit or round that you previously connected to an RFID tag. Now, click the “Tags” drop-down menu.
2
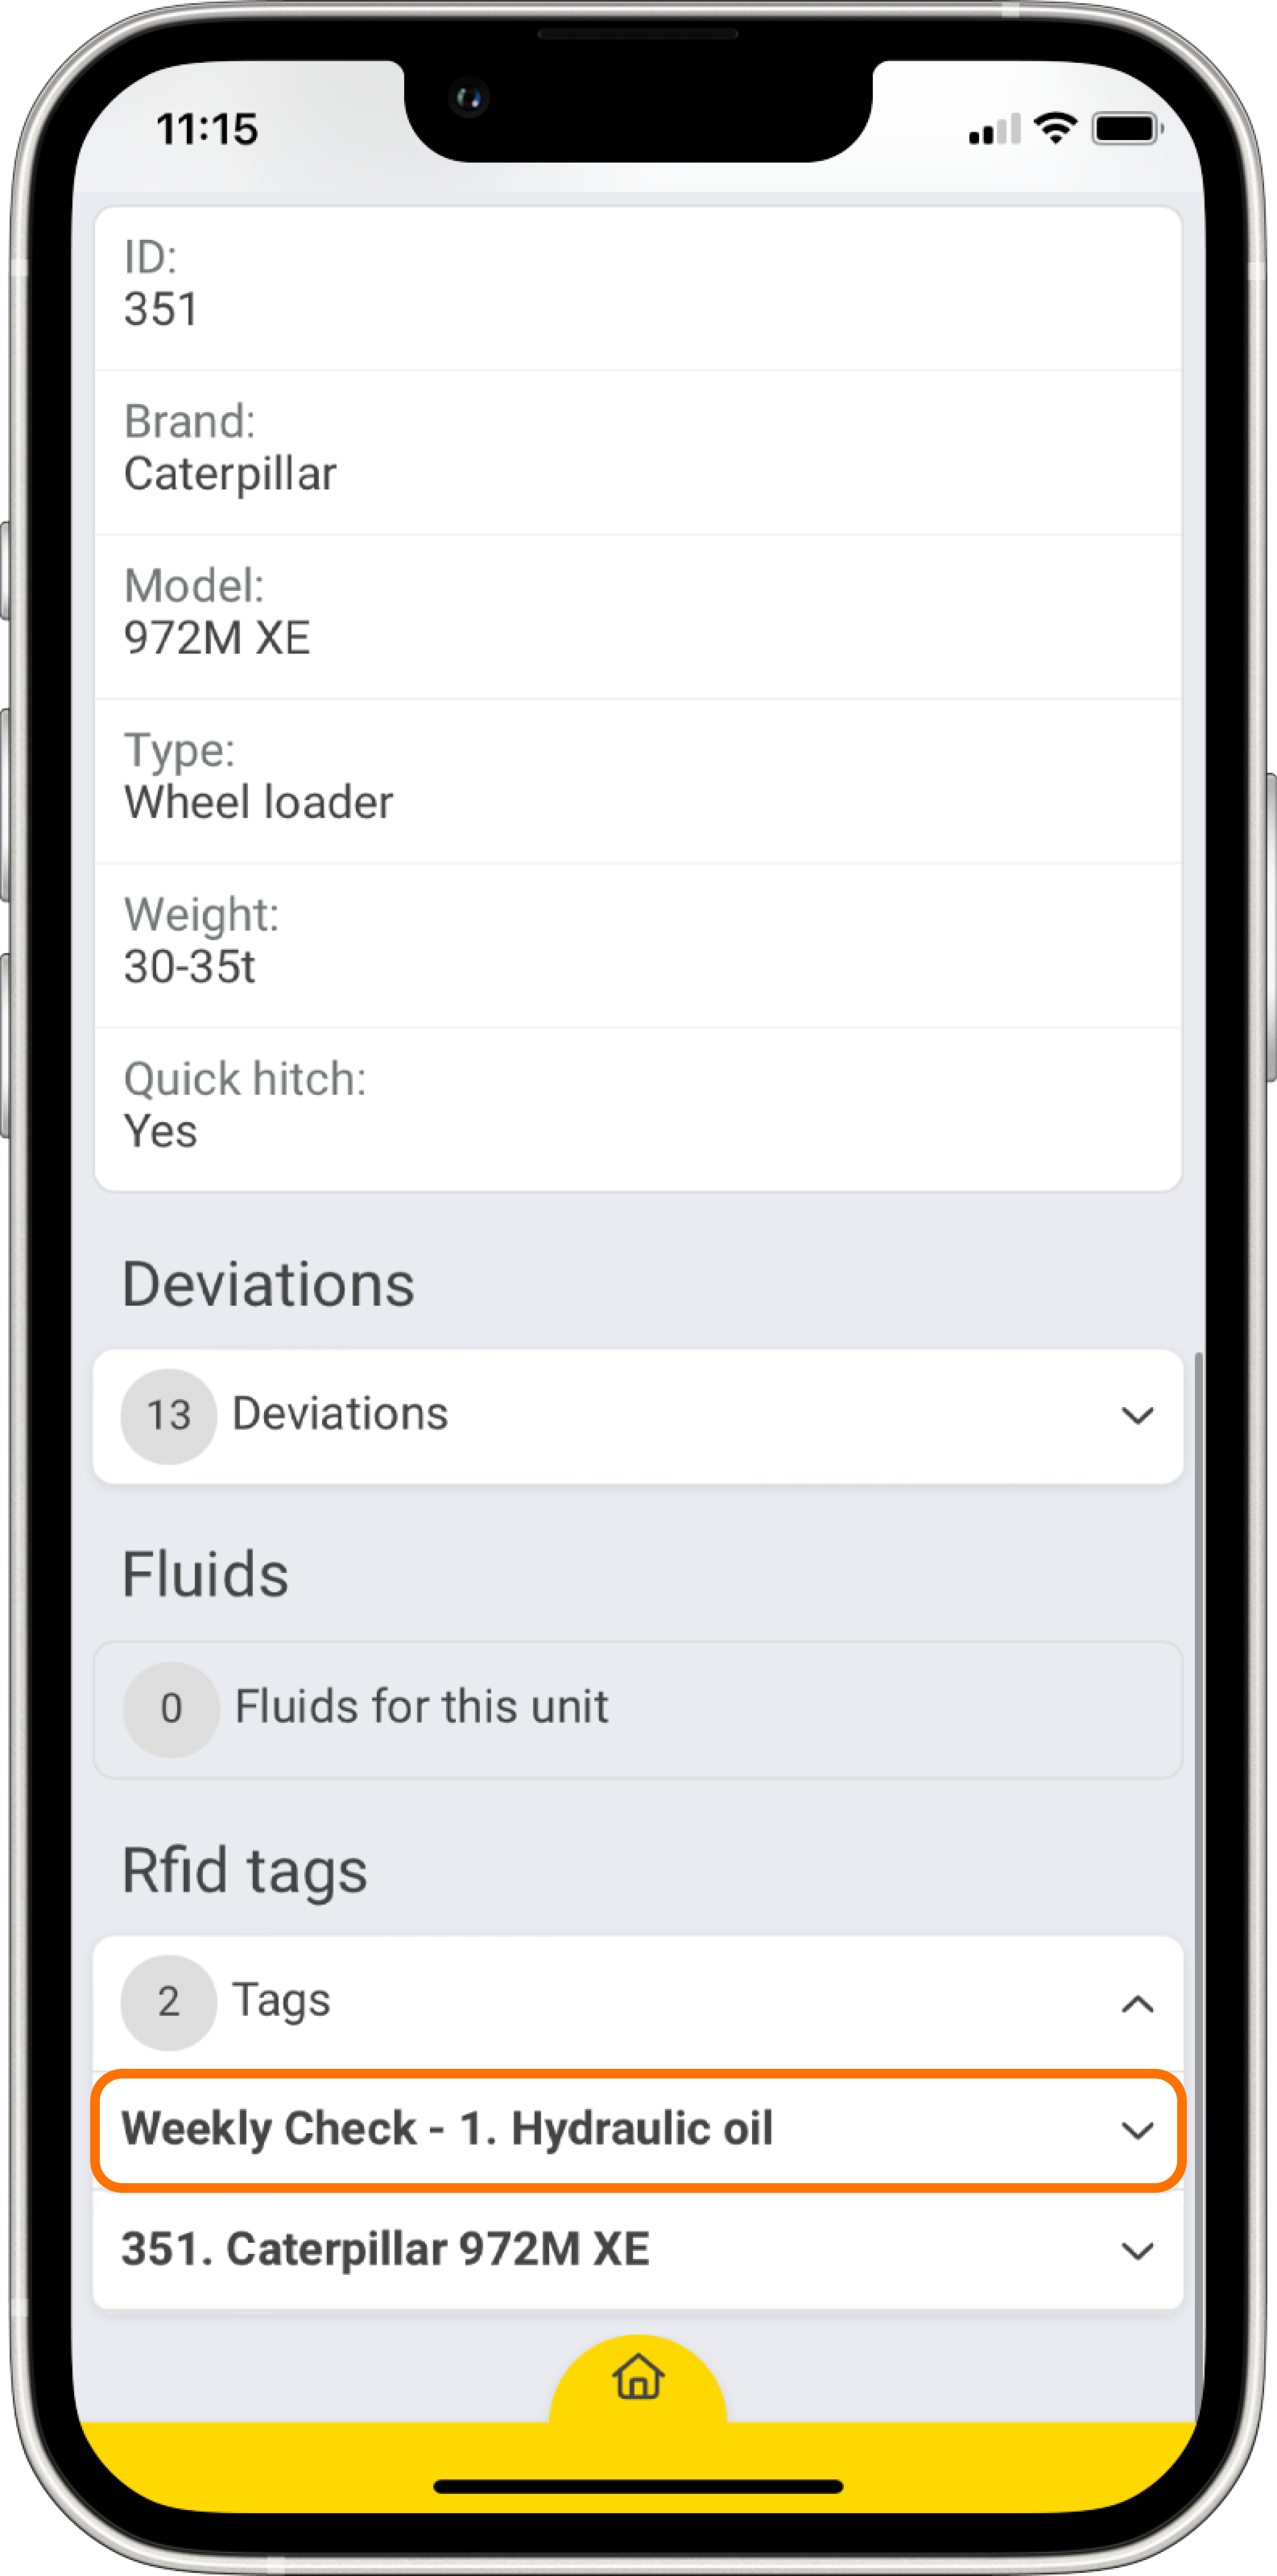
SELECT THE TAG
Now you can see all the tags that are connected to this unit or round. Click the tag you want to manage.
3
REPLACE RFID TAG
Two buttons will appear under the RFID tag. Click the “Remove” button to remove this tag from the unit or round. Alternatively, click the “Replace” button to replace this tag with a new one.

Great! Now you know how to remove and replace a tag.