Creating User Groups

Groups
Groups are used to gather a team of users. That way, it’s easier to assign tasks and/or checks to a whole team rather than adding each user individually.
Let’s see how to create a group!
STEP 1
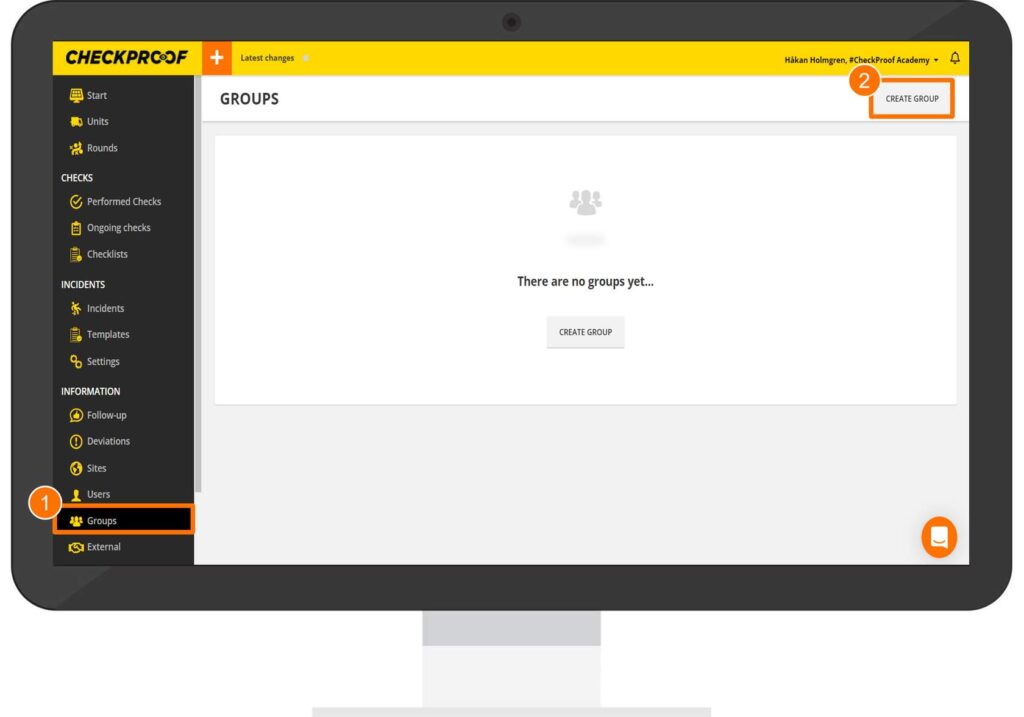
From the side panel menu:
Click on the “Groups” menu to open it.
Then click on “Create Group”.
STEP 2
Complete the form with the required information.
Type in a name for the group.
Include a description of what this group will do.
Add users to the group. To add users:Type in the name of the person or search for the person from the drop-down menu.
Select the user.
Click on “Add”.
Repeat these steps to add all the users that you need to add to the group.
When you’re finished, click on “Save”.
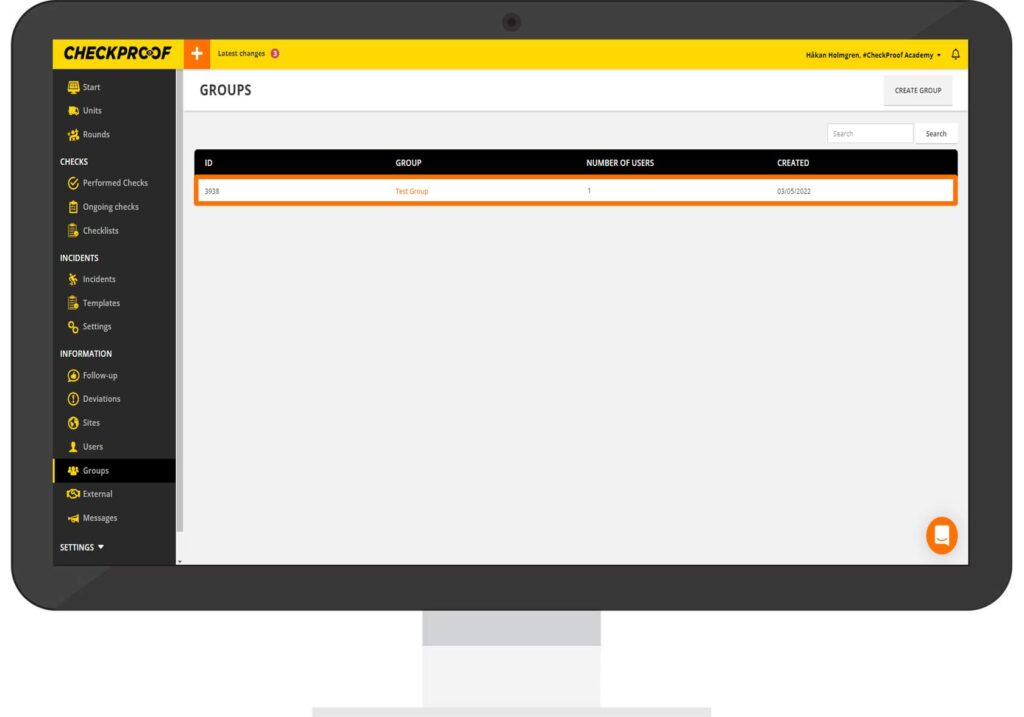
You can edit the group by clicking on the hyperlink from the “Groups” dashboard menu.
Great! Now you know how to create a user group.