
Intervals
When you create or edit checks in the checklists, you can choose how often these checks should be performed.
Define Intervals
You can decide how often a check should be performed by setting intervals of time that indicate the recurrence of the check.
When creating a new checklist you need to follow the process explained below.
Follow the steps below to discover how to add a control point to a check:
- Click on the “Add Check” button which will appear when you first create a checklist.
- Click the “Create New Checklist” button.
- In the “Type” drop-down field, select the new interval you would like to apply.
- When you are done, click on “Apply”.
Note: The “Time Estimate” field is optional.
You can also change the frequency of a check that already exists. To do this:

- Click on “Checklists” in the left-side panel.
- Click the checklist that you want to change the interval for.
- Click the cogwheel icon next to the interval.
- In the “Type” drop-down field, select the new interval you would like to apply.
- When you are done, click on “Apply”.
The change should be reflected instantly.
There are nine different intervals to choose from. Open the boxes below to learn what each interval option means.
Note: You can click any of the images within the boxes to magnify them.
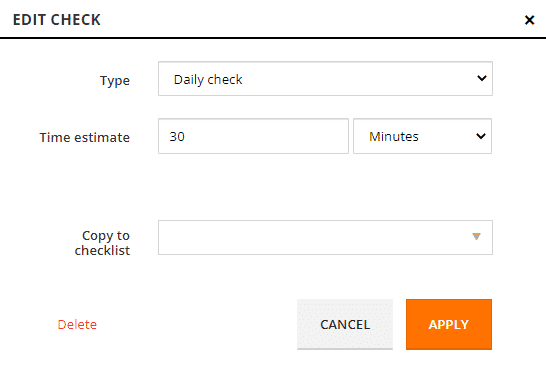
Daily Check
This means the check should be performed daily.
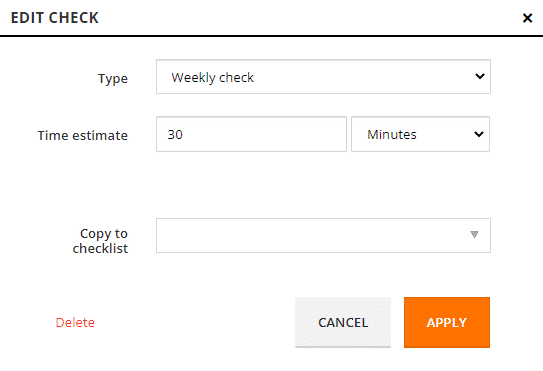
Weekly Check
This means the check should be performed weekly.
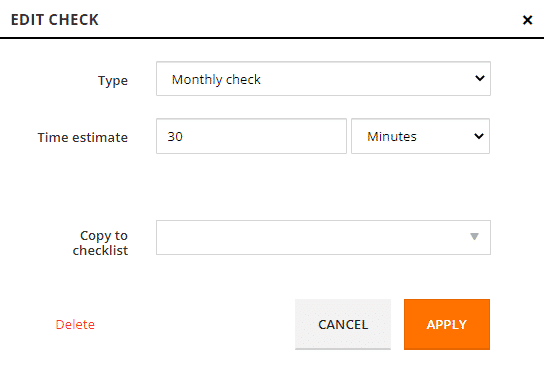
Monthly Check
This means the check should be performed monthly.
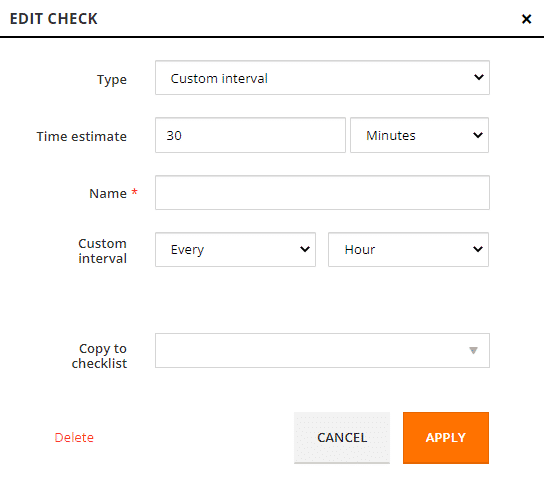
Custom Interval
You can decide how often the check should be performed (e.g. every other day, every two weeks, every four months, etc.).
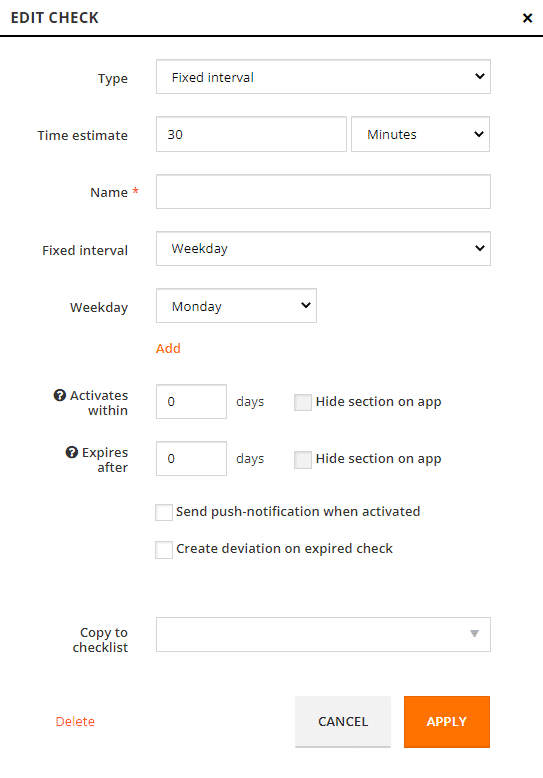
Fixed Interval
You can select specific days for the check to be performed. This can be a certain day of the week, month, or year. This control type is only active during the range you have selected, and will otherwise be inactive and not start.
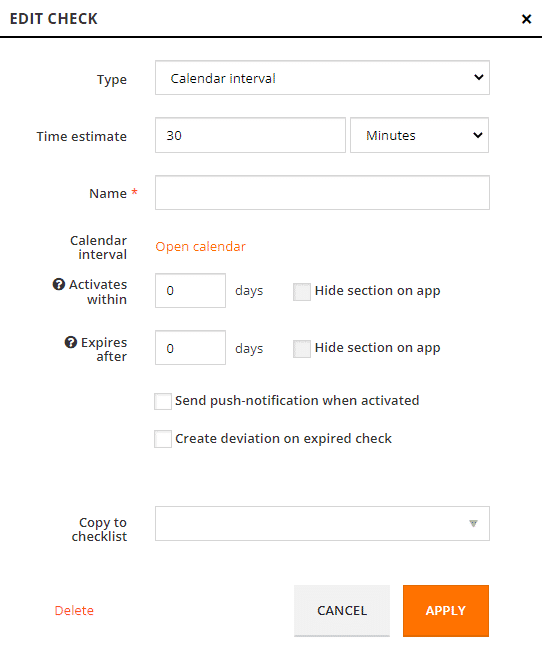
Calendar Interval
You can choose a period of time and select dates from a calendar for when the check should be performed.
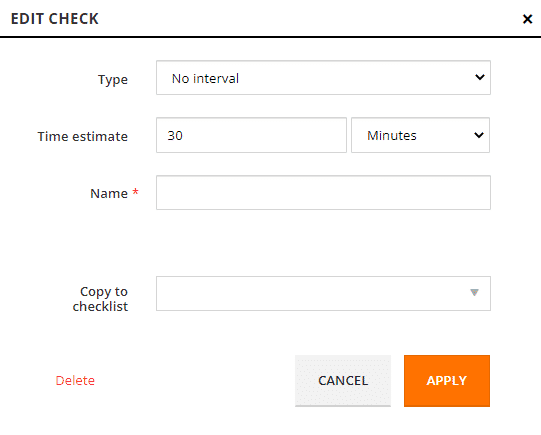
No Interval
Select this if you do not know how often the check should be performed.
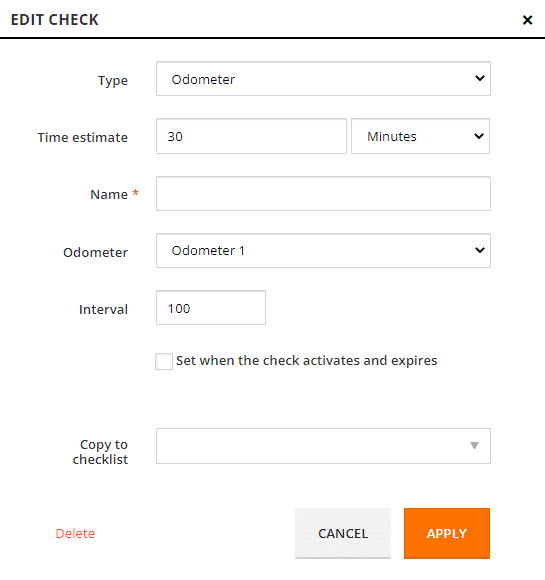
Odometer
This means the check must be performed at specific odometer reading intervals (e.g. at every 500 hours).
Note: It will only become active once you’ve performed the check.
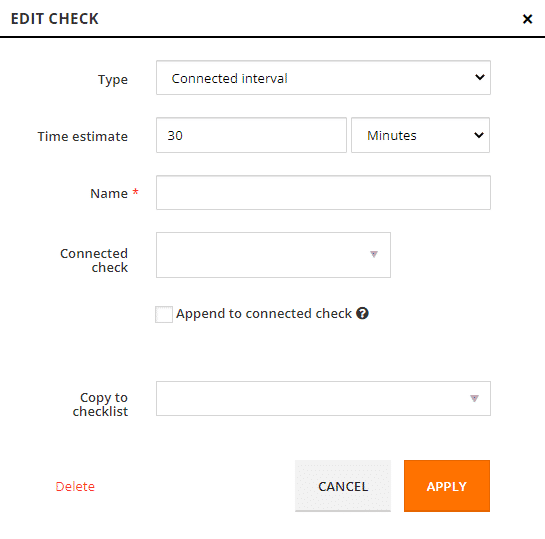
Connected Interval
You can connect a check to another check so that when the first one is performed the connected check becomes active and available to perform.
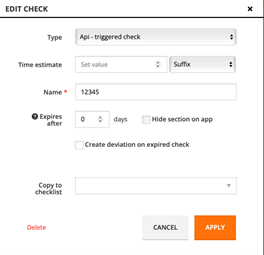
Api – Triggered Check
You can trigger this interval via our external API. You can also decide when this check should expire after it has been triggered.
Great! Now you know what the different intervals are and how to apply them to checks.

