Company settings
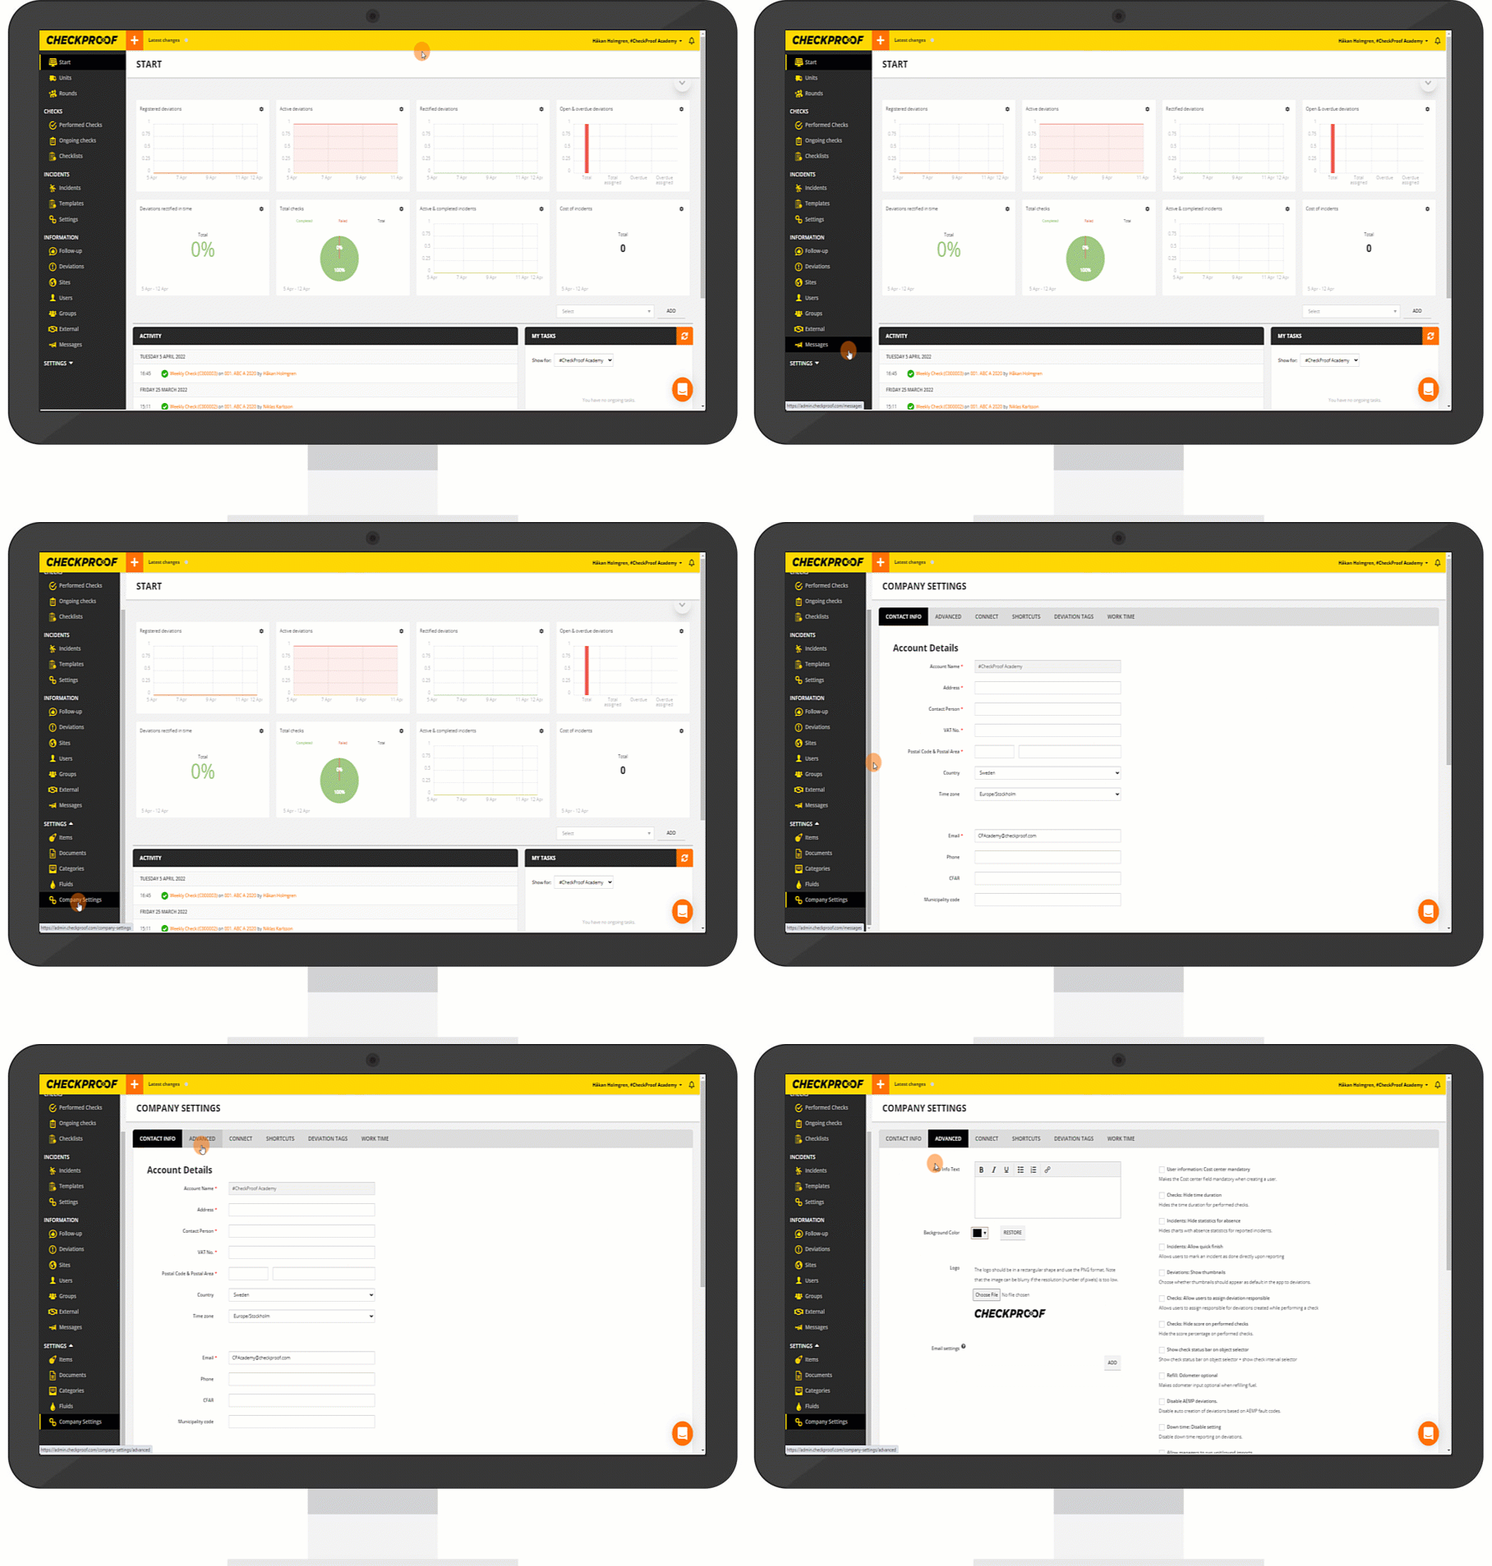
To access the “Company Settings” page, follow these steps:
- Click on “Settings” in the left-hand menu.
- Click on “Company Settings” under the “Settings” tab.
- Navigate to the “Advanced” tab at the top of the screen.
What can you do from the “Advanced” tab?
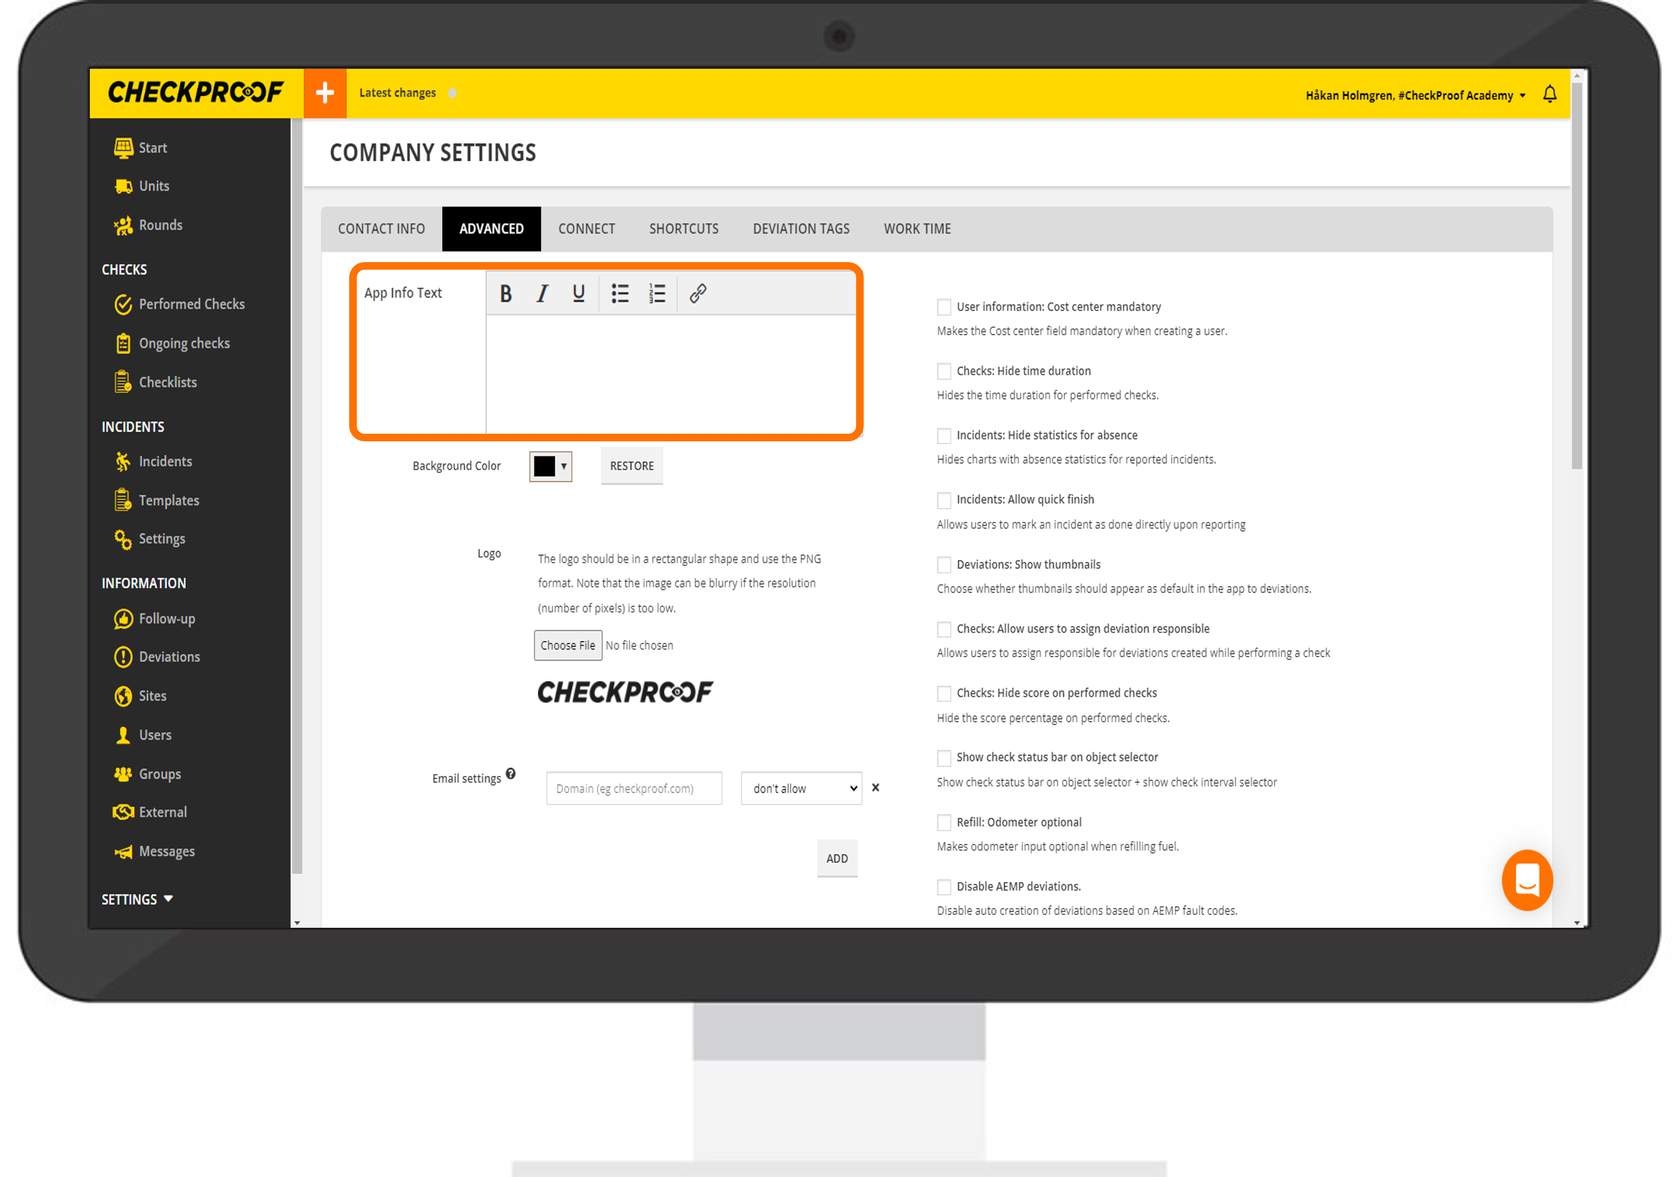
From this tab, you can add helpful text that will appear under the “Info” button in the app, upload your company logo, change the background color, and set up email settings to be applied to user creation. You can turn specific settings on or off.
1
Background color
Background color
Admin view
App view
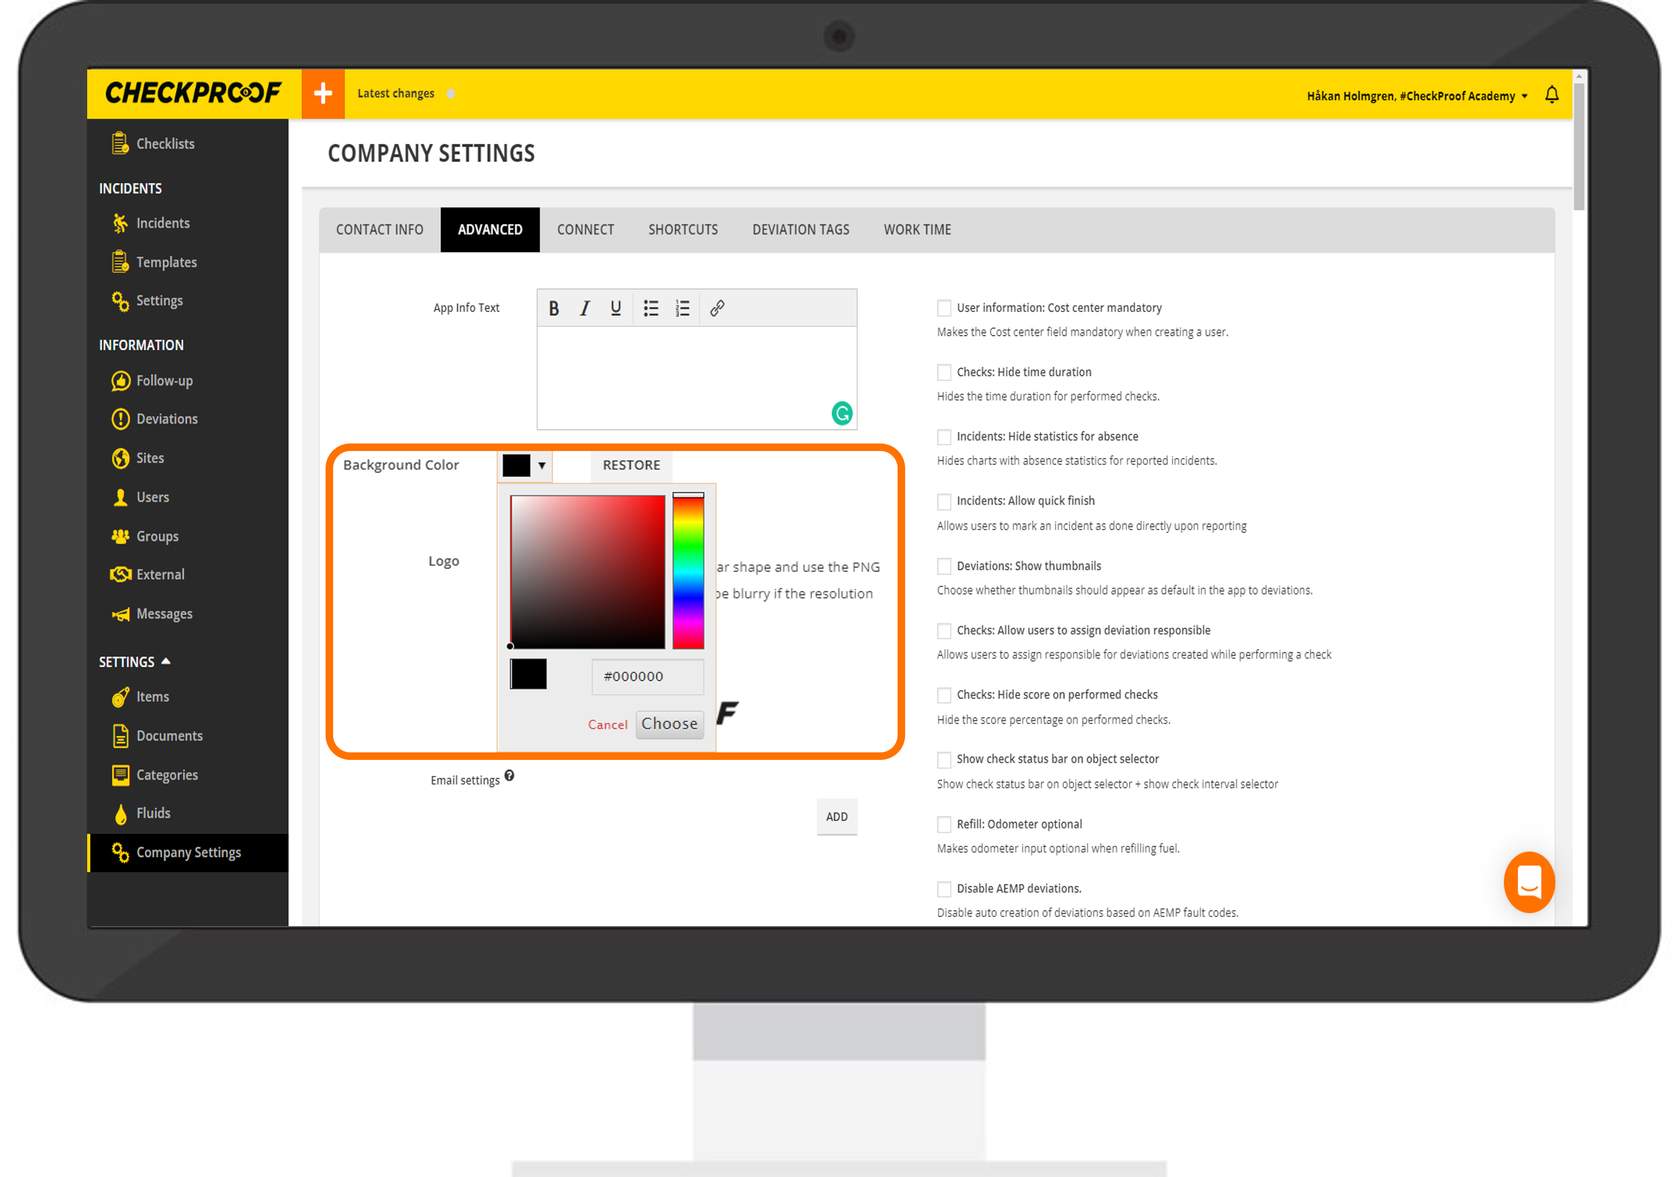
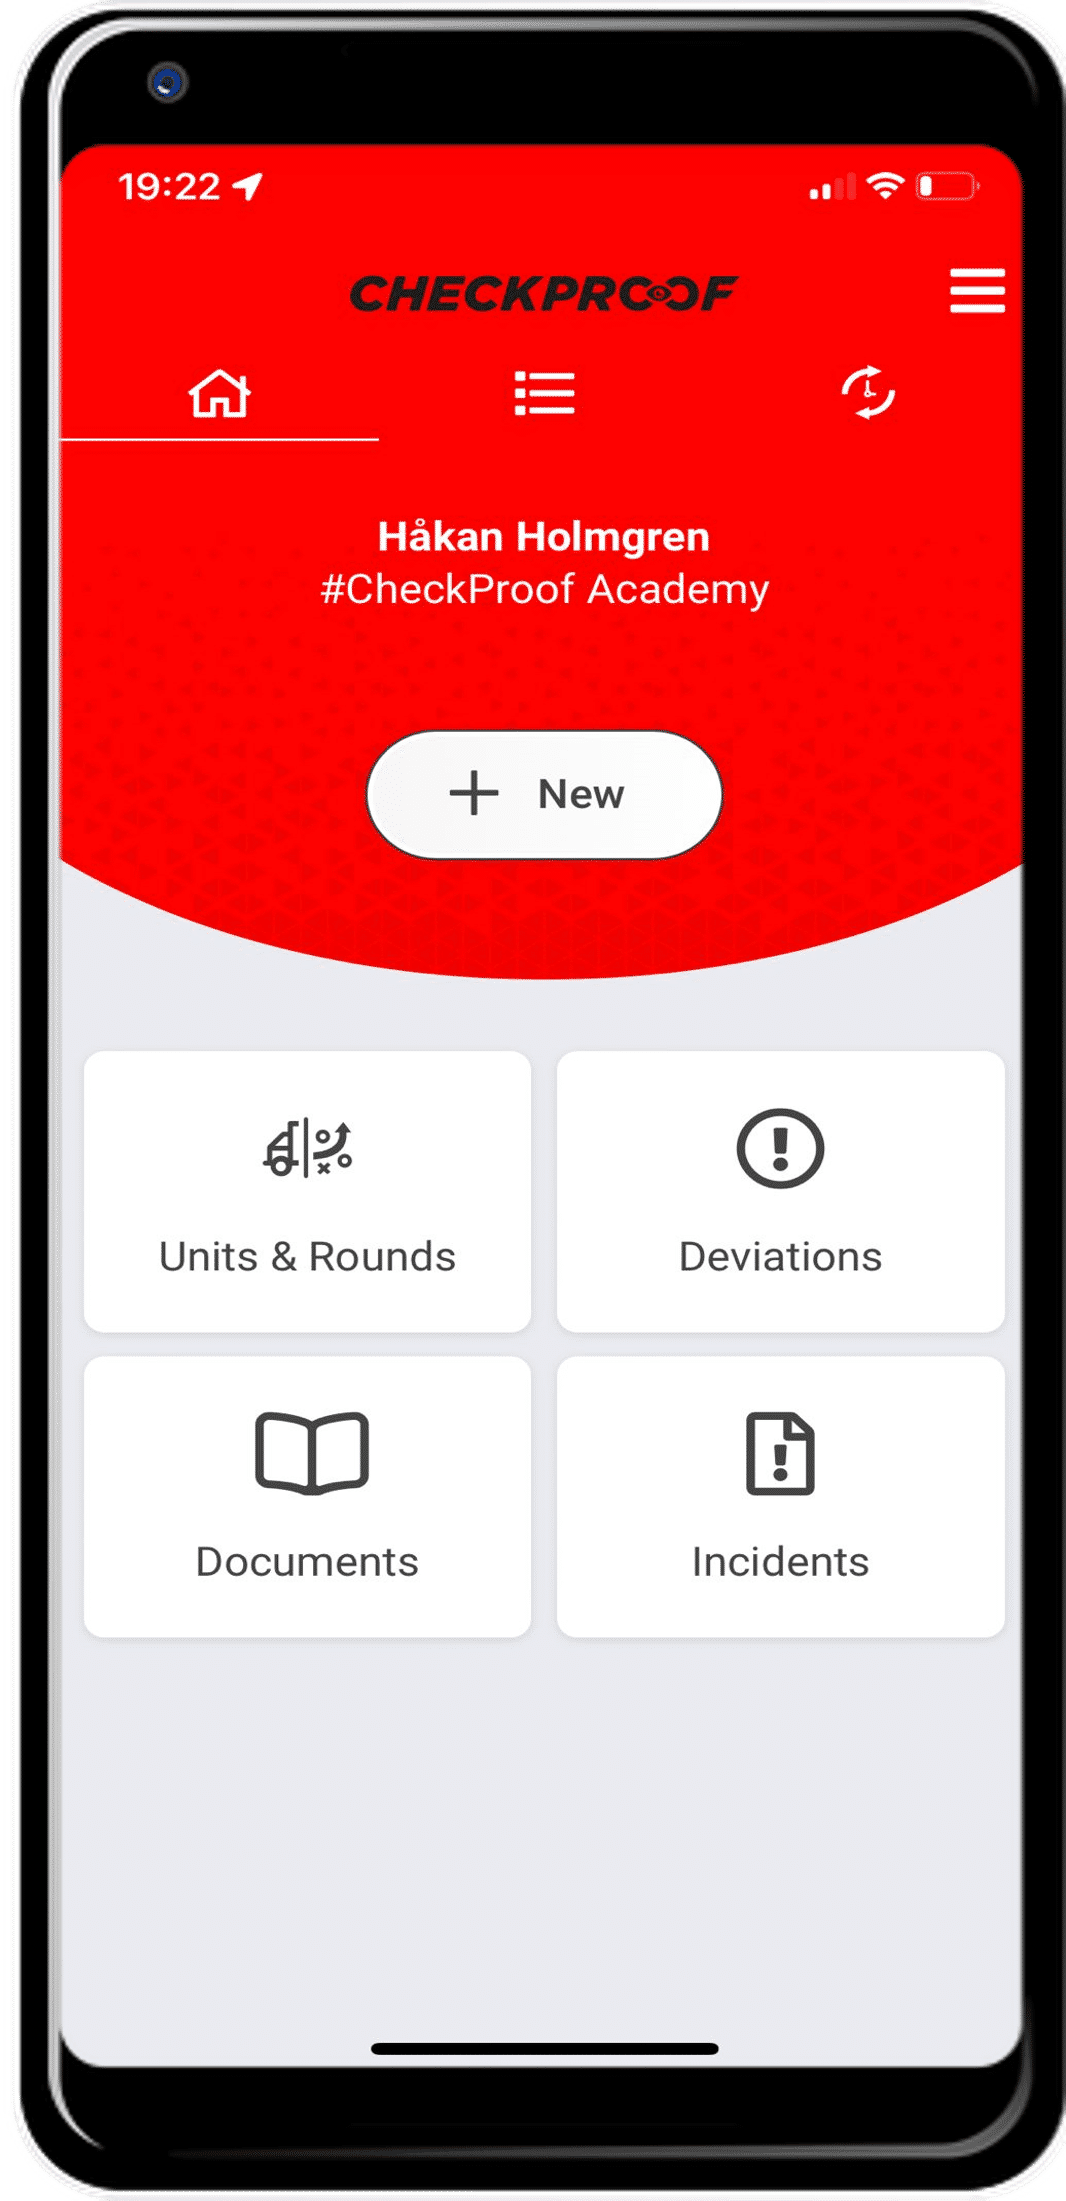
To change the background color, click the arrow in the color drop-down menu and type your brand’s color code in the field. Alternatively, you can use pick a color within the visual color wheel.
Click the “App View” tab to see how the color change is reflected in the app and click the “Admin Panel View” tab to see how the color change is reflected in the Admin Panel.
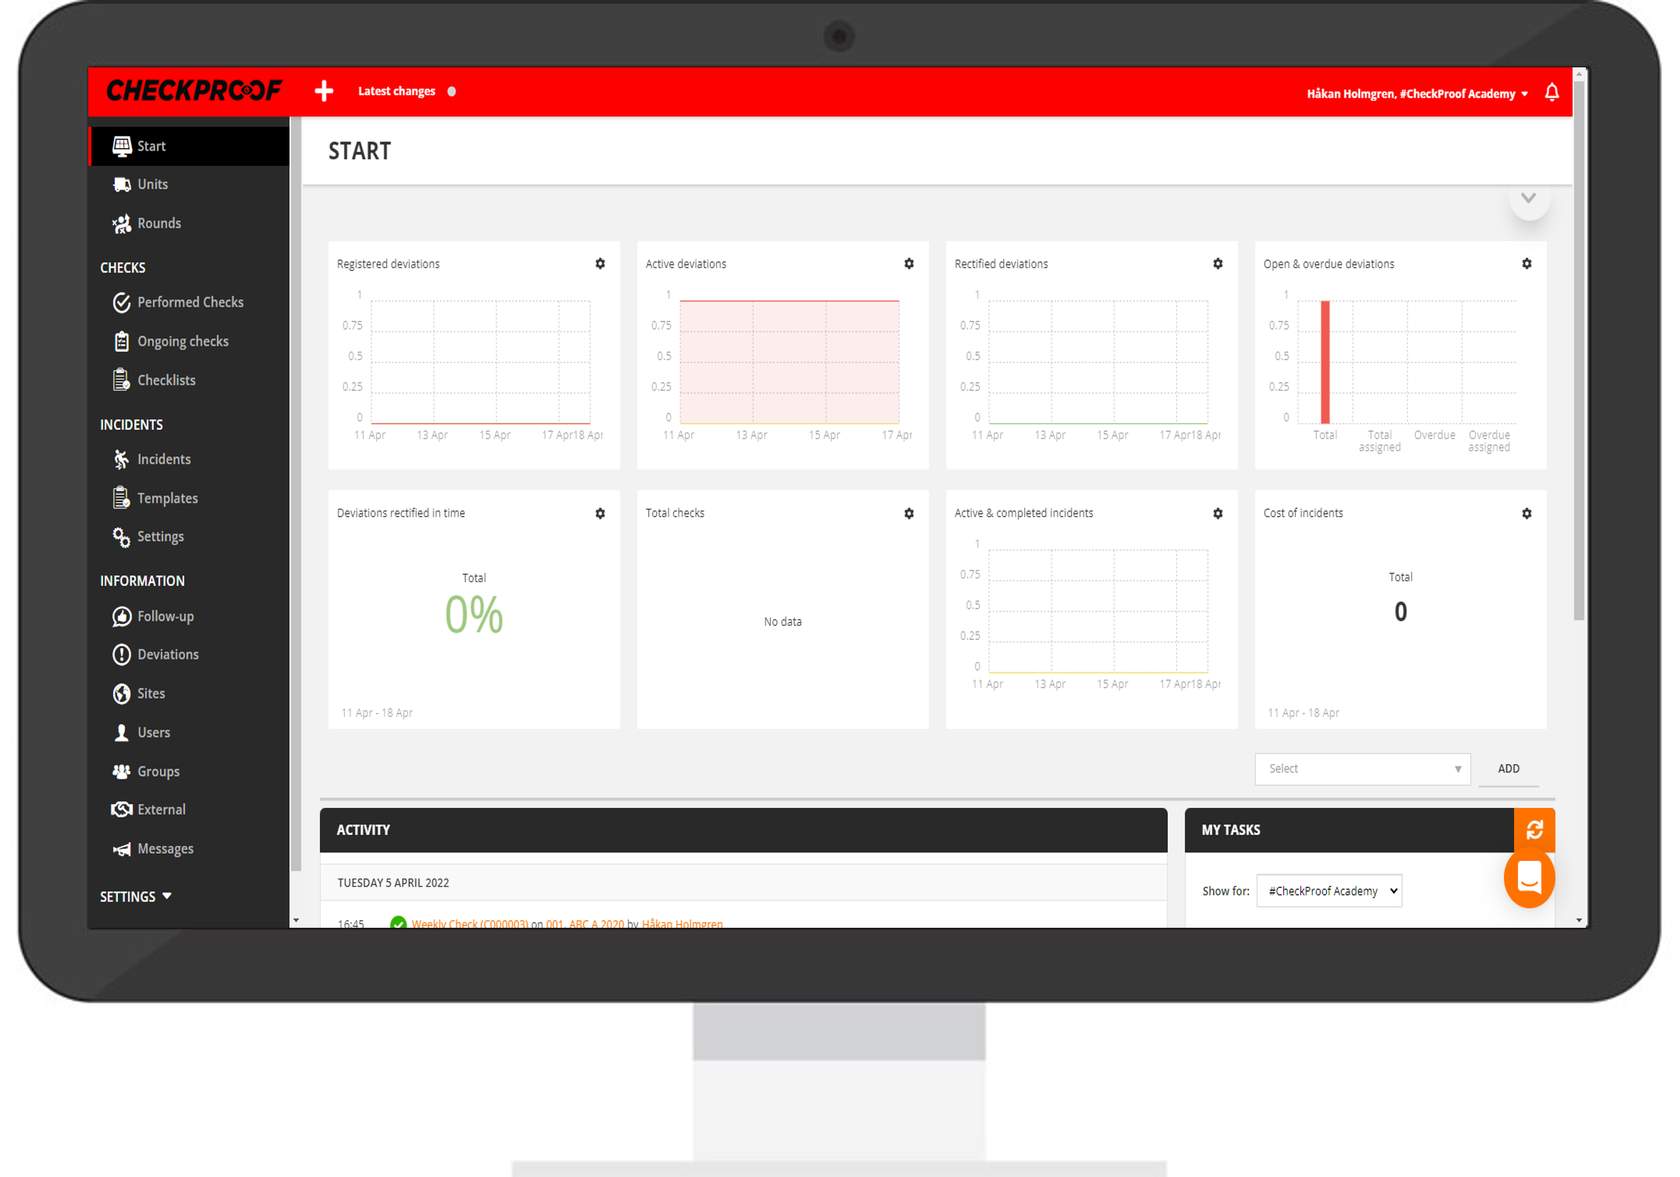
Here you can see that the color change was saved and applied to the Admin Panel view.
Here you can see that it was also applied in the CheckProof mobile application.
2
Logo
Apply info text
App view
App view
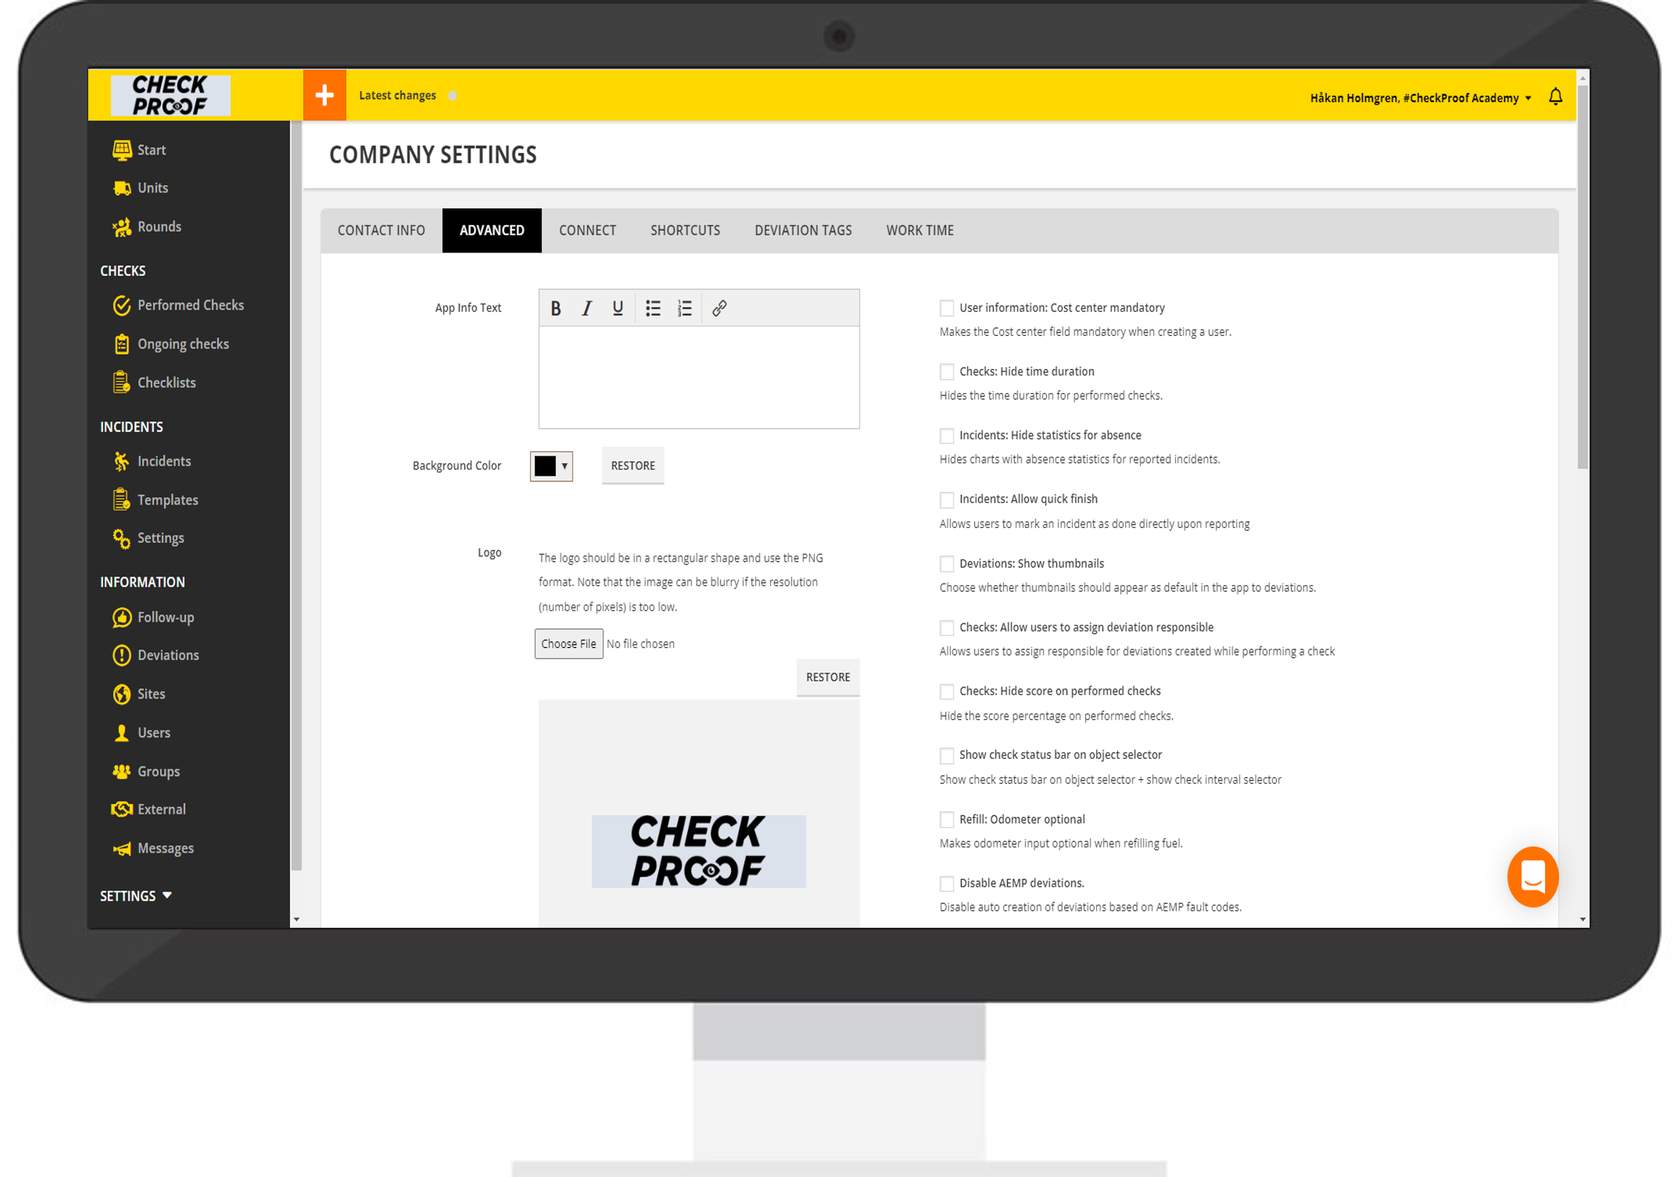
Click the “Choose File” button to upload your company’s logo from your device. It is important that the logo is a rectangular shape and is in PNG format. Ensure that the logo is high resolution, otherwise, it will appear blurry.
Click the “App View” tab to see how the logo change is reflected in the app and click the “Admin Panel View” tab to see how the logo change is reflected in the Admin Panel.
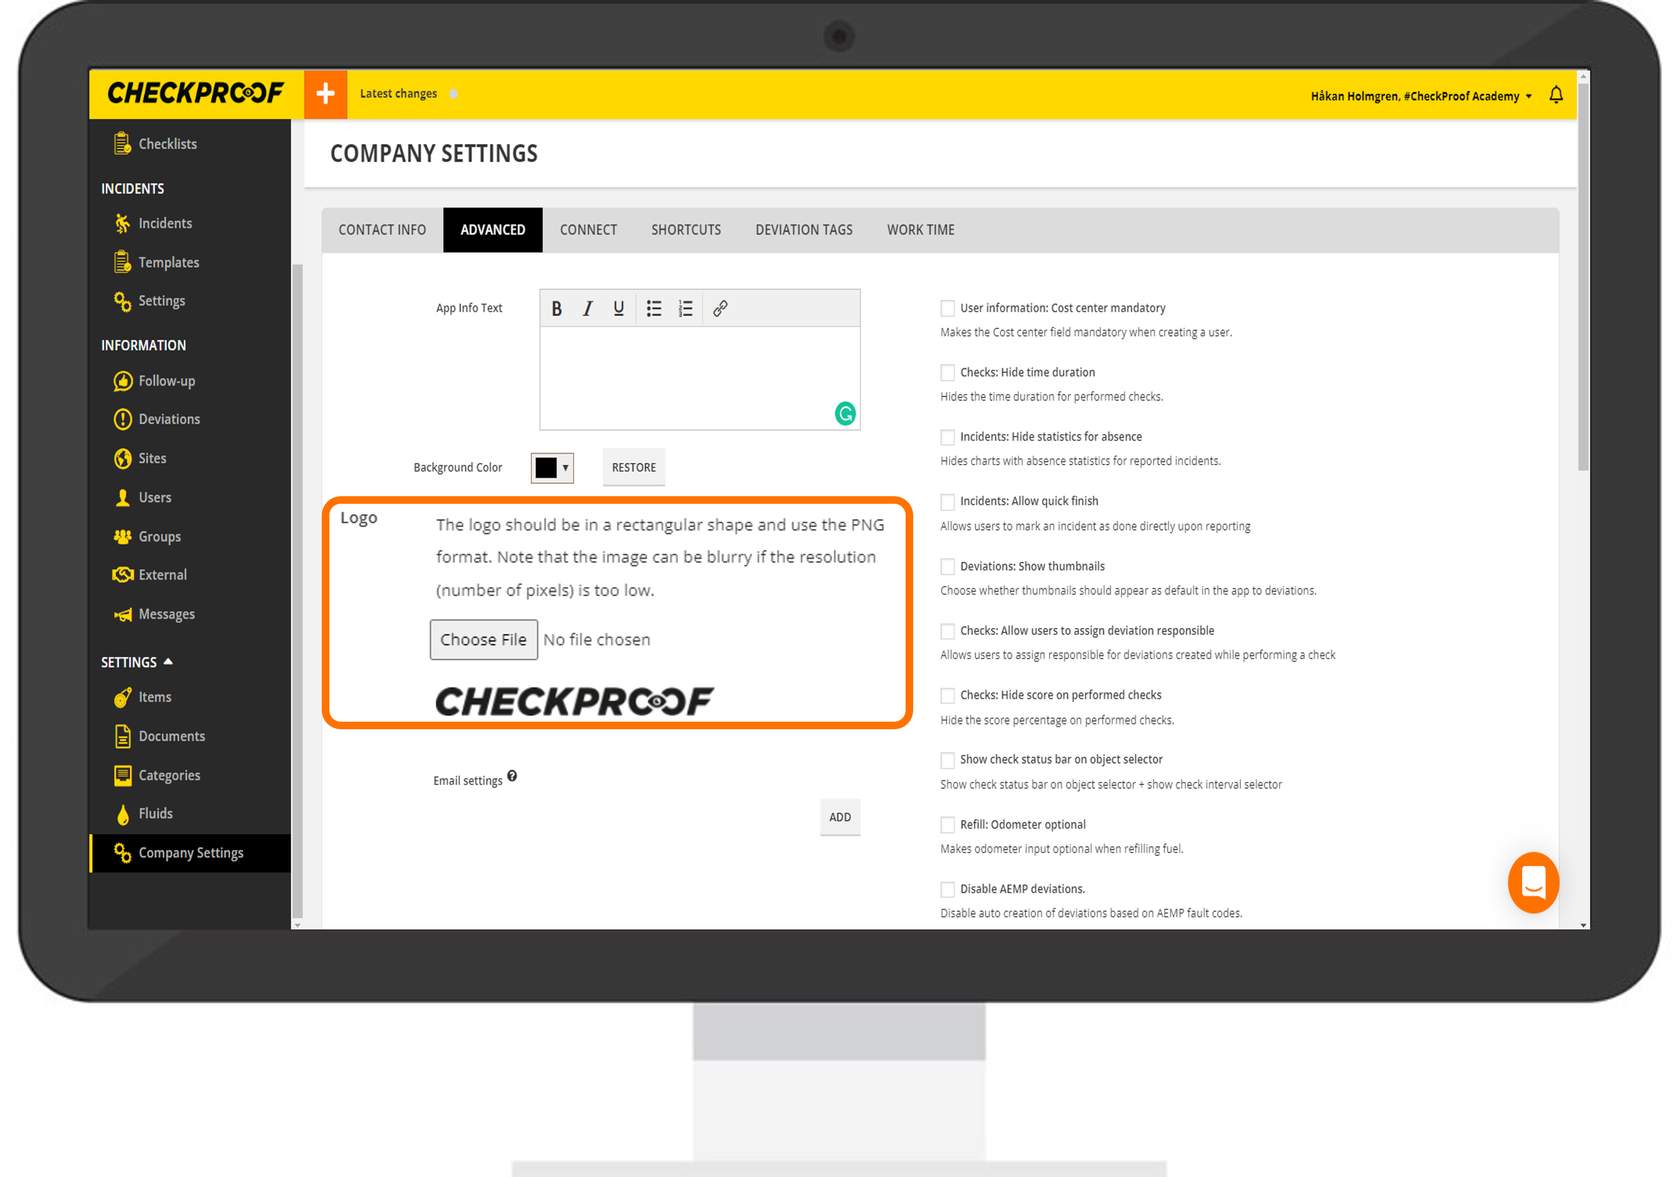
Here you can see that the logo was saved and appears in the Admin Panel view.
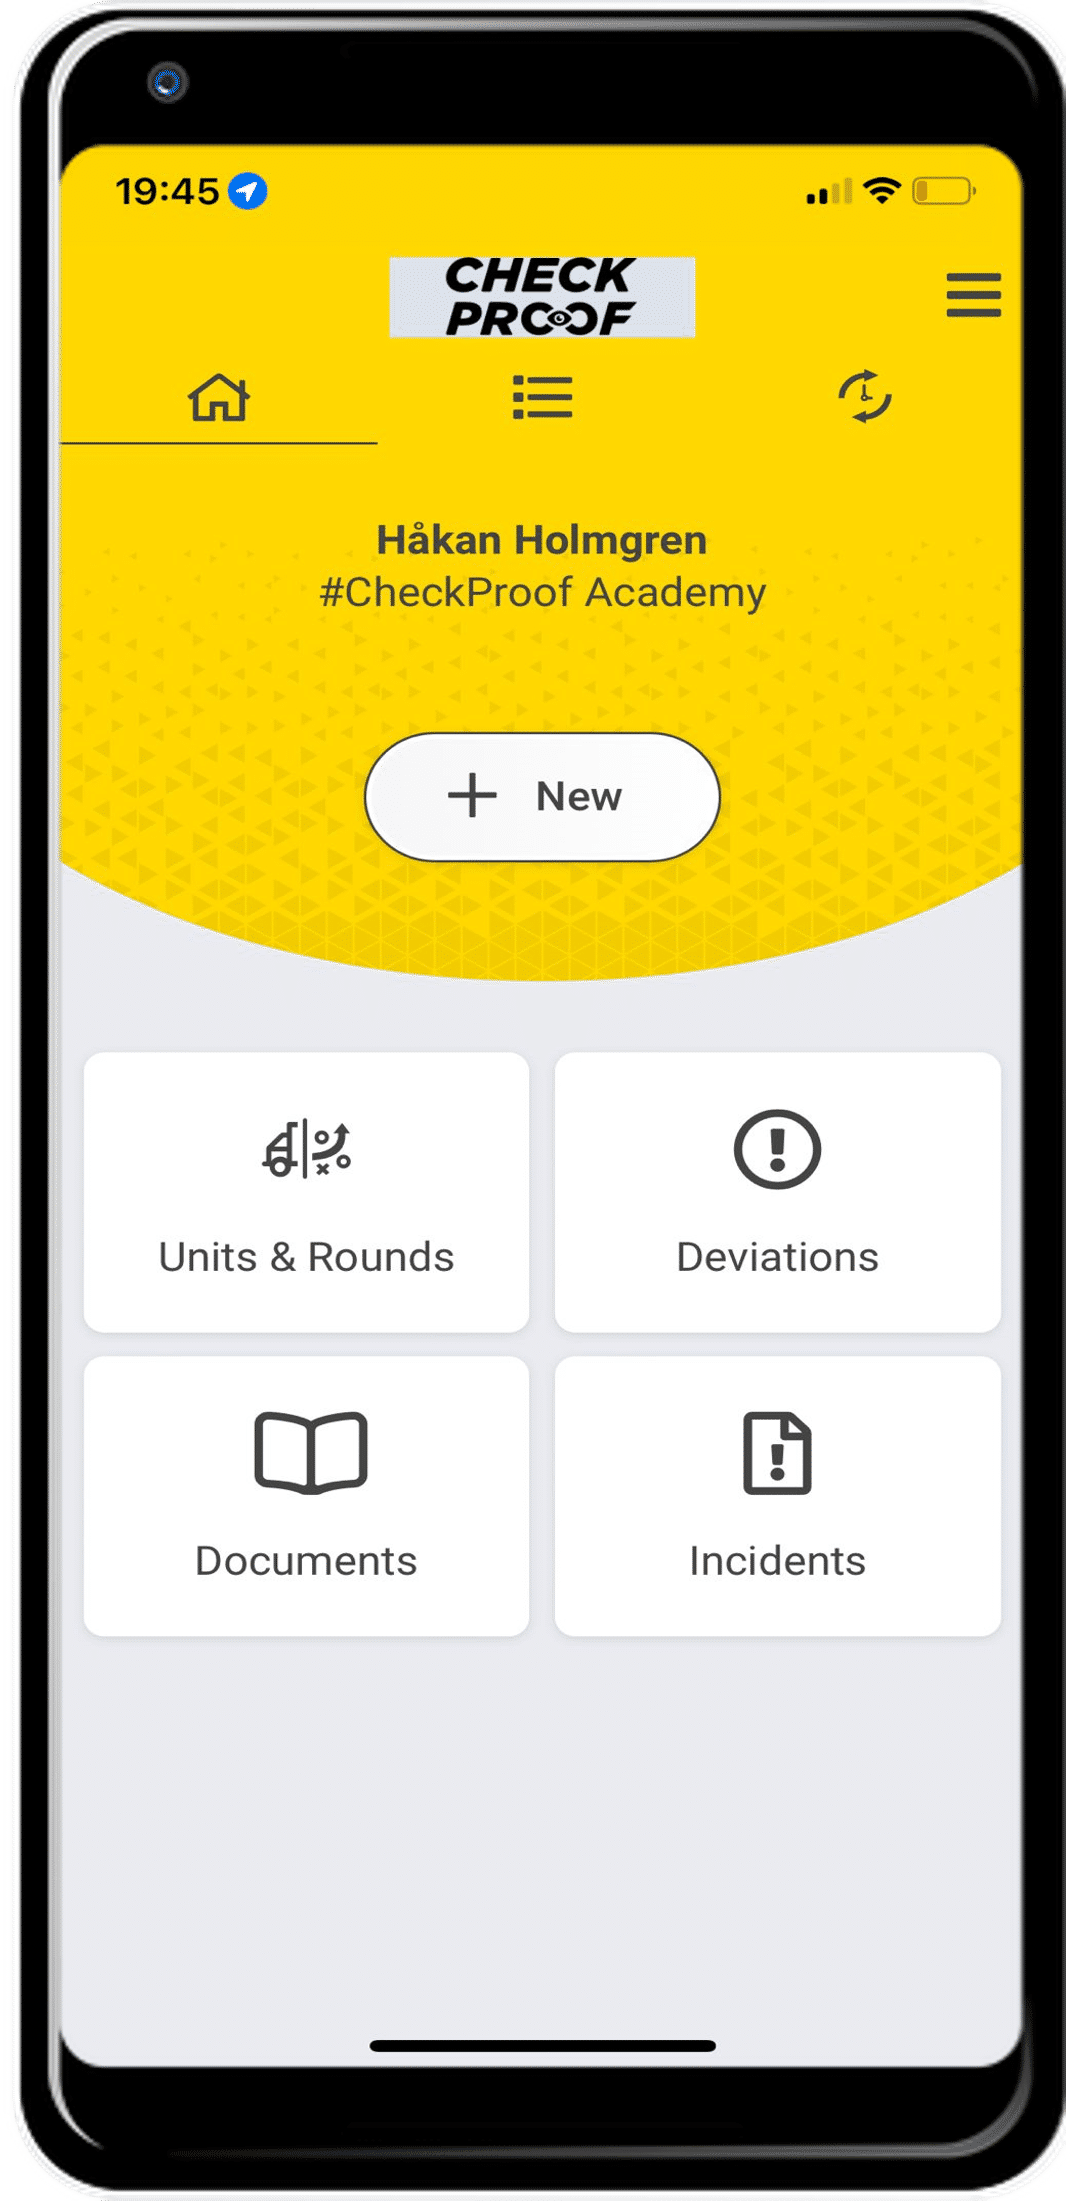
Here you can see that it was also applied in the CheckProof mobile application.
3
Info Text
Apply info text
App view
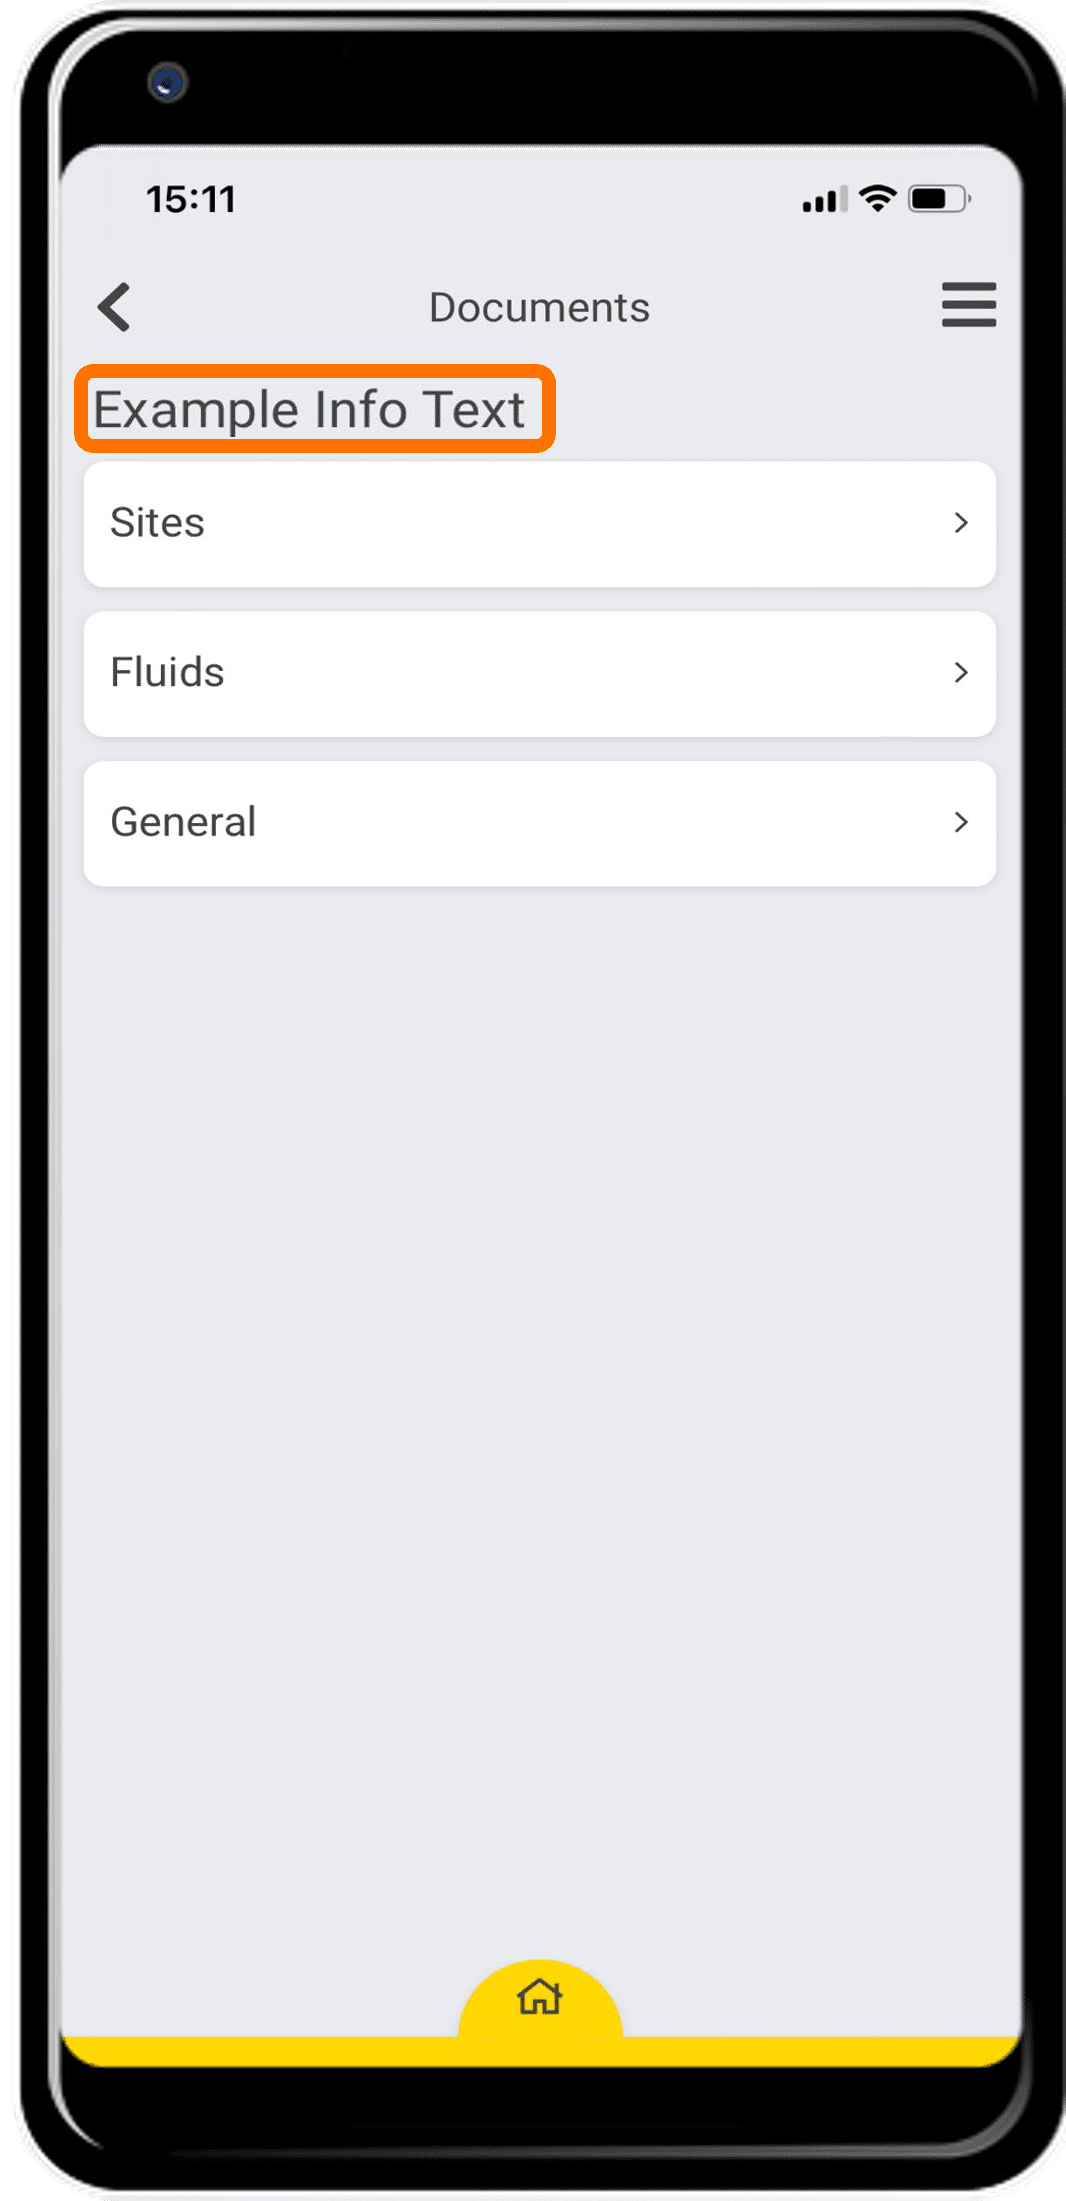
Any text that you include here will be shown under the “Documents” section in the CheckProof app. Click the “App View” tab to see what this would look like.
Here you can see that the info text was applied in the application.
4
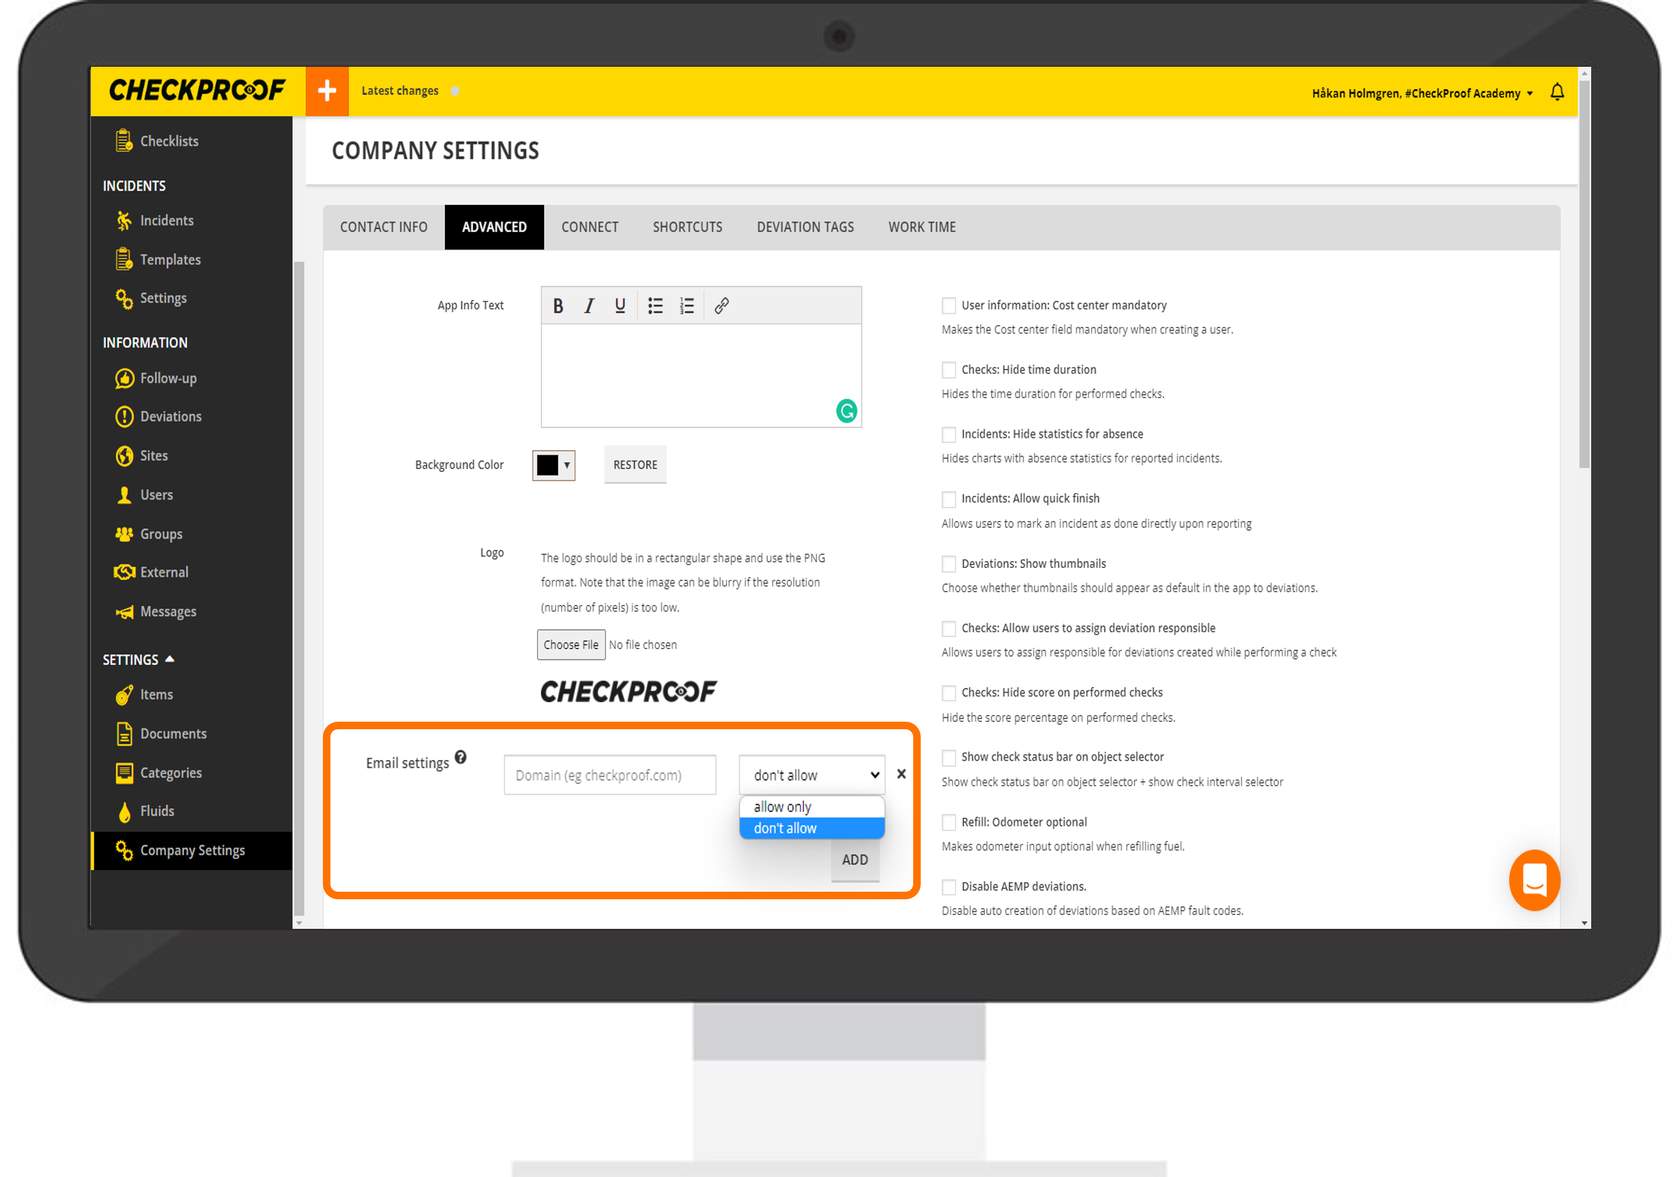
Email Settings
Domains
From here you can enter a domain and choose whether that domain is allowed or not allowed to be associated with a user account.
For example, if you enter “CheckProof.com” in the search field and select “Allow Only”, only these domains will be allowed to be associated with a user account.
However, if you enter “CheckProof.com” in the search field and select “Don’t Allow”, emails with this domain will not be able to be associated with a user account.