
Creating Checklists
Checklists allow you to digitize day-to-day checks and publish them so that frontline workers have access to them wherever they are. You can edit checklists at any time.
Let’s learn how to create checklists from the Admin Panel!
First, you should click on “Checklists” in the left-side panel, then click on the “Create New Checklist” button.
Now you can give the checklist a name and decide if it will be a checklist for units or rounds.
When you are done, click the “Save” button.
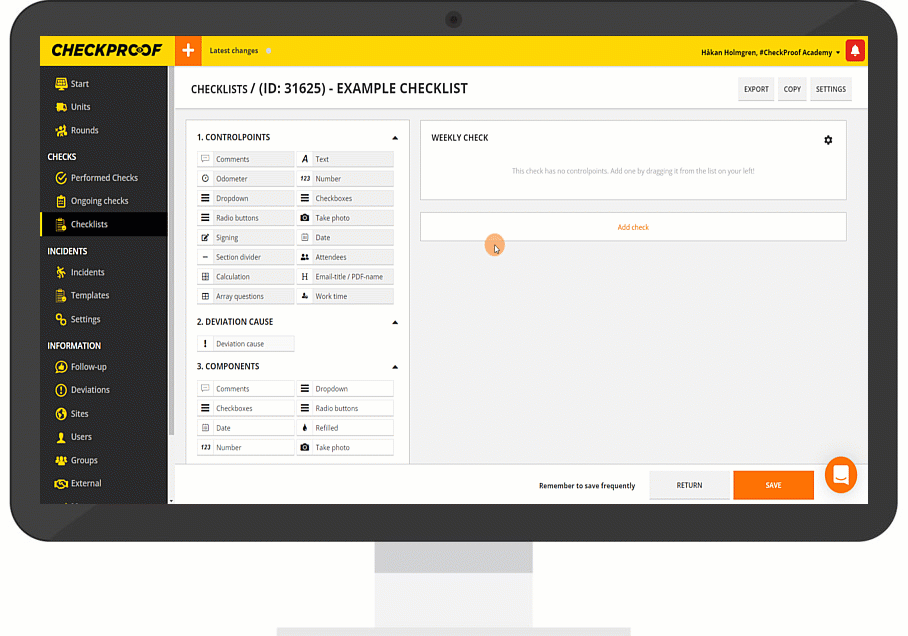
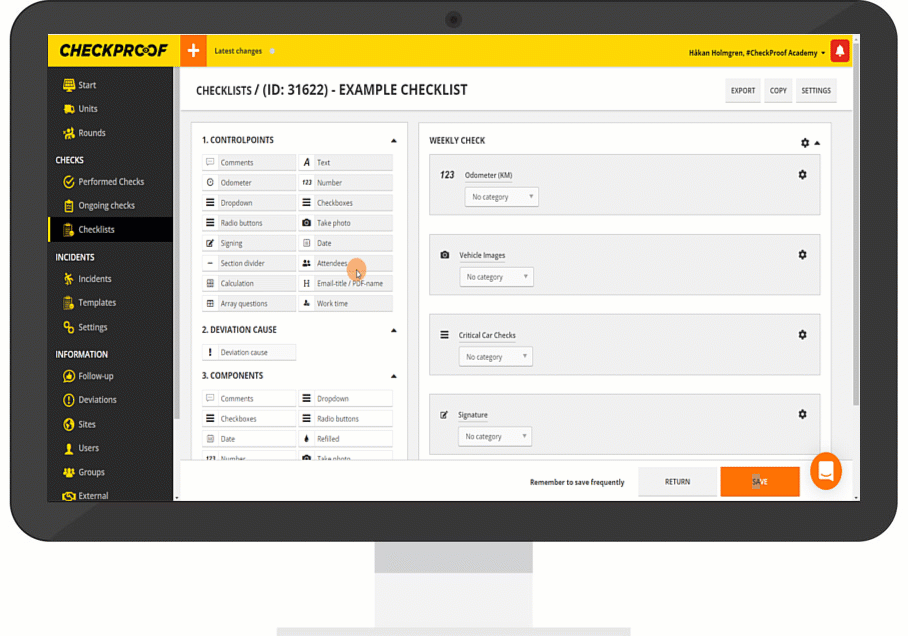
Now click on “Add Check“ and you will be able to select the type of check and how long you estimate it will take.
You can add or create several checks within one checklist (e.g. daily check, weekly check, or any other desired time interval).
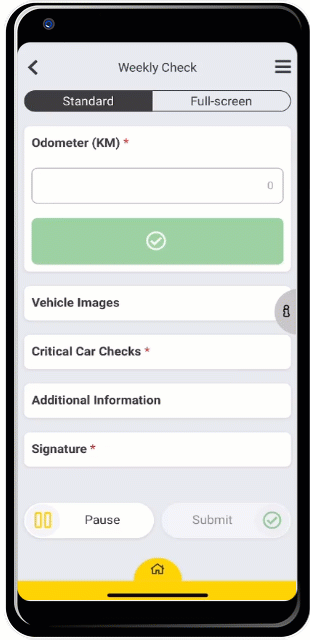
In this example, we have decided to create a “Weekly Check” which will take approximately 30 minutes to complete.

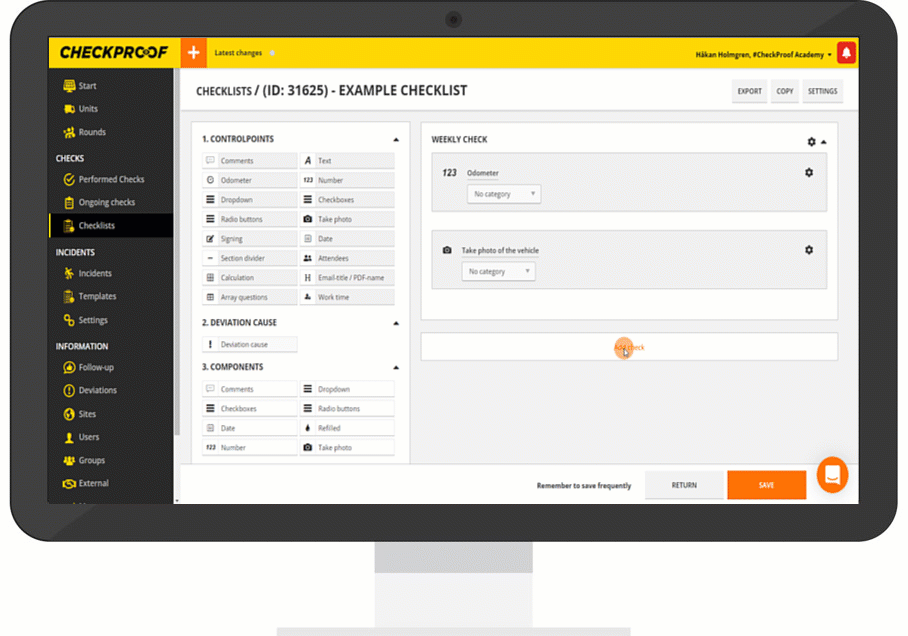
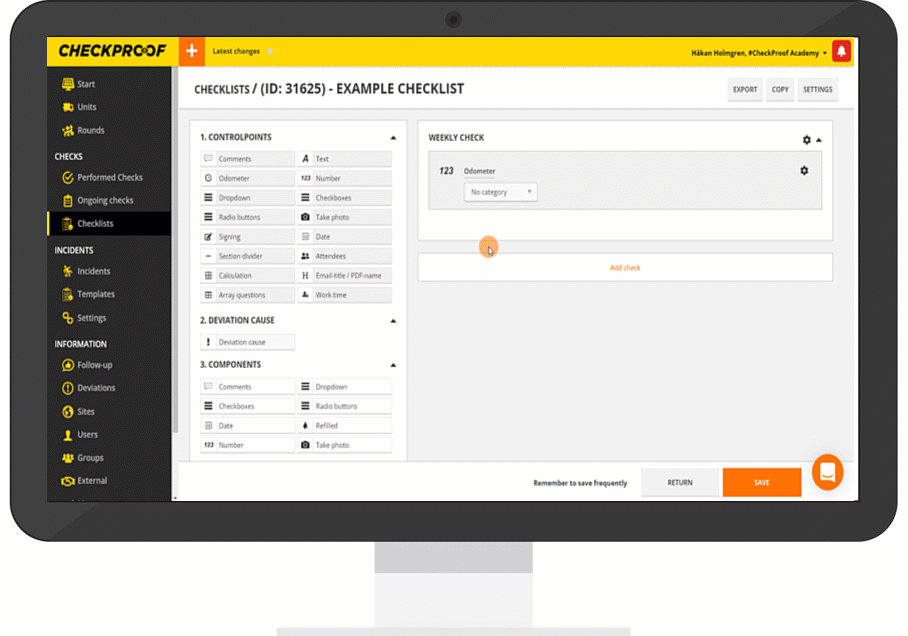
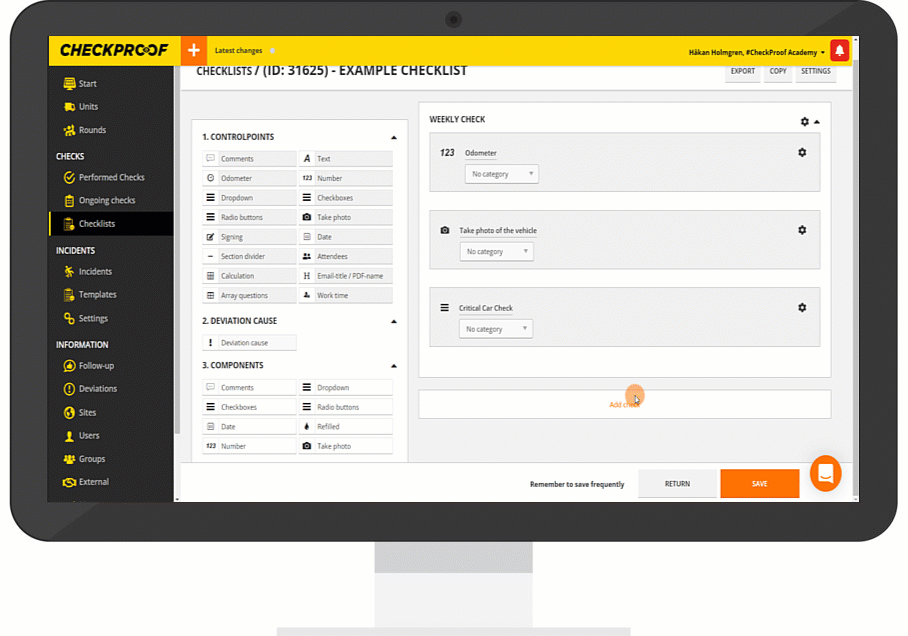
Now that you know how to create a new checklist in the system, let’s see how to add different items to the checklist.
1
2
Watch this video to see how to add checkboxes to a checklist.
3
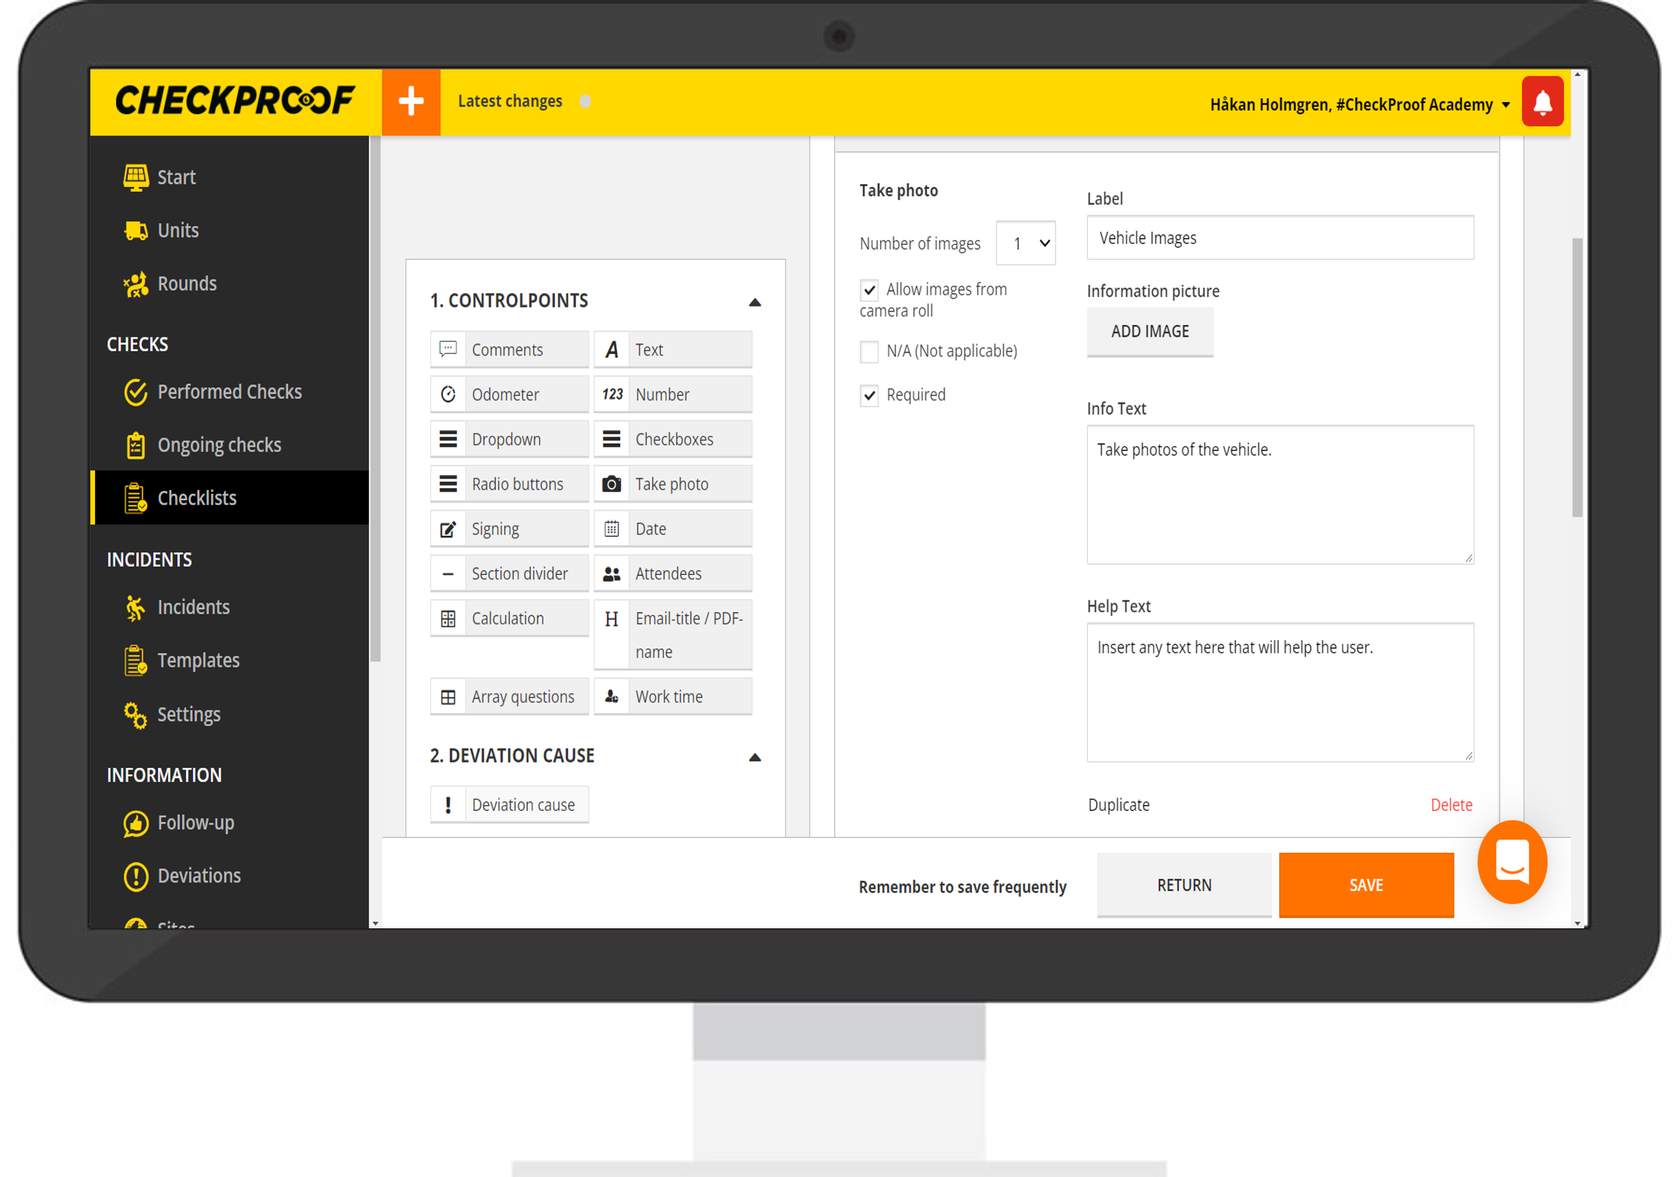
Watch this video to see how to add photos to a checklist.
4
Watch this video to see how to add text to a checklist.
5
Watch this video to see how to add a signature space to a checklist.
6
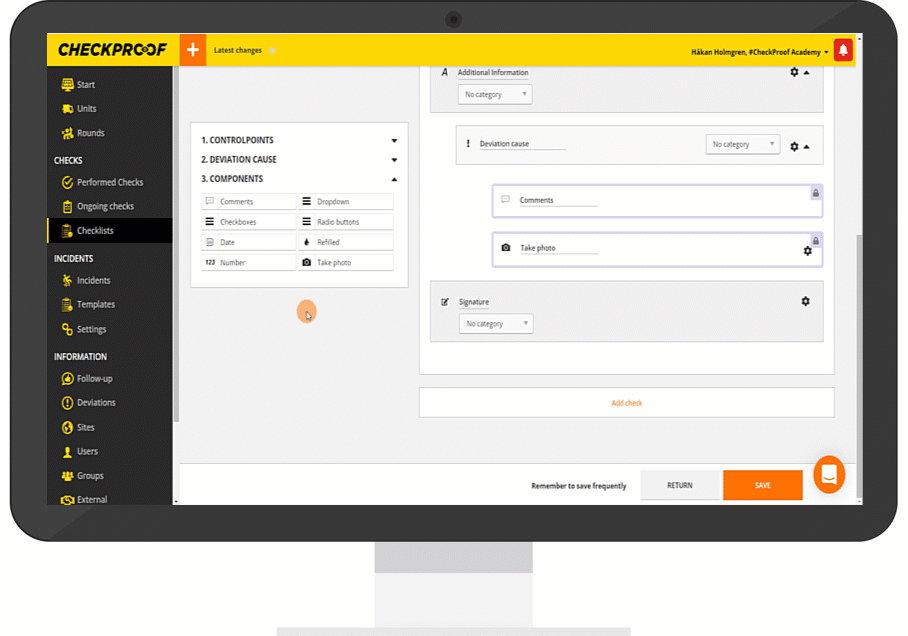
Now that you know how to add control points to a checklist, let’s see how to add a deviation cause.
This is done in the “2. Deviation Cause” section. In order to create a deviation, you will need to add a cause for it.

7
Now that you know how to add a deviation cause to a checklist, let’s see how to add a component.
This is done in the “3. Components” section.
8
Take a look at the image below to learn more about the different features.
This is what the checklist would look like from the CheckProof app.
Great! Now you know how to create a checklist.