
Exporting Deviations
You may need to export a deviation in order to share it with an external contractor.
In this lesson, you will learn the two ways you can export deviations:
- Export a specific deviation
- Bulk export deviations using filters
1
Go through the steps to learn how to export a specific deviation.
You can click the images to magnify them.
step 1
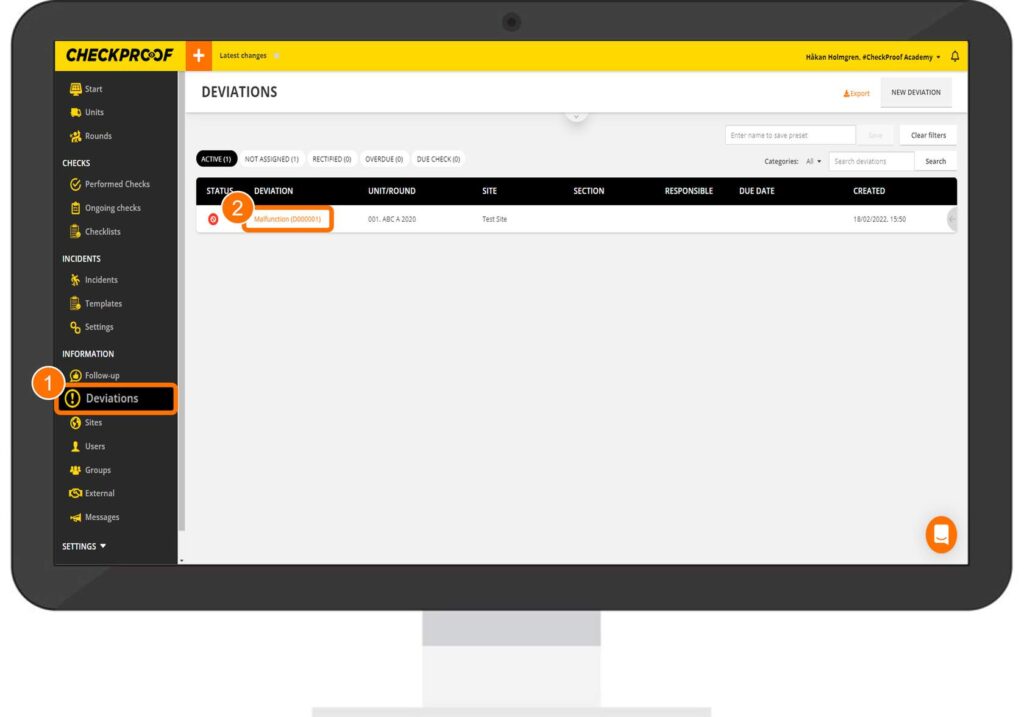
First, click on “Deviations” in the left-side panel and select a deviation from the list.
Step 2
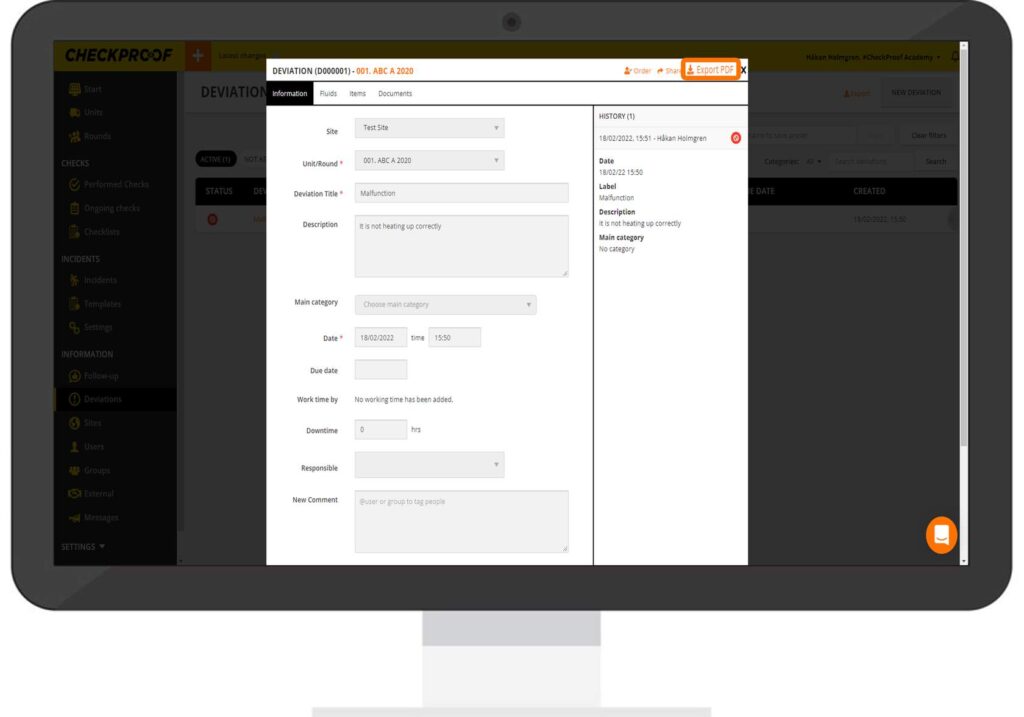
Here you will see the information related to this deviation. Click the “Export PDF” button in the upper-right corner.
Step 2
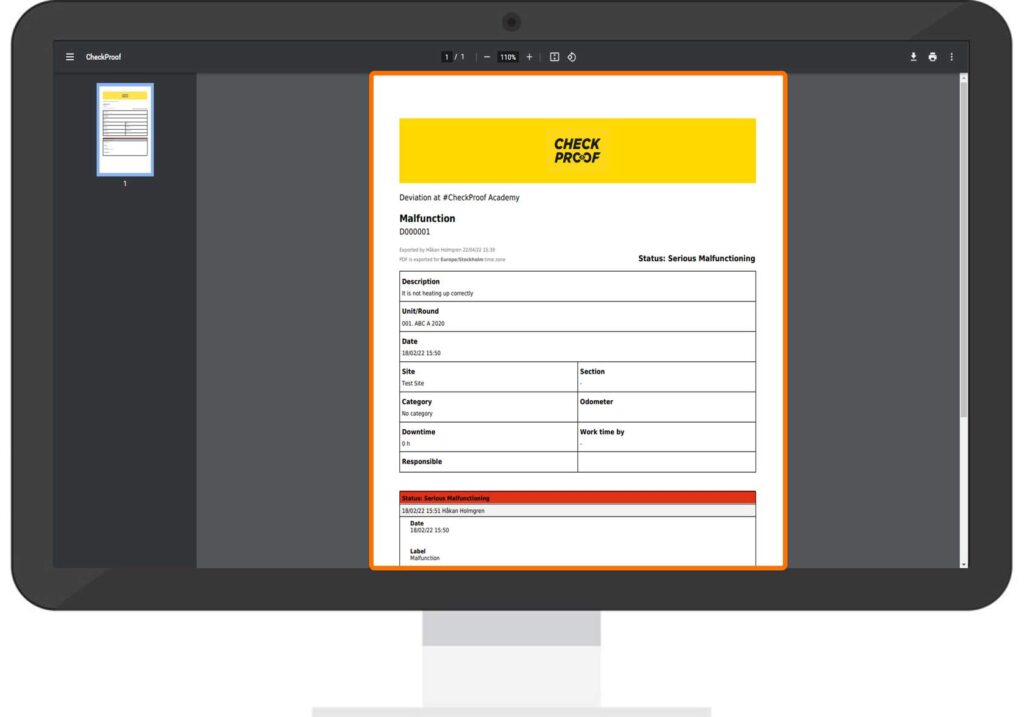
A preview of the deviation will open in a new window. Click the download icon in the upper-right corner of the page to download the deviation as a PDF to your device.
Great! Now you know how to export a specific deviation from the CheckProof Admin Panel.
2
Go through the steps to learn how to export selected deviations using filters.

You can click the images to magnify them.
Step 1
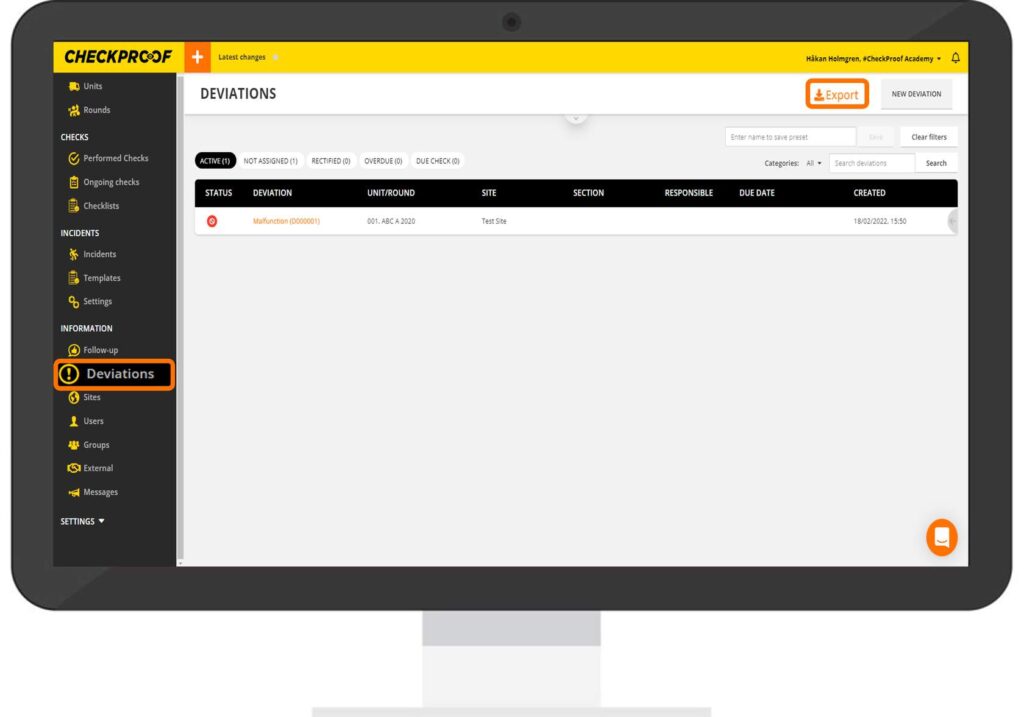
First, click on “Deviations” in the left-side panel and then click the “Export” button.
Step 2
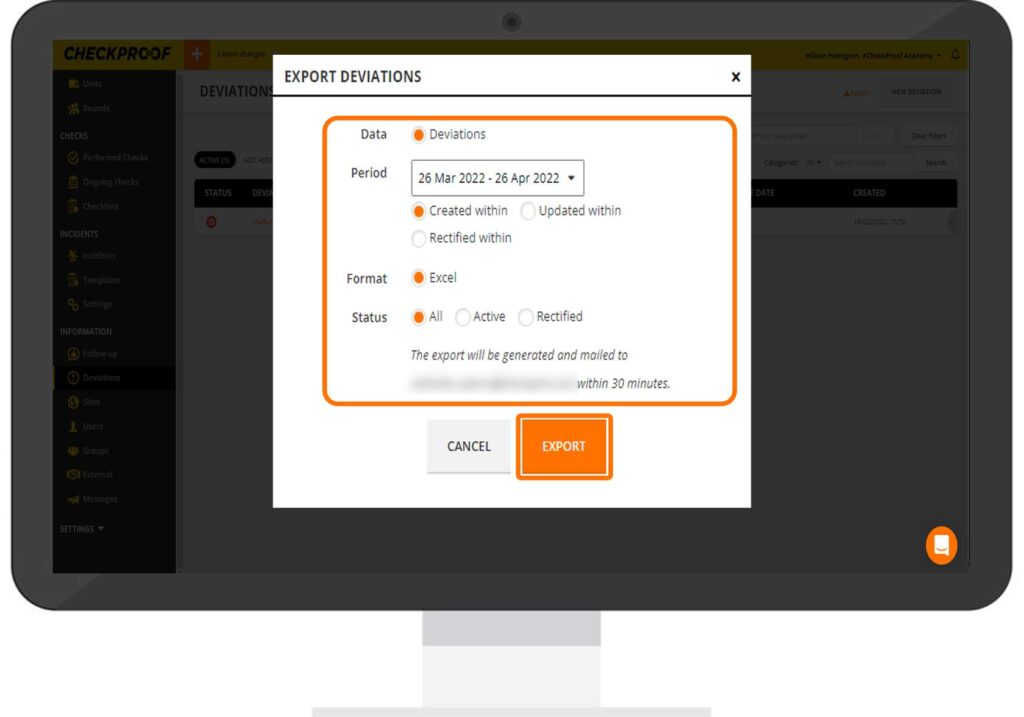
Now you will be able to specify the deviations you wish to export. You can filter deviations using the following filters:
Data: The only data option available here is “Deviations” as you accessed directly via the “Deviations” tab in the side panel.
Period: Choose a period of time using the calendar to export any deviations that occurred during this period.
Format: The report will be generated as an Excel spreadsheet.
Status: Here you can choose to include deviations that are active, rectified or both.
When you are finished, click on the “Export” button.
Great! Now you know how to export selected deviations from the CheckProof Admin Panel.
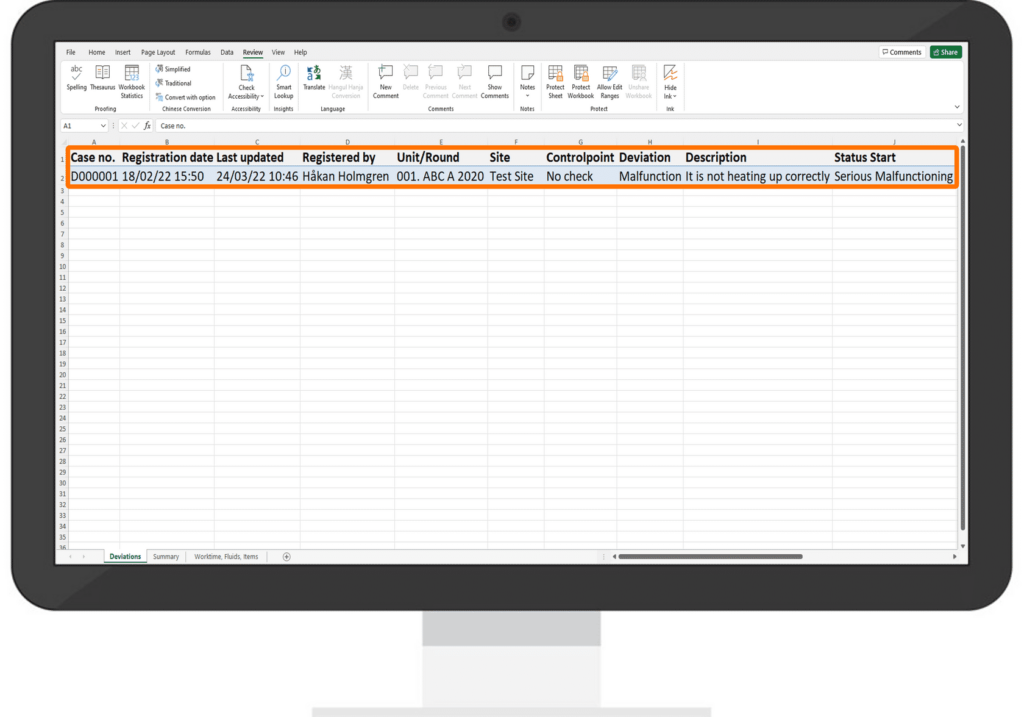
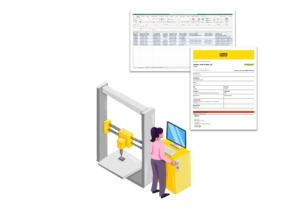
You can view the list of filtered deviations in the Excel spreadsheet that has been generated for you.